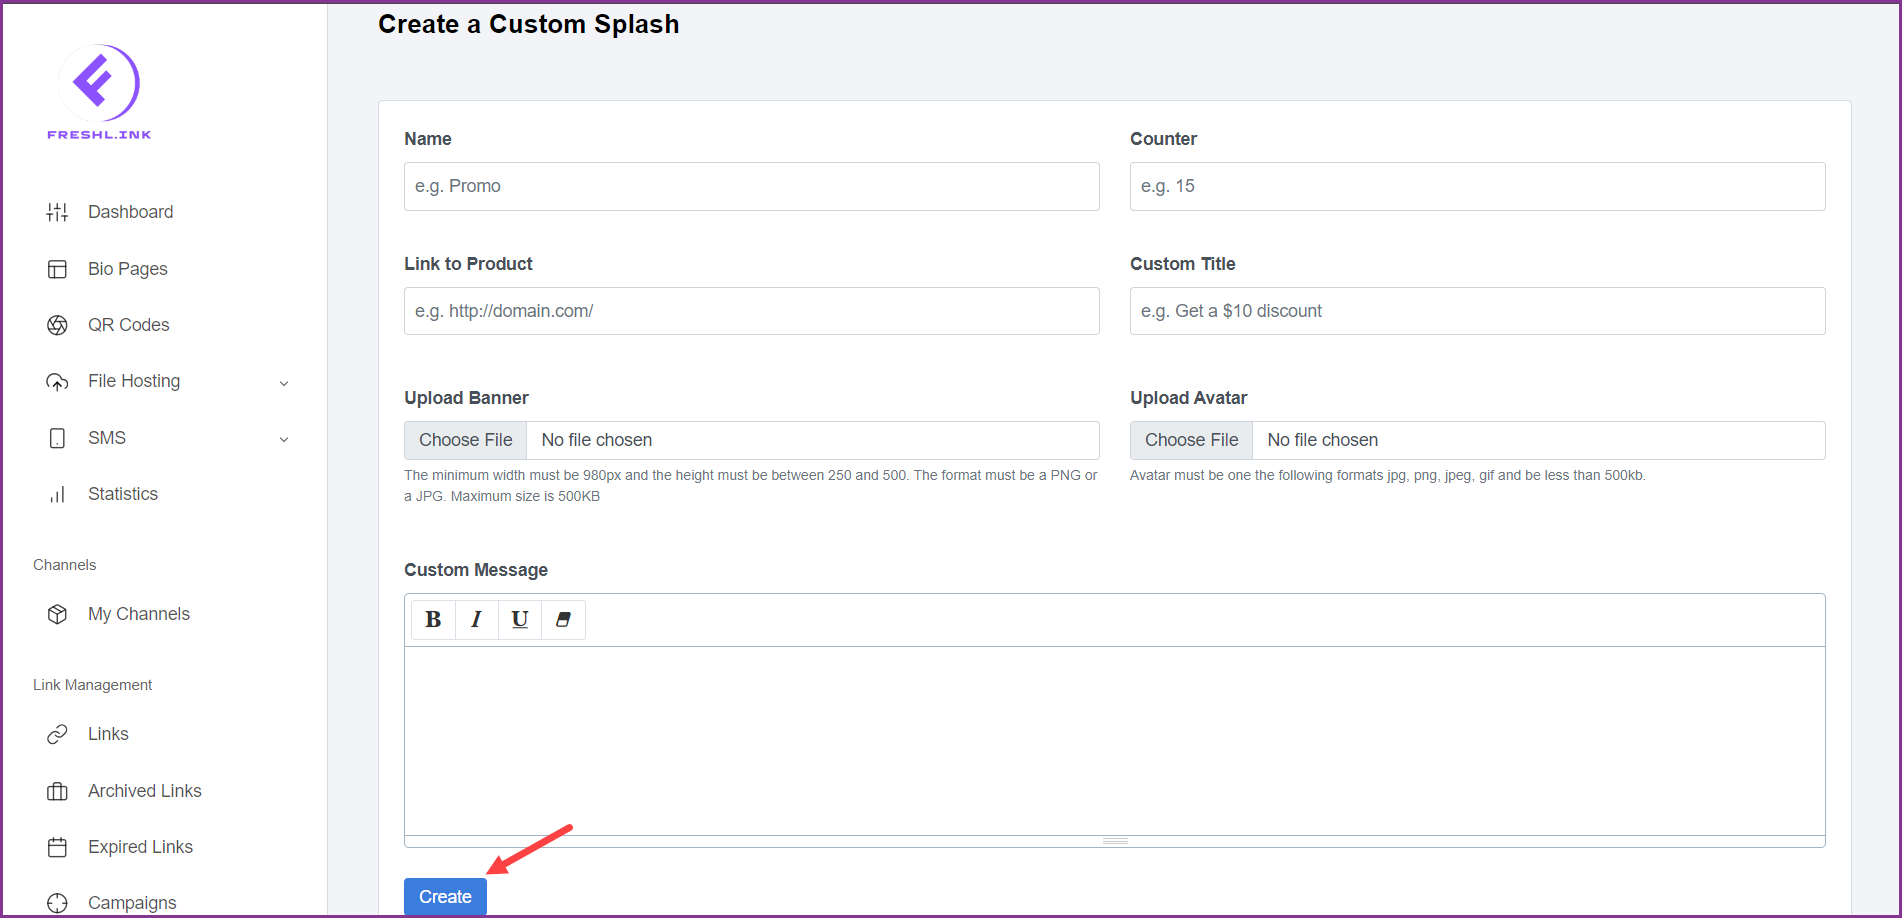
Freshlink > Left Navigation Bar > Custom Splash
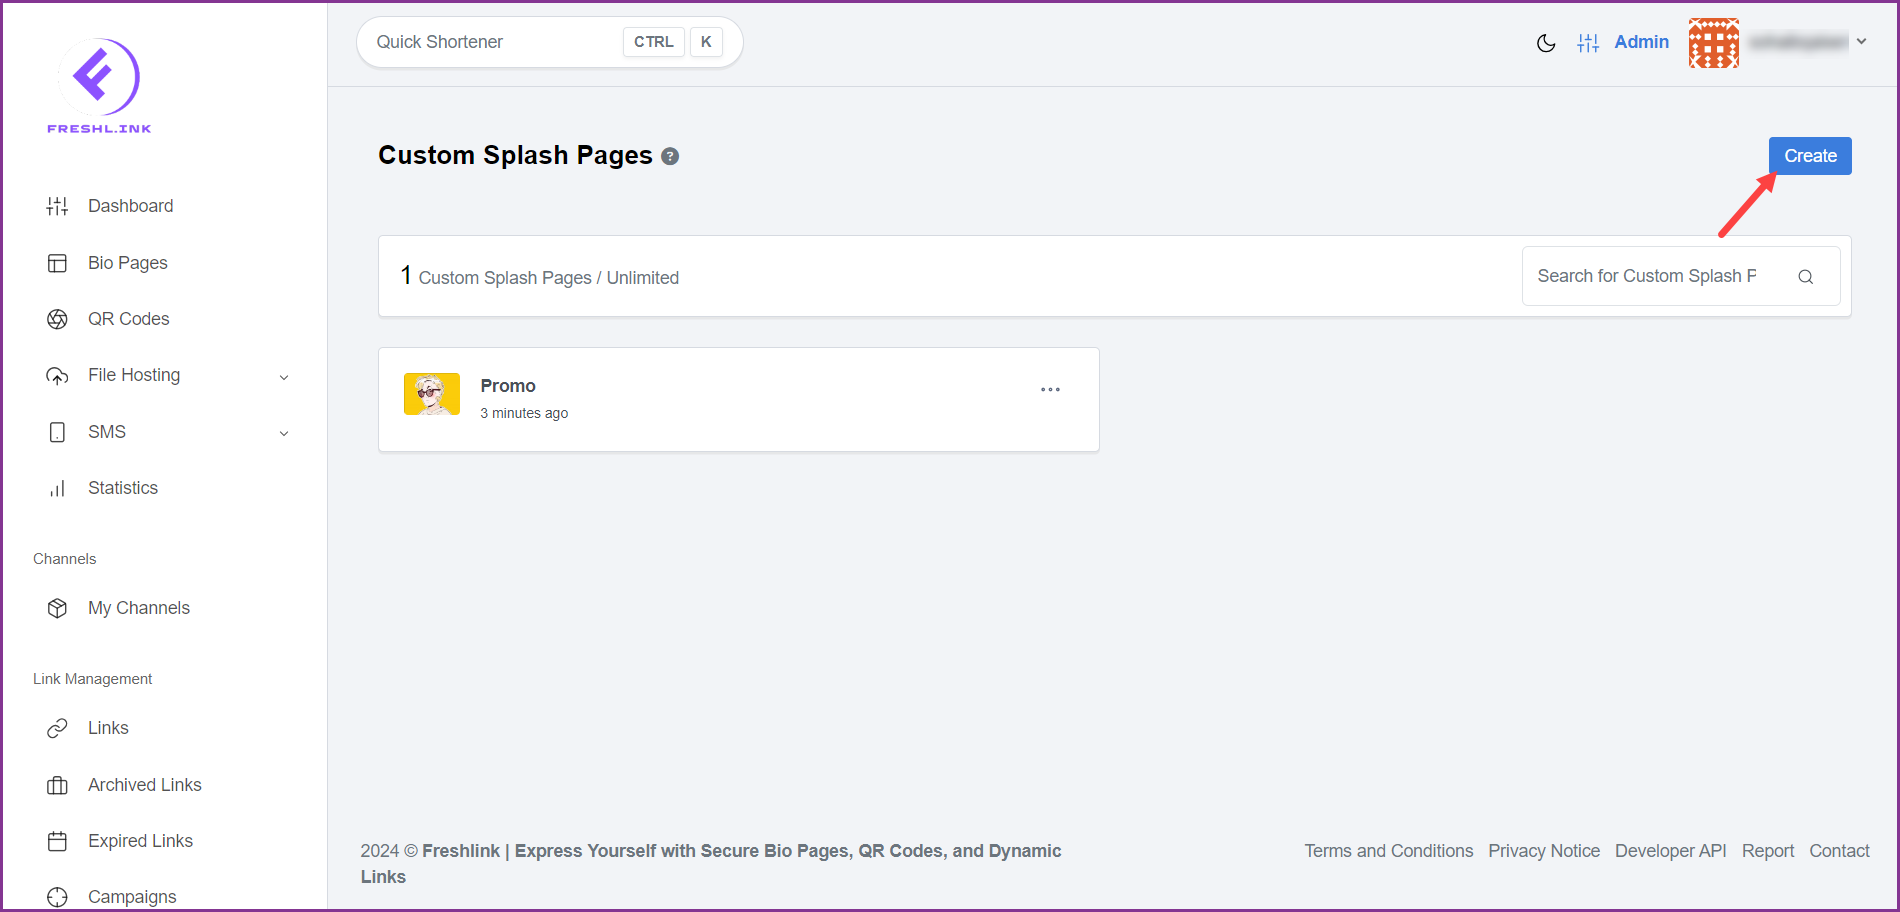
Follow the above-mentioned workflow to land on the Custom Splash screen.
Click the  button. Doing so takes you to the Create a Custom Splash screen.
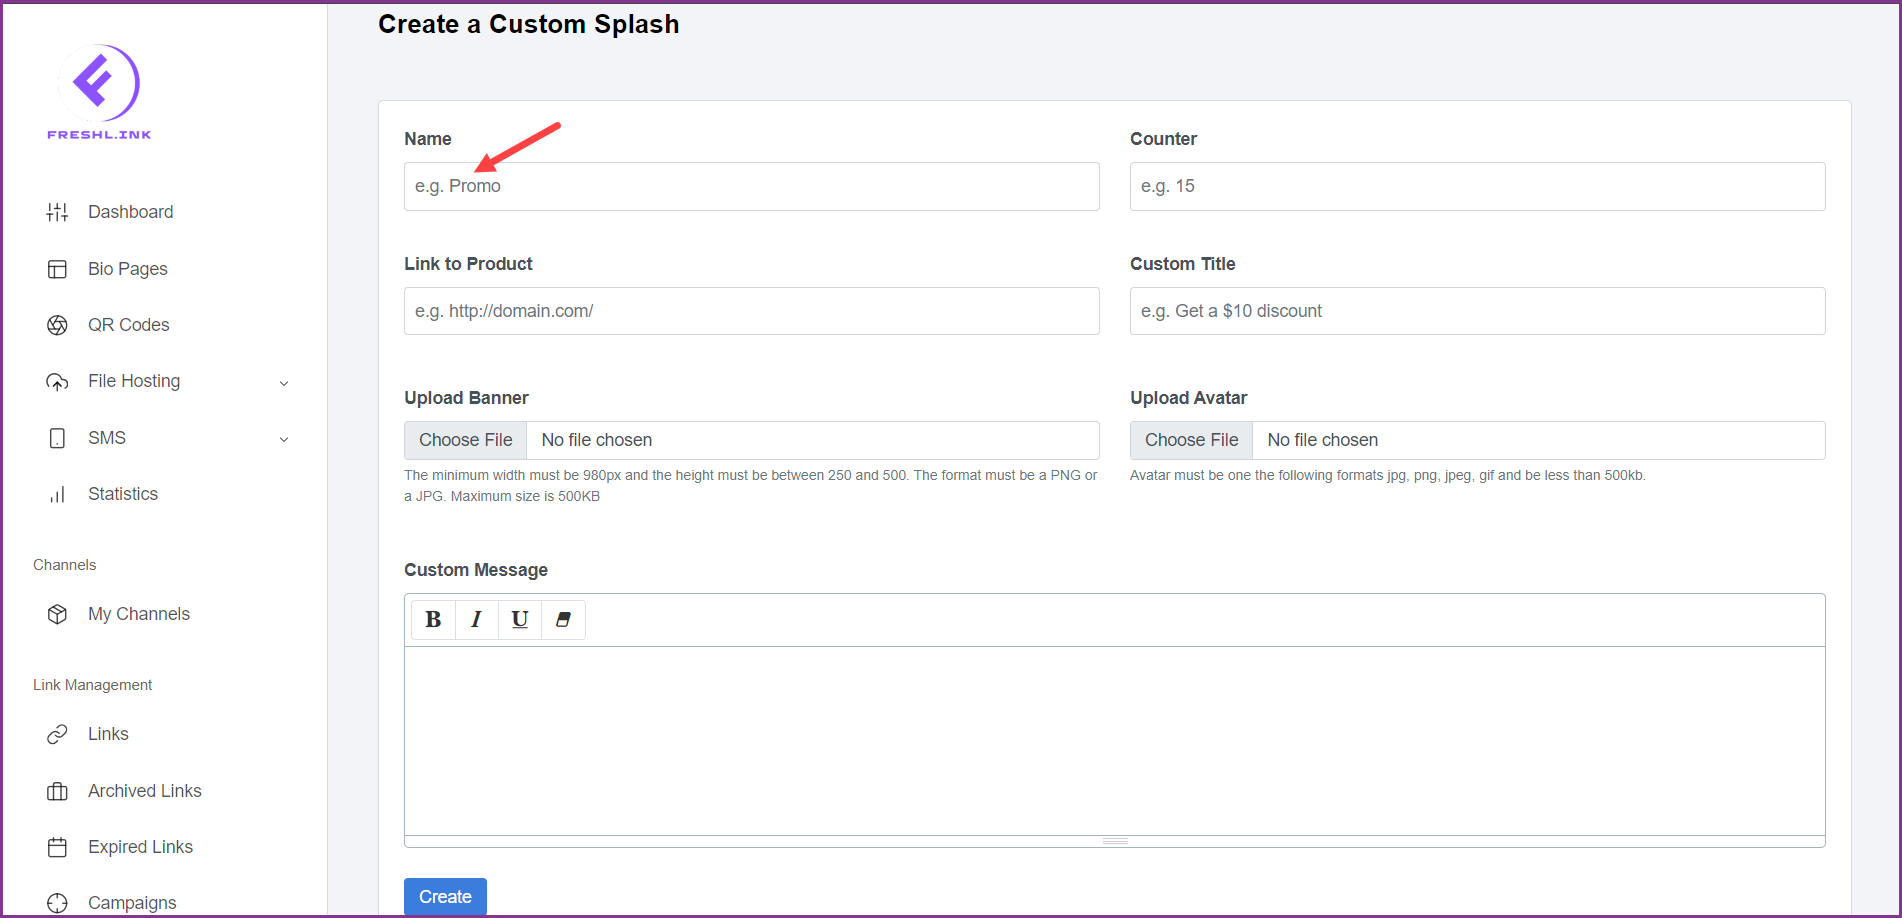
Use the Name field to enter the name of the custom splash page.
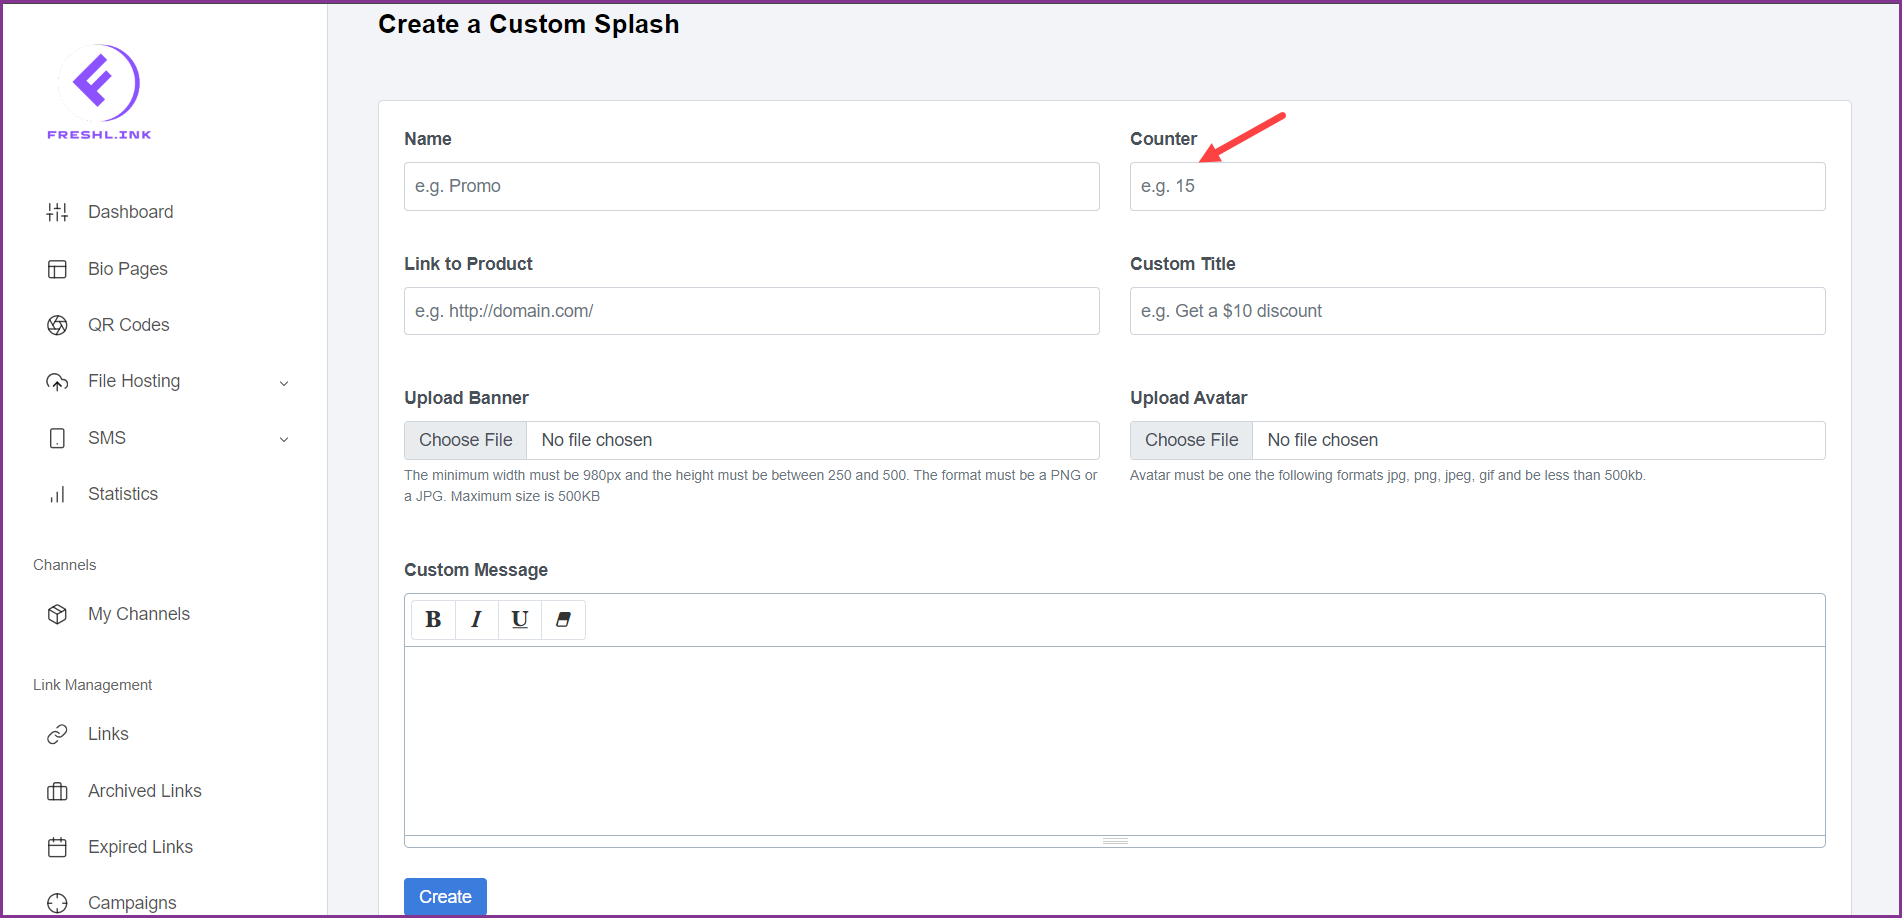
Enter the count in the Counter field.
Use the Link to Product field to provide the URL to the product.
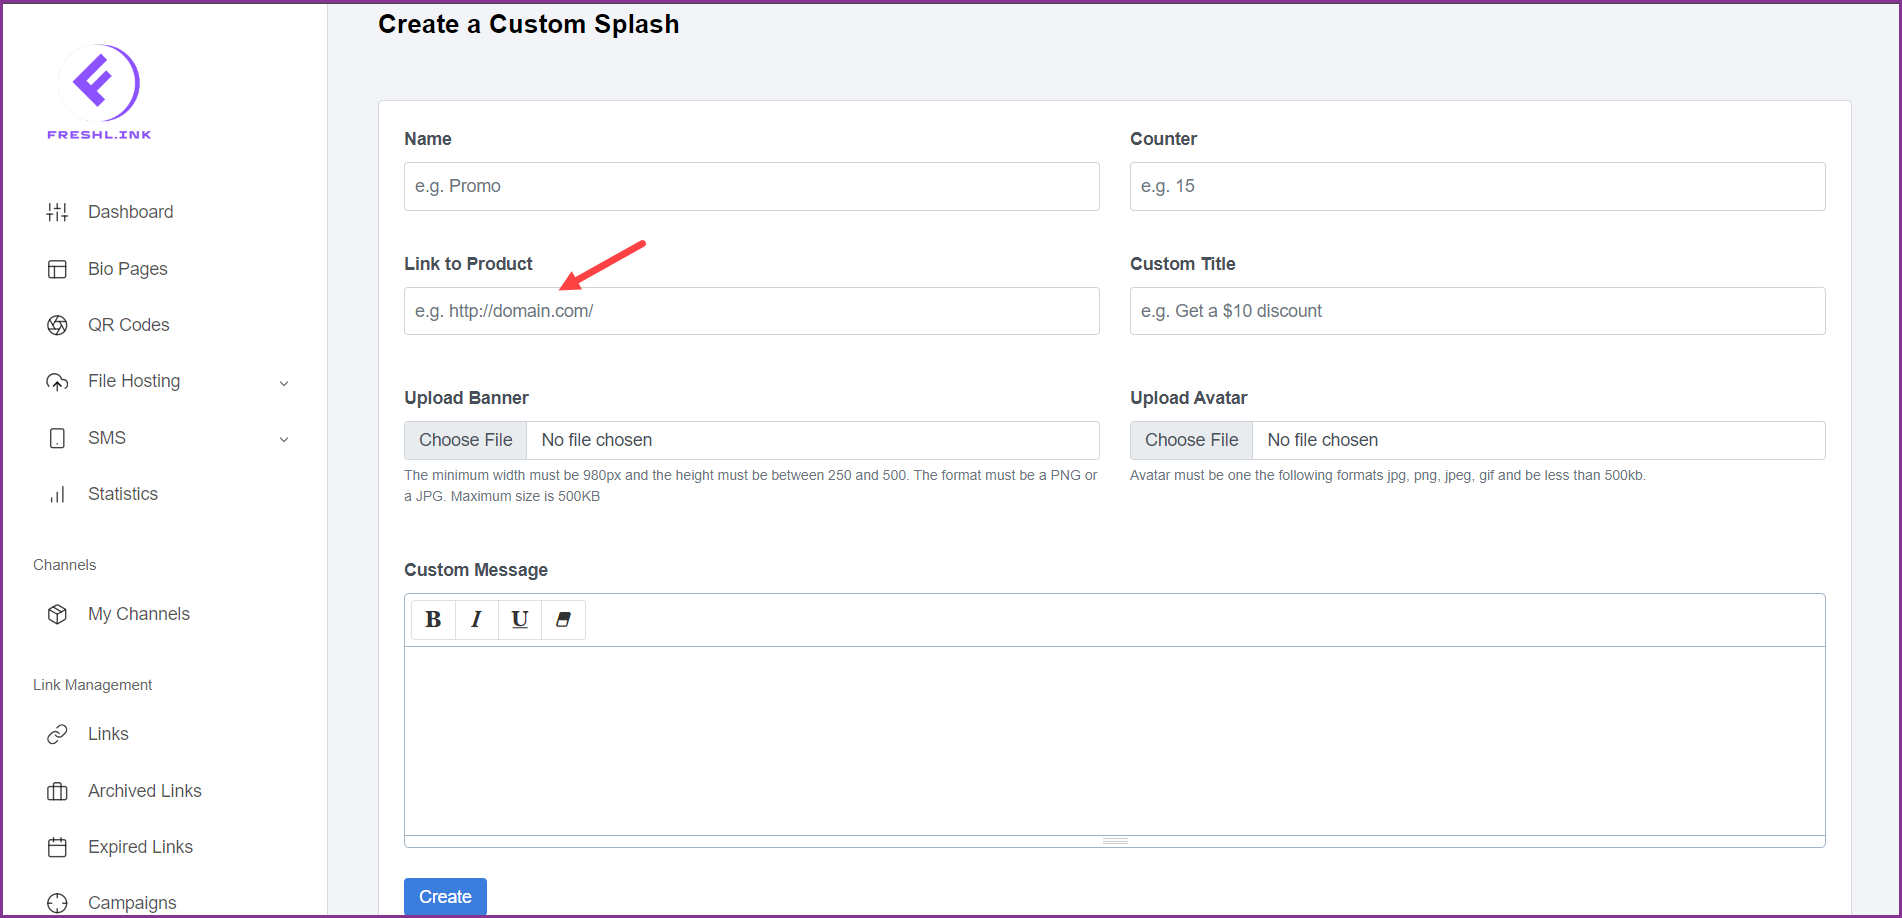
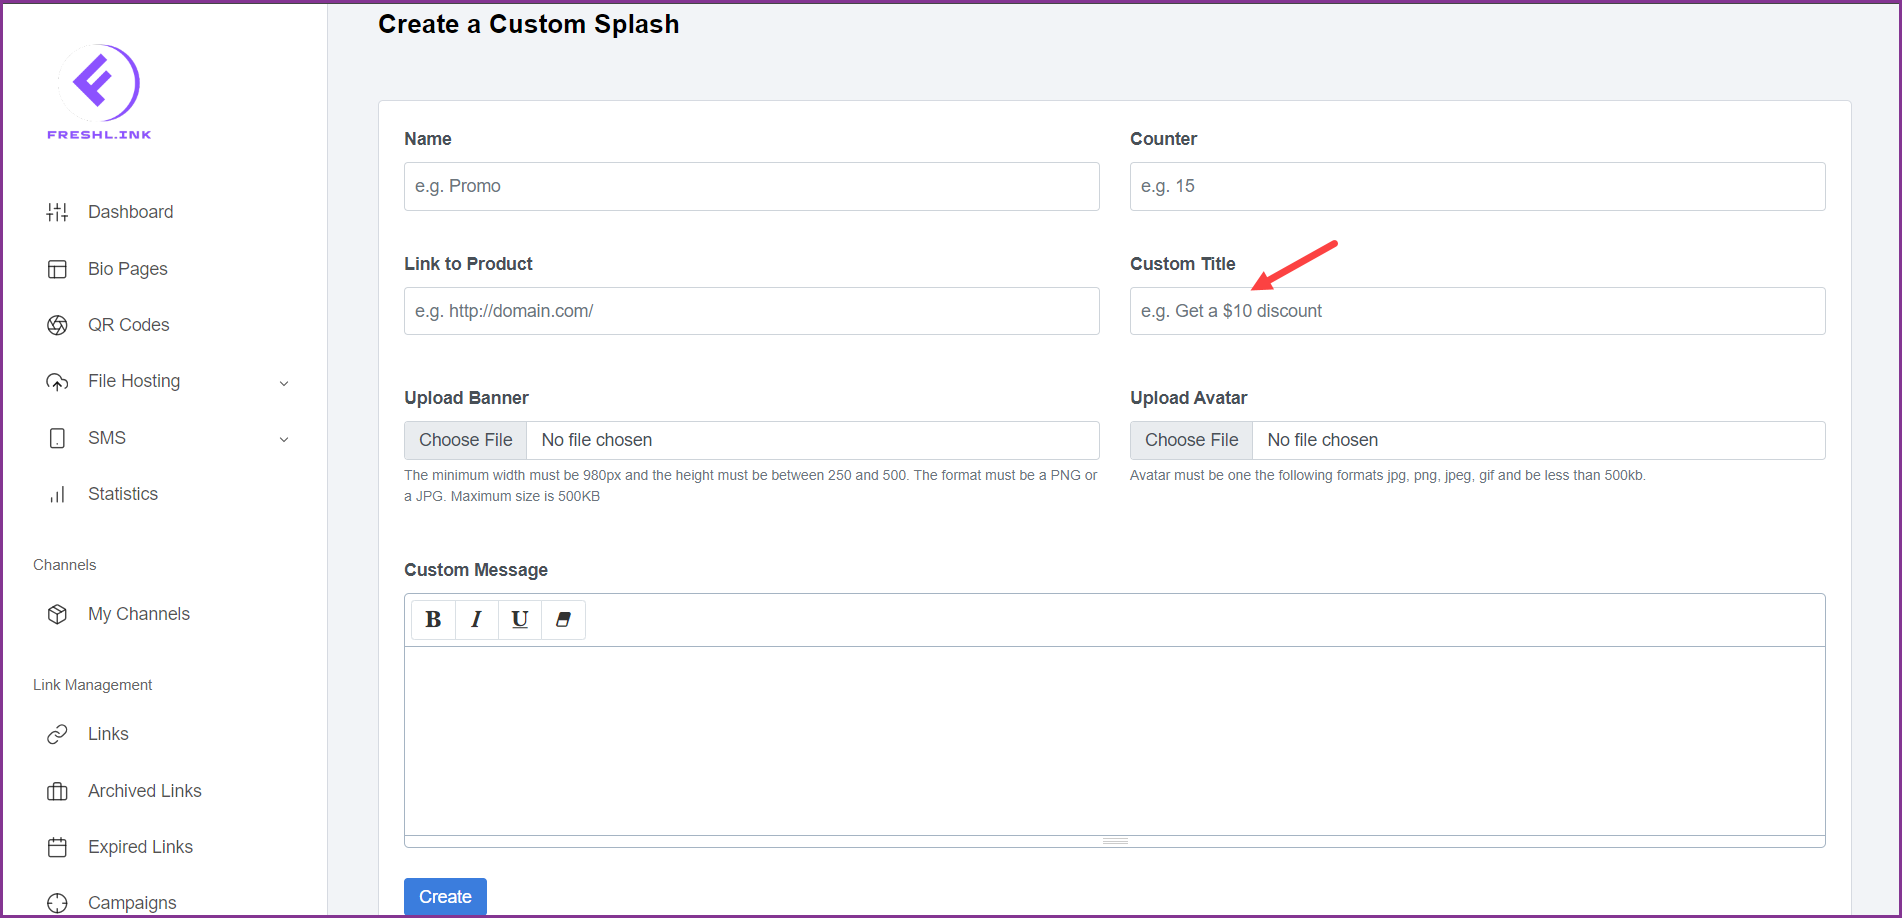
Enter a custom title using the Custom Title field.
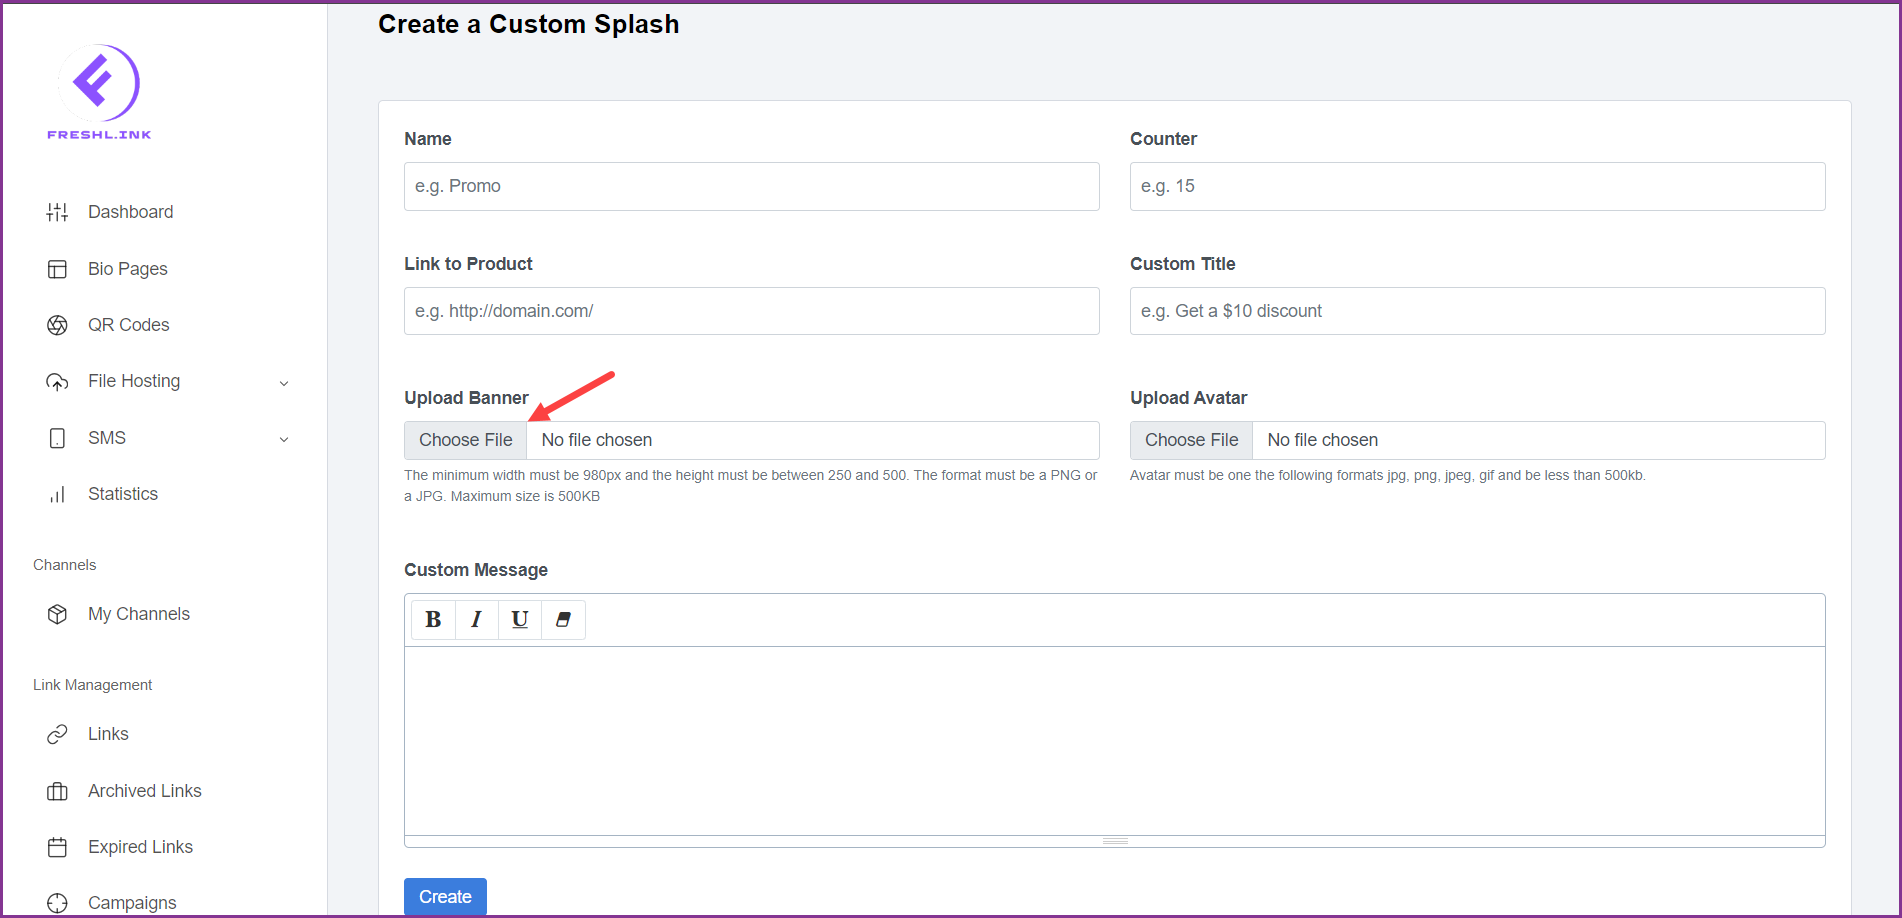
Click the Choose File button from Upload Banner to upload a banner image from your system storage for the custom splash page.
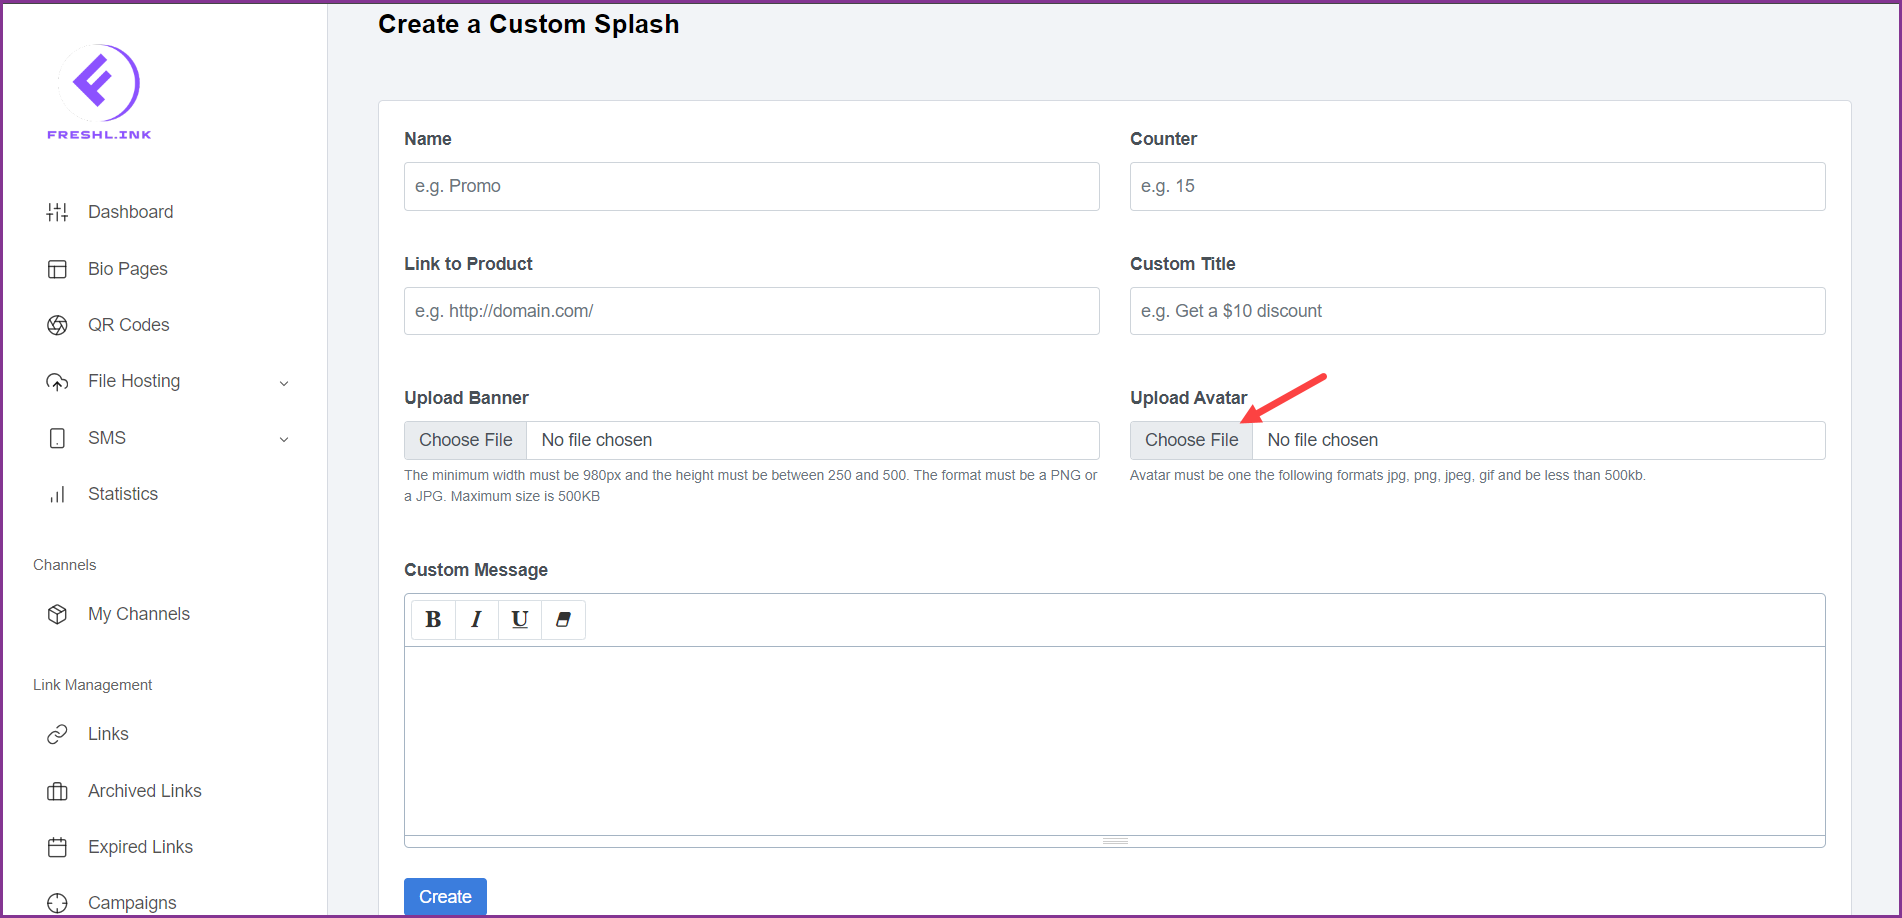
Similarly, click the Choose File button from Upload Avatar to upload an avatar from your system storage for the custom splash page.
Use the Custom Message rich text editor to record the custom message.
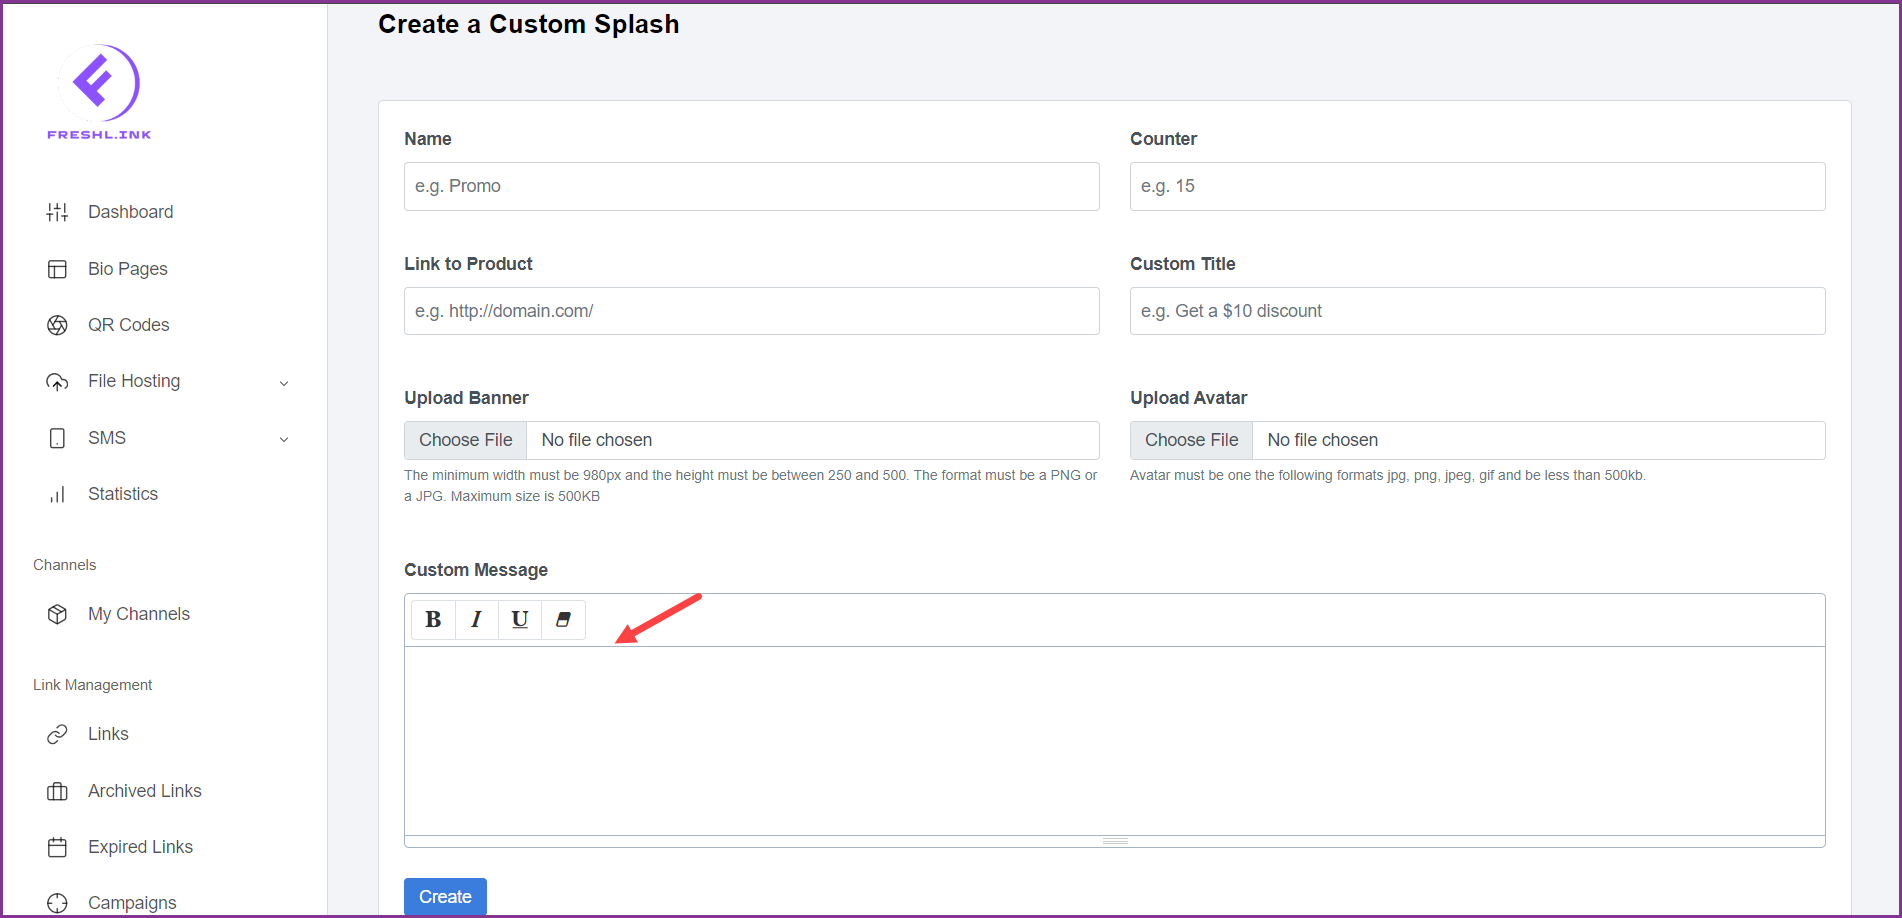
Once the required information is filled, click the  button.
