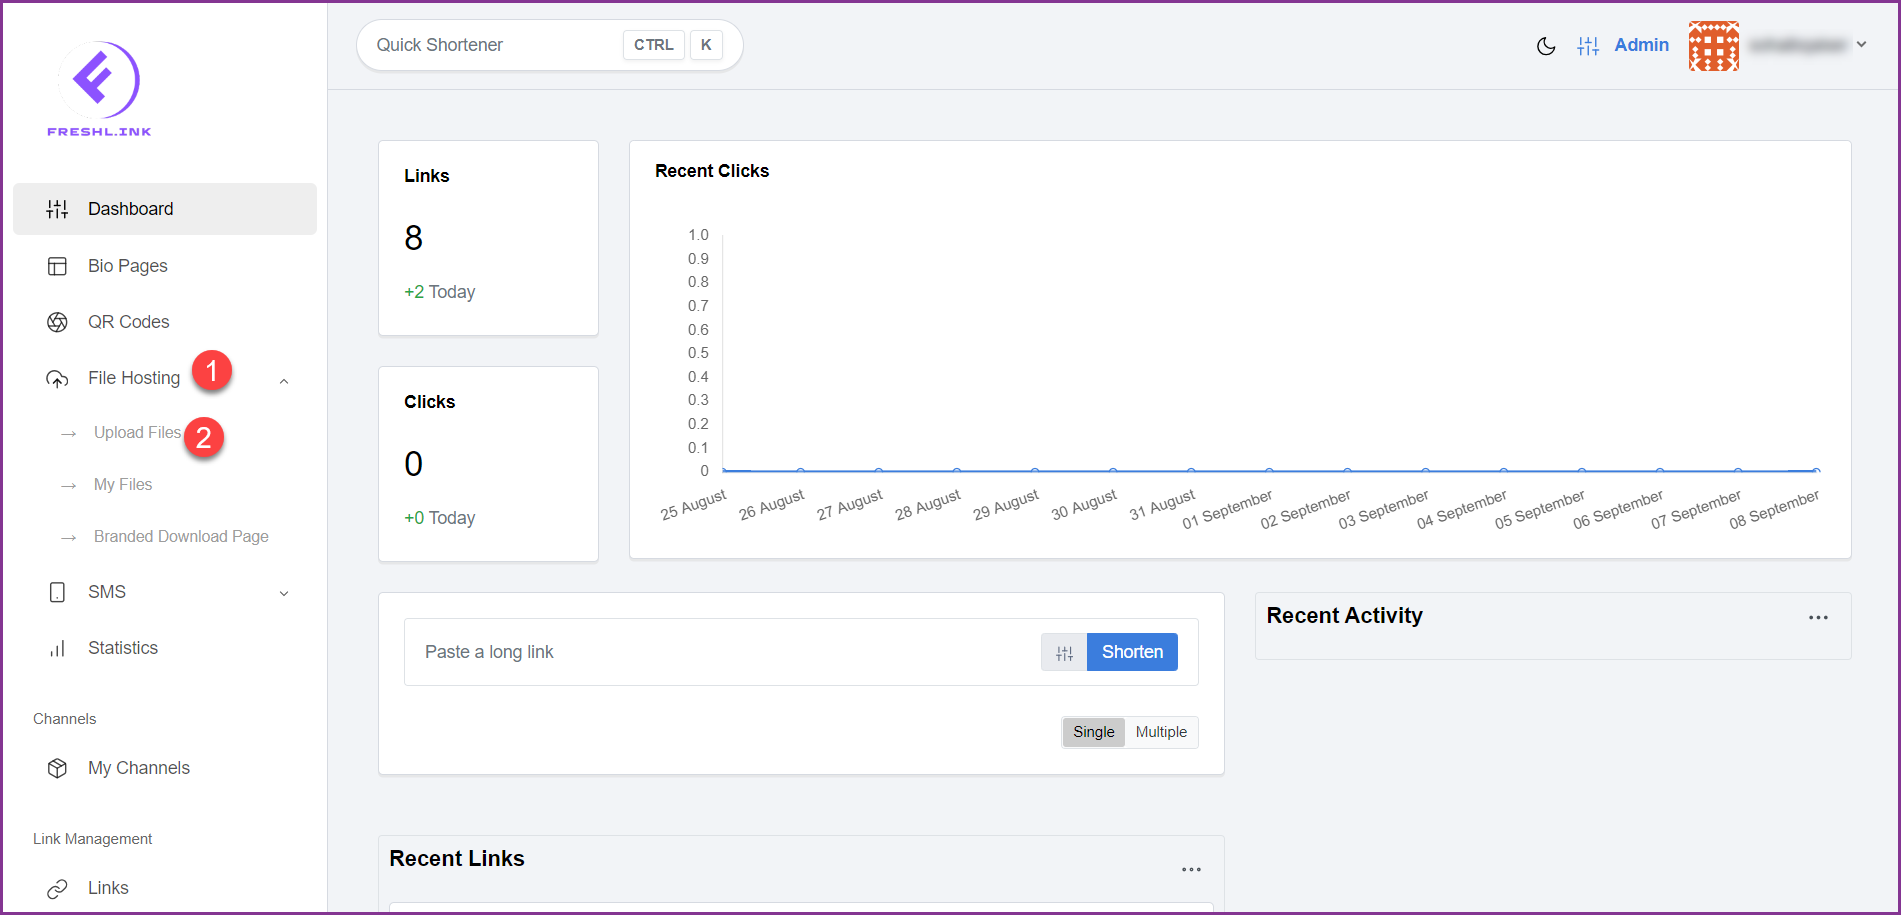
Upon successful login, click File Hosting from the left navigation bar. This reveals a number of options.
Click Upload Files. This takes you to the Upload Files screen.
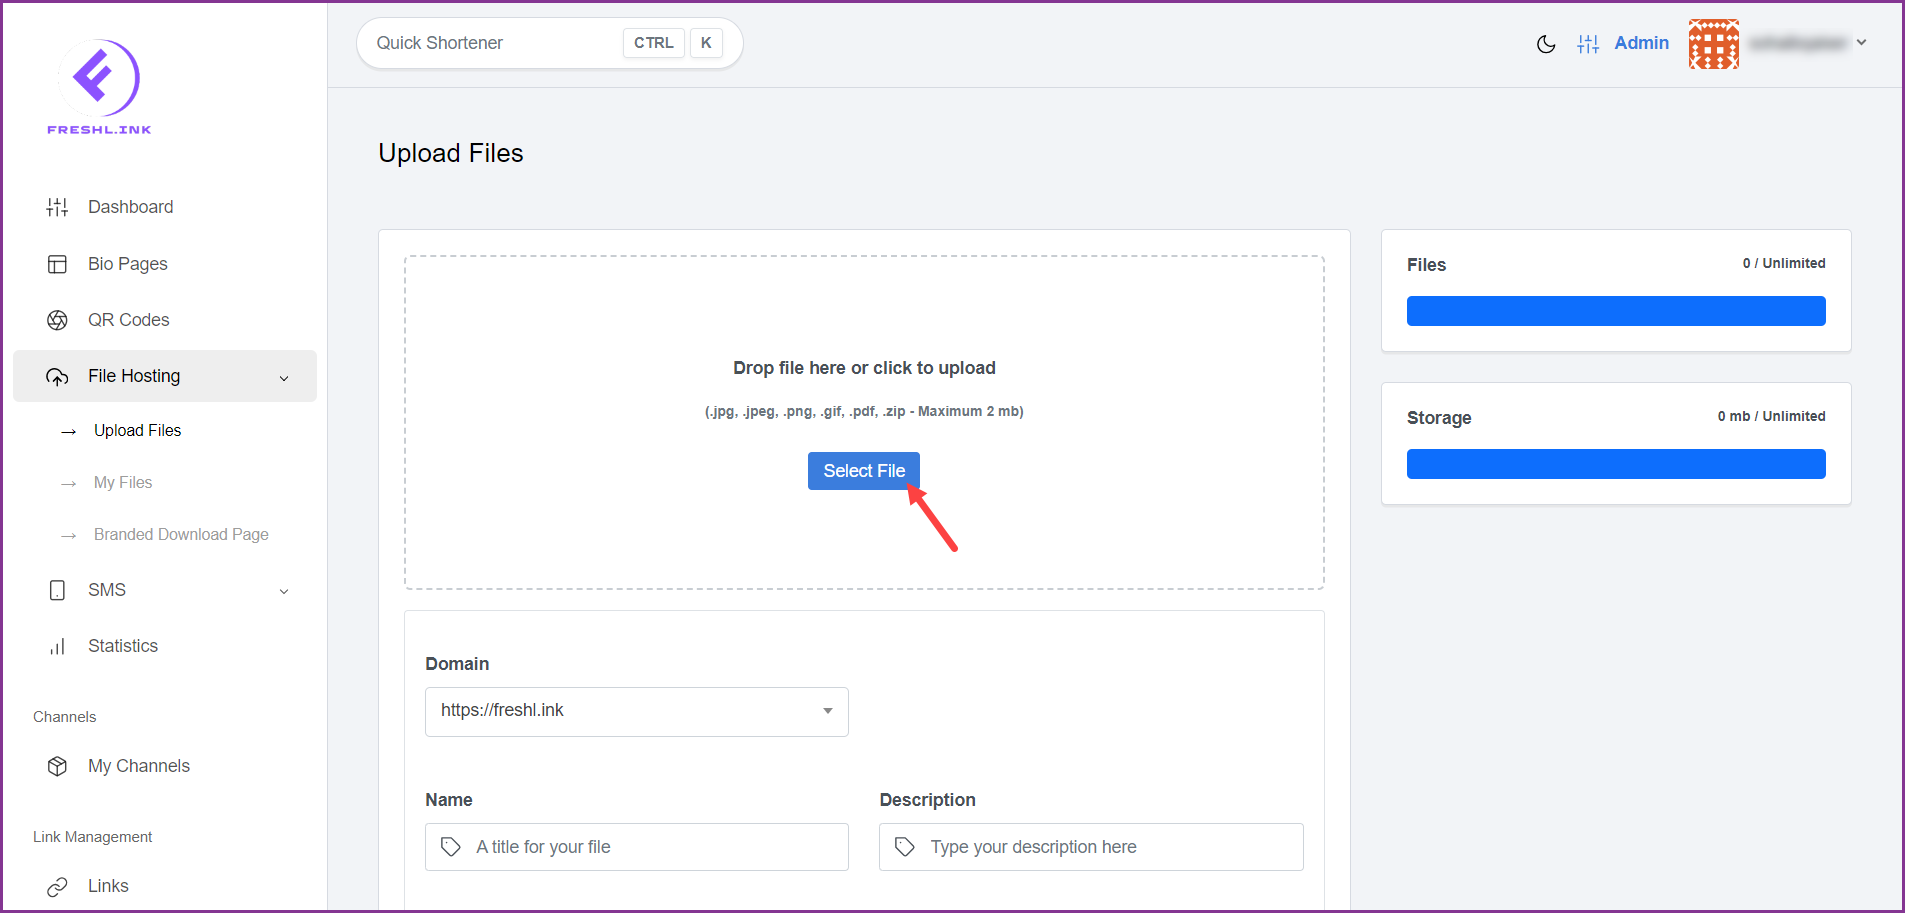
Here, click the  button to choose a file you want to host from your system storage. (.JPG, .JPEG, .PNG, .GIF, .PDF, .ZIP)
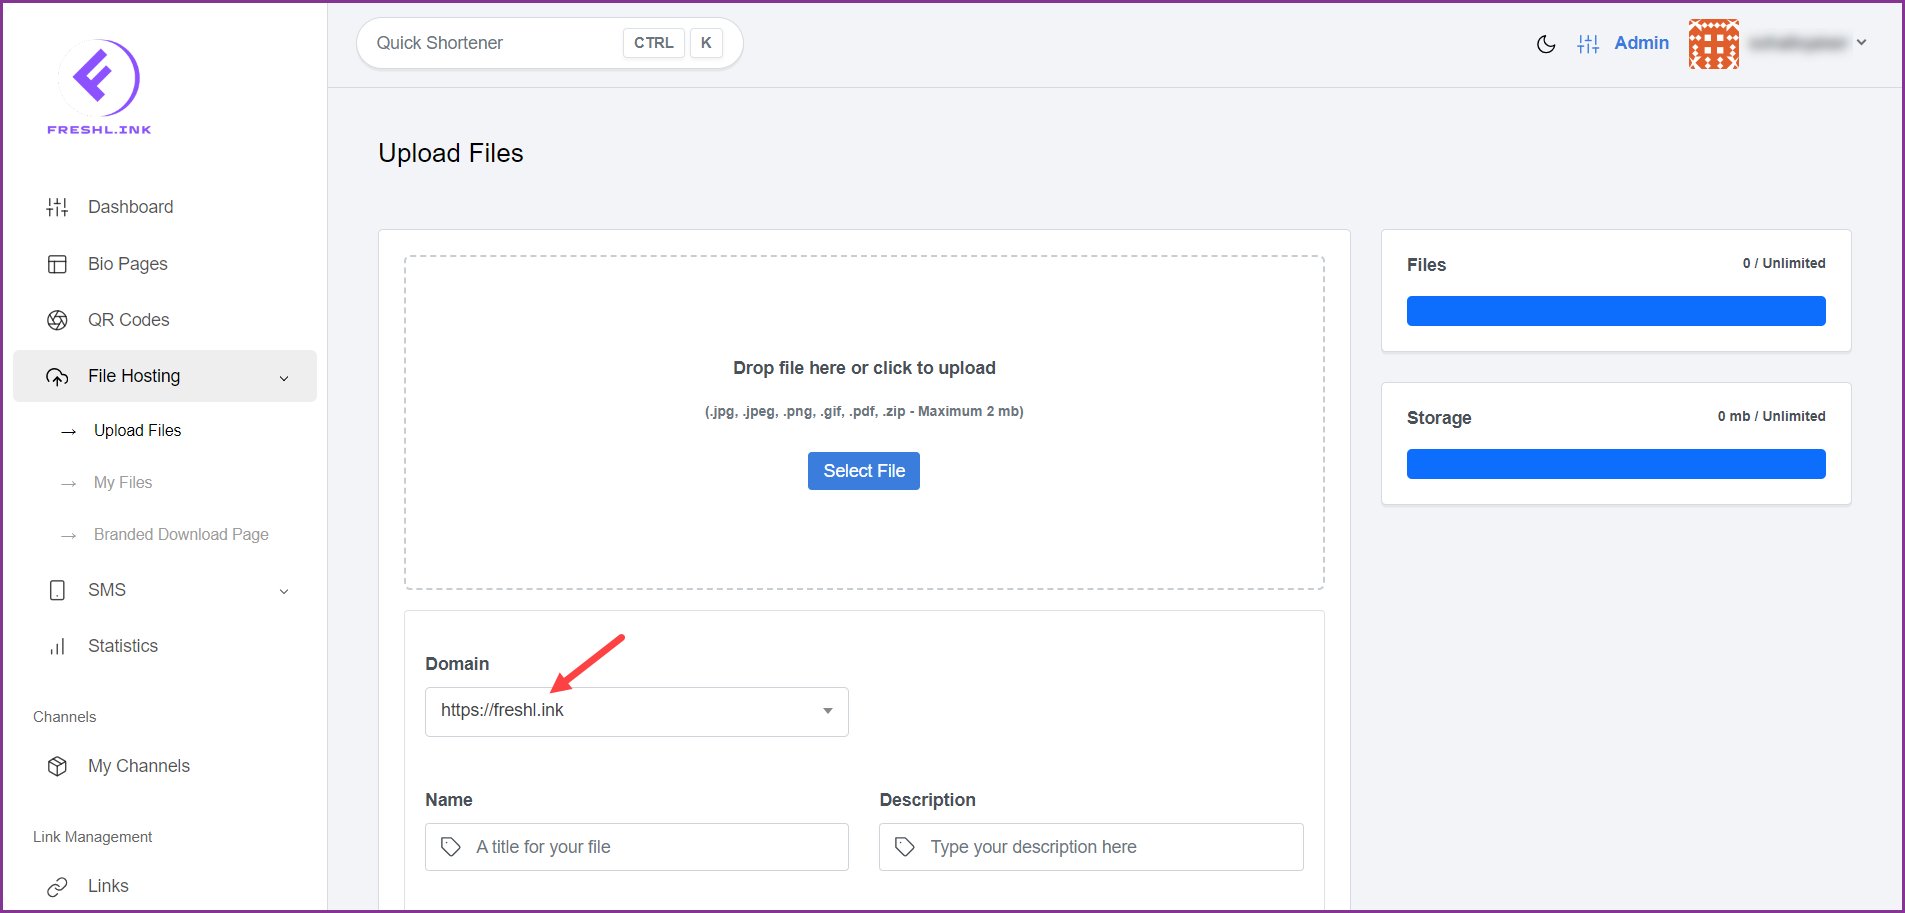
Choose the domain for the file using the Domain dropdown.
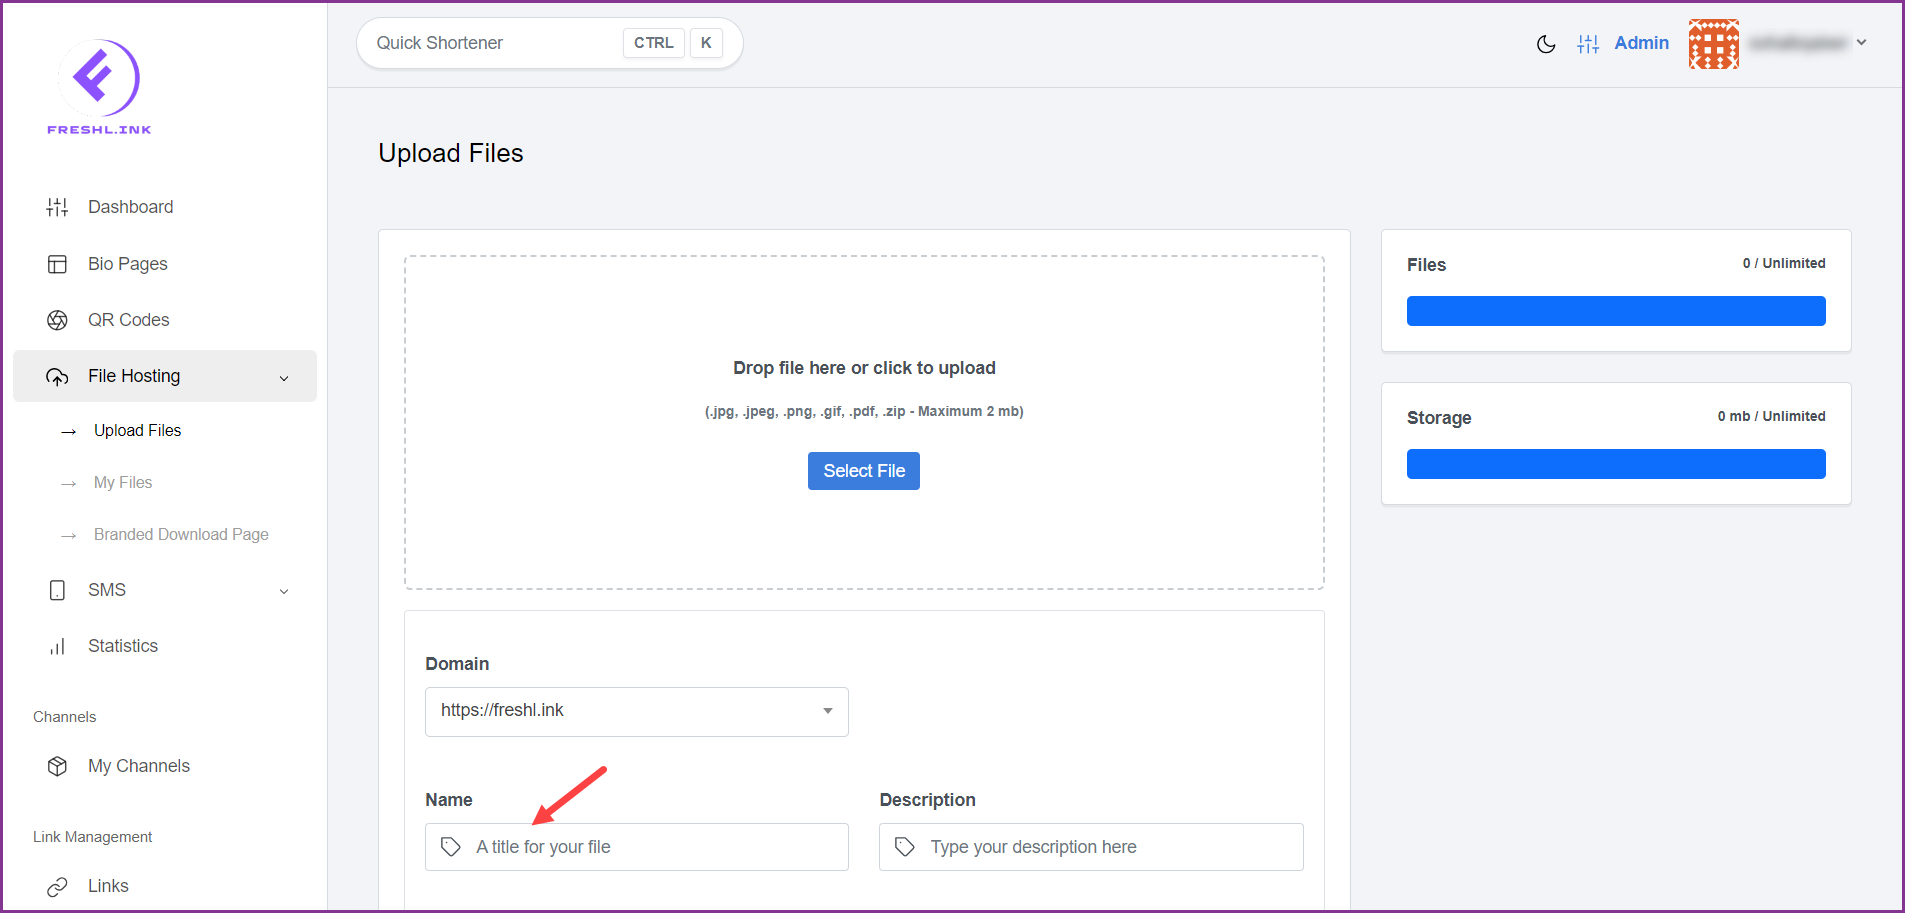
Use the Name field to enter the name of the file.
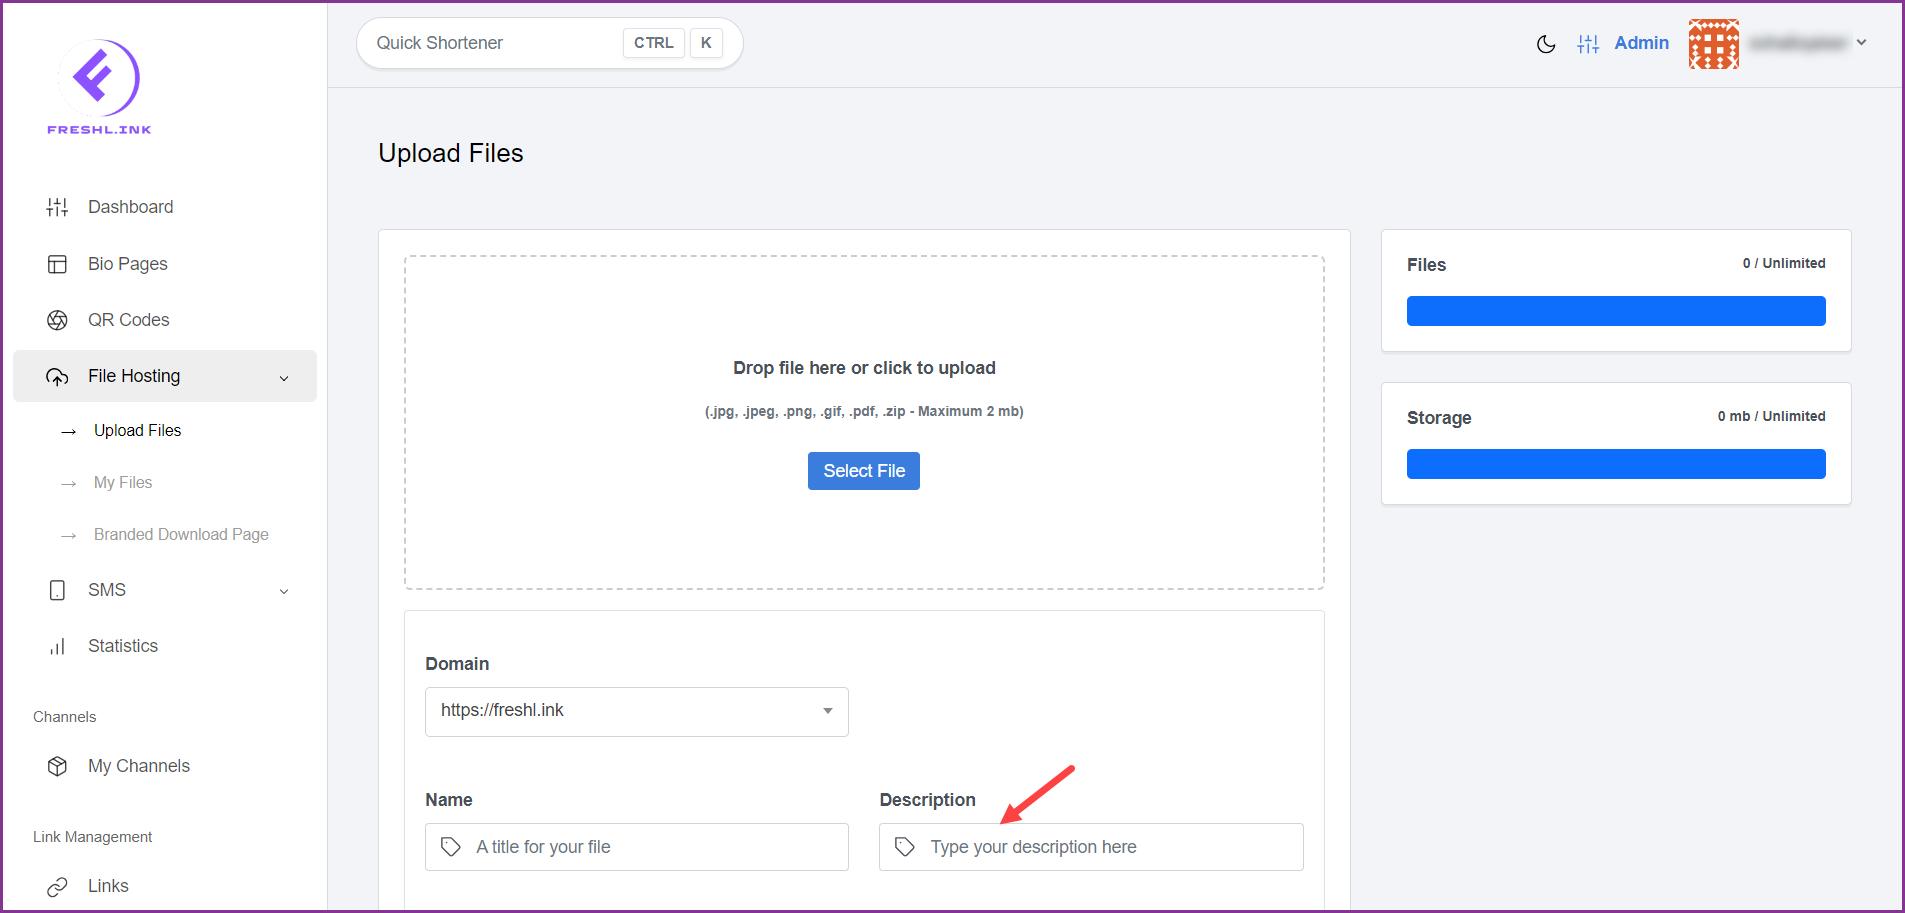
Provide a description for the file using the Description field.
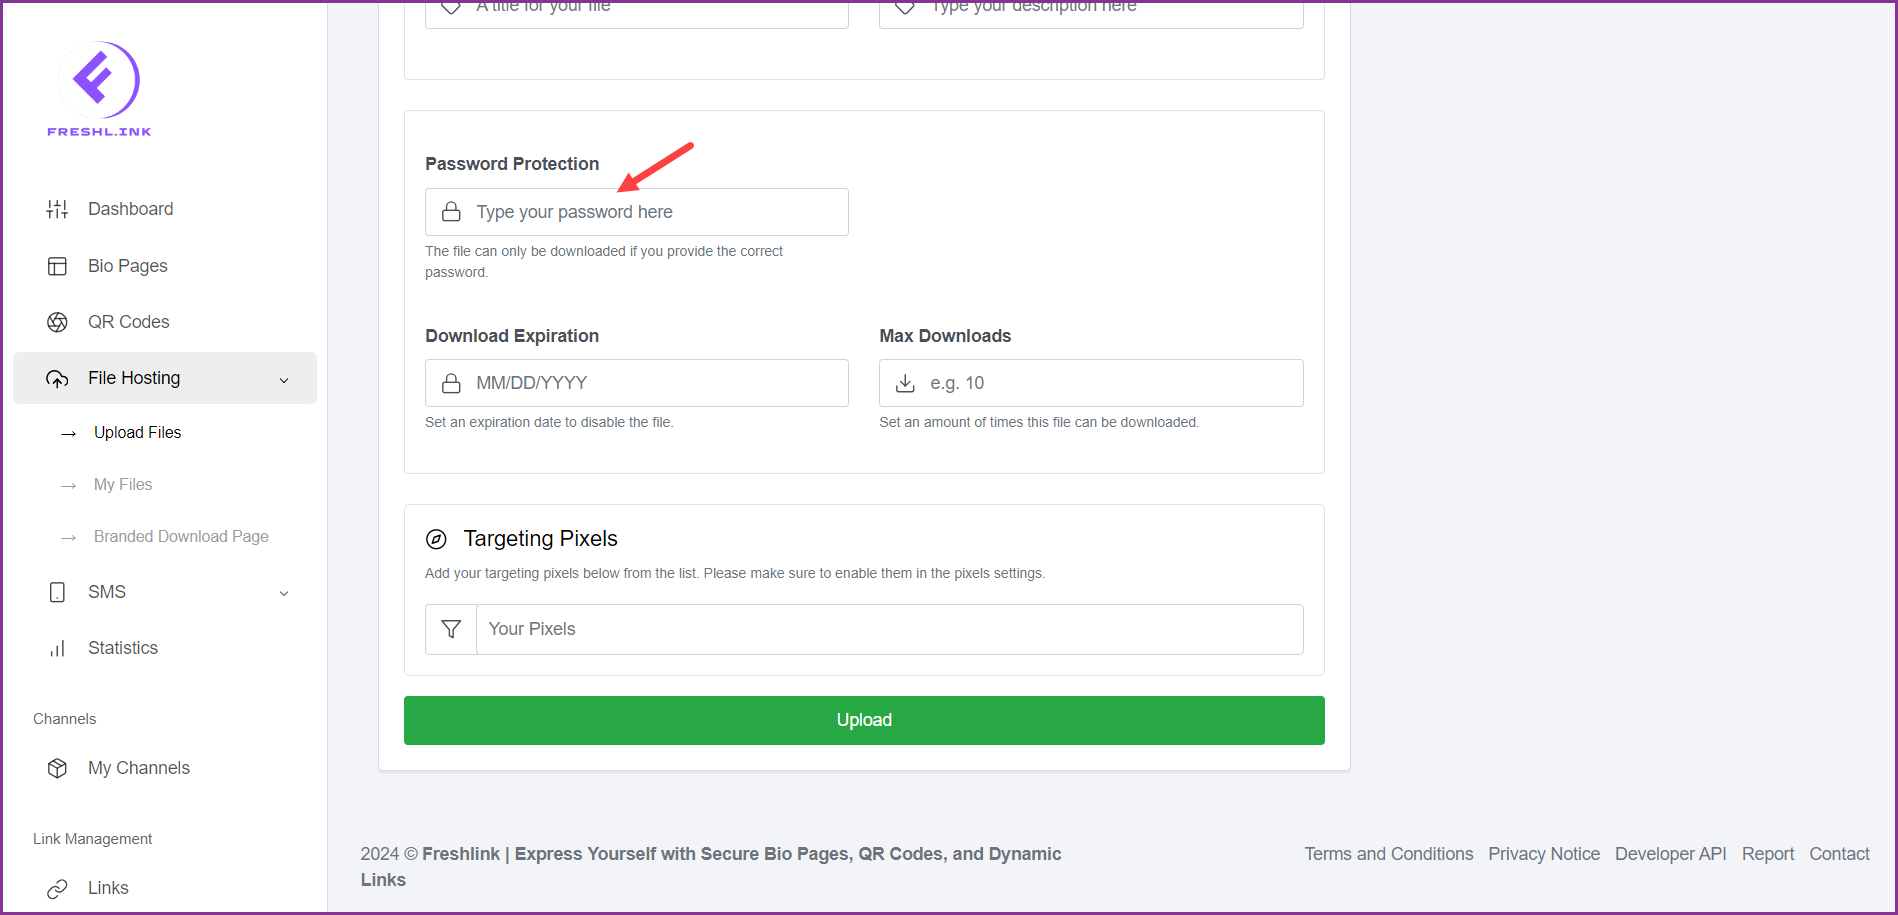
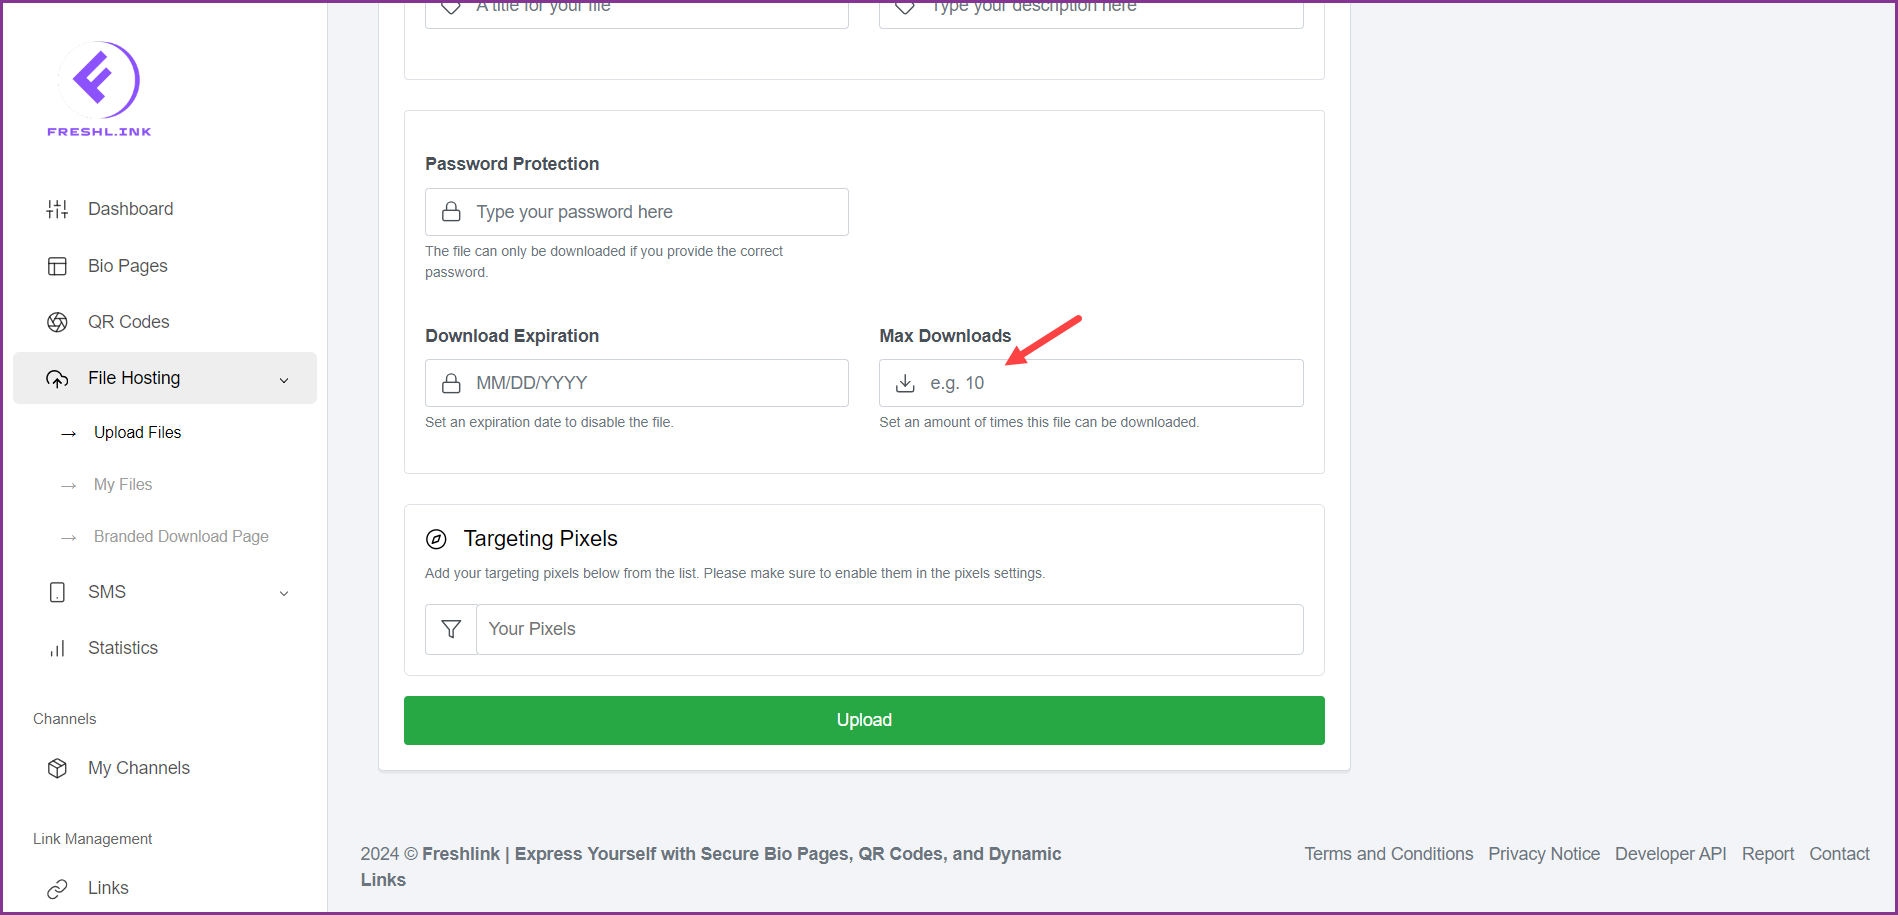
To restrict access to the file, enter a password in the Password Protection field.
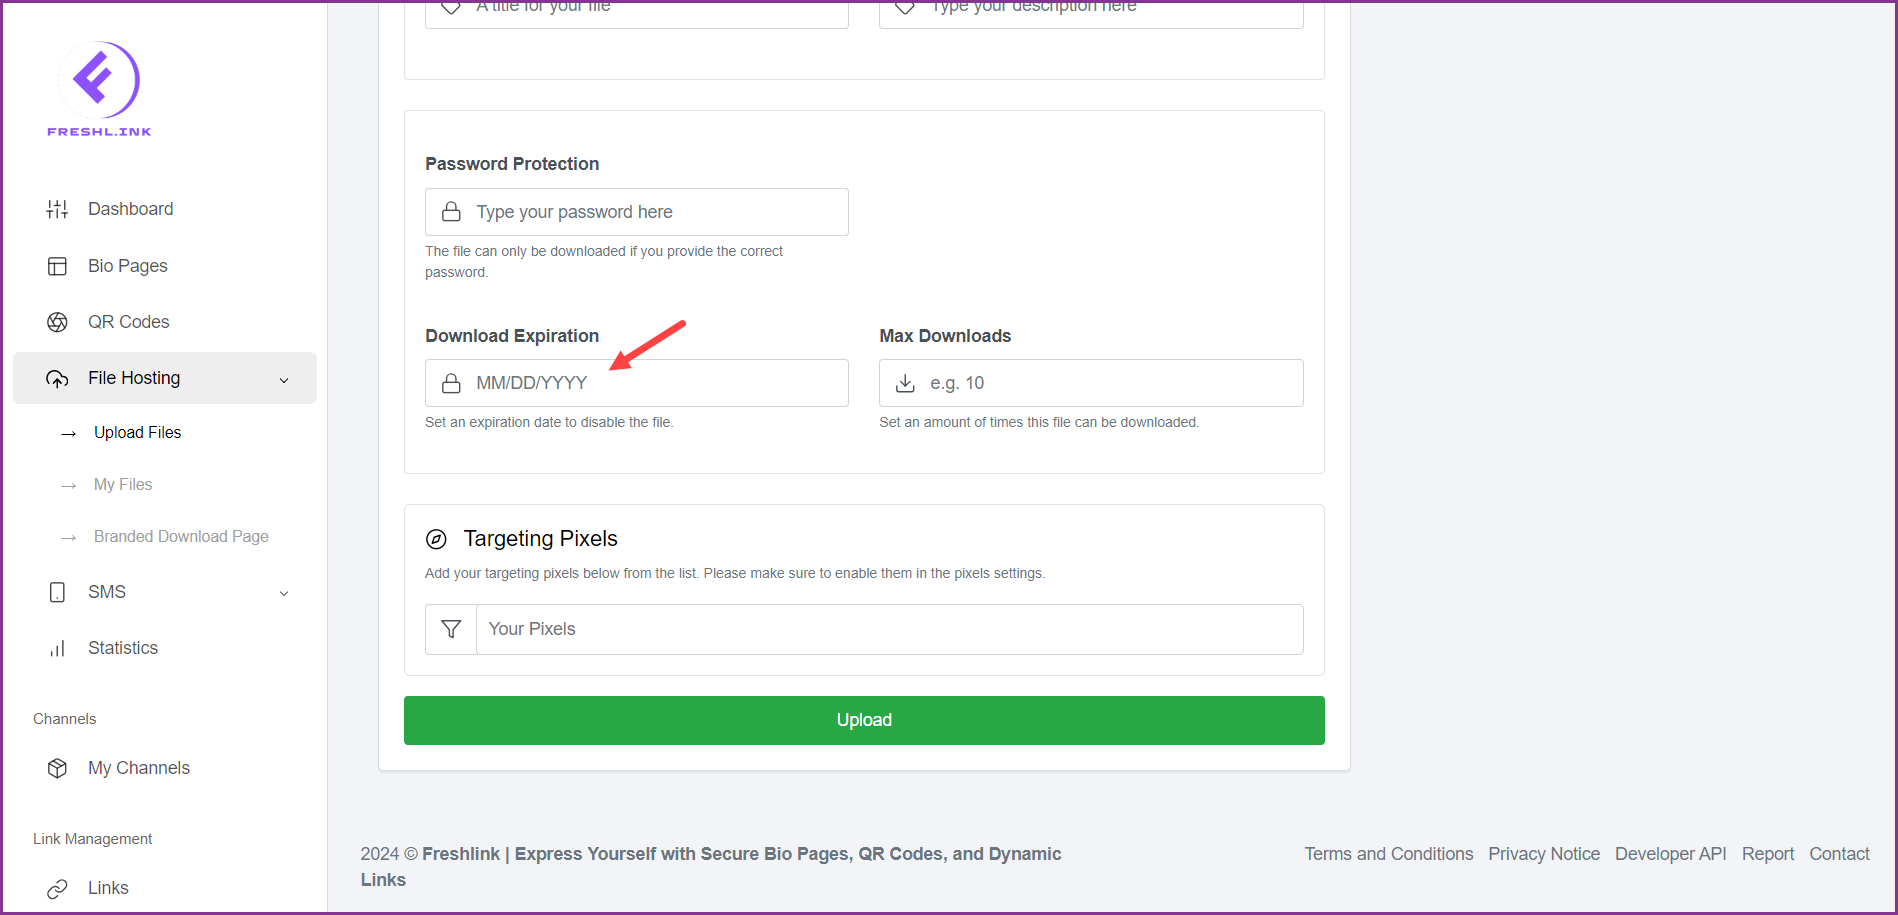
Choose a date of expiry for the file using the Download Expiration date selector.
To set a limit on downloads, enter the maximum number of times it can be downloaded in the Max Downloads field.
To associate targeting pixels with the file, select the pixels from the Targeting Pixels dropdown.
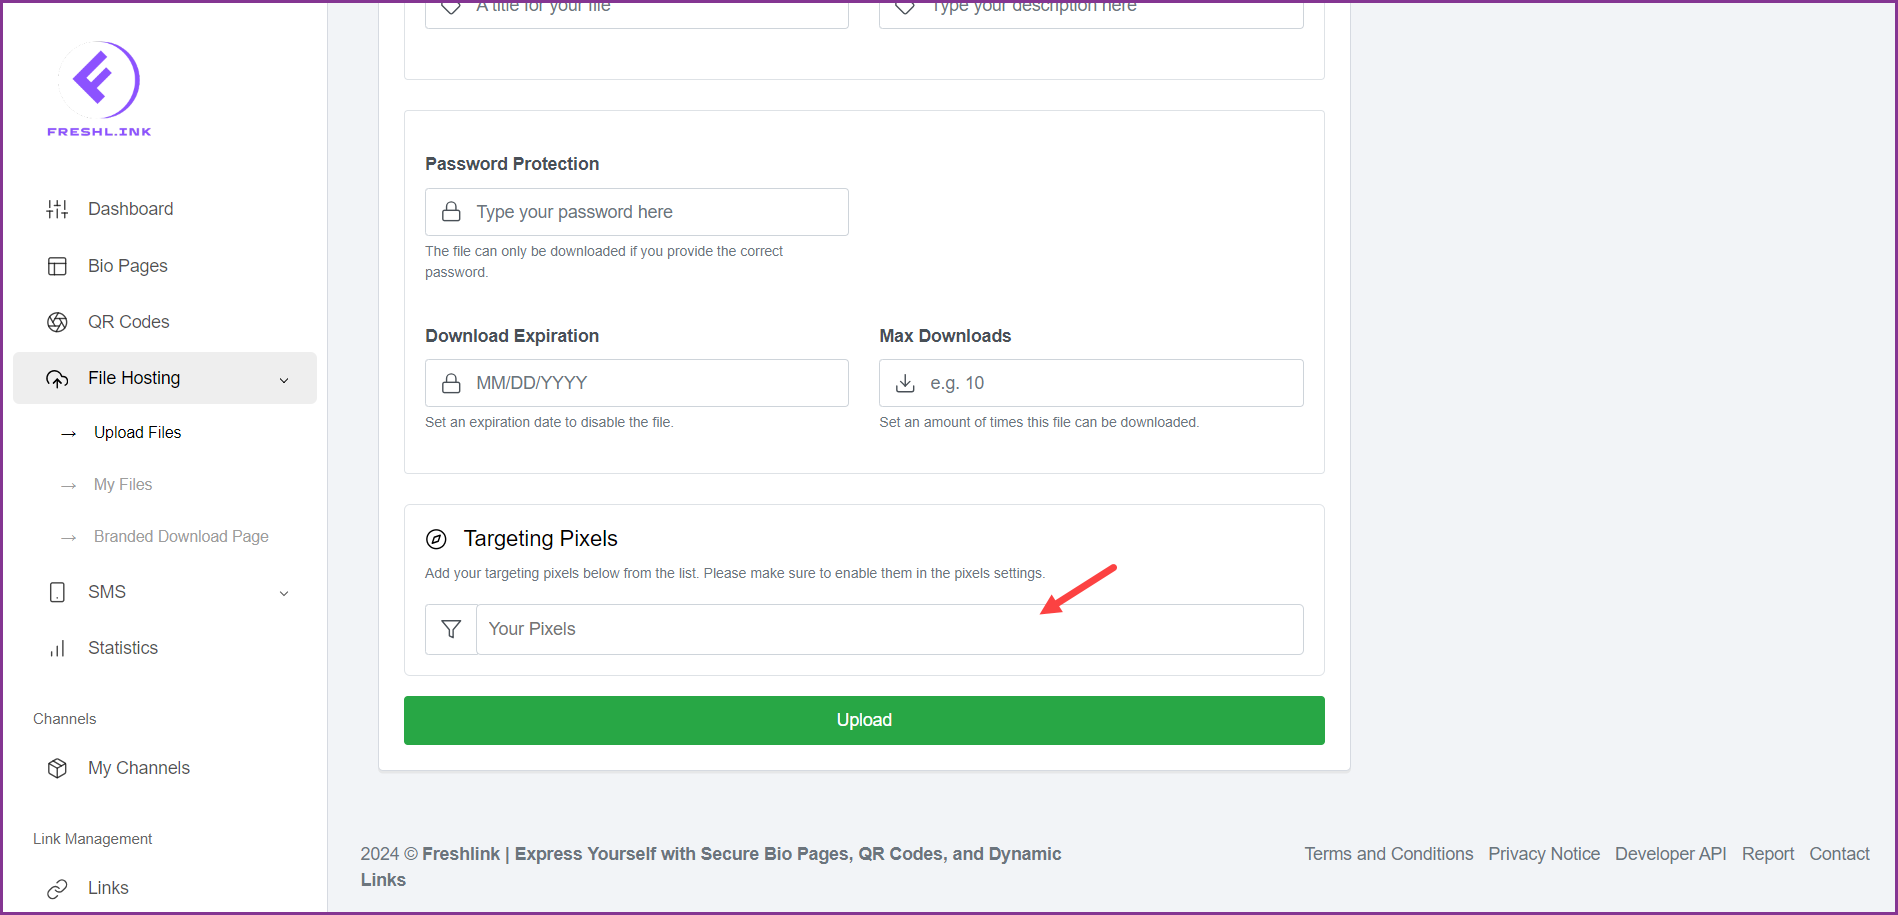
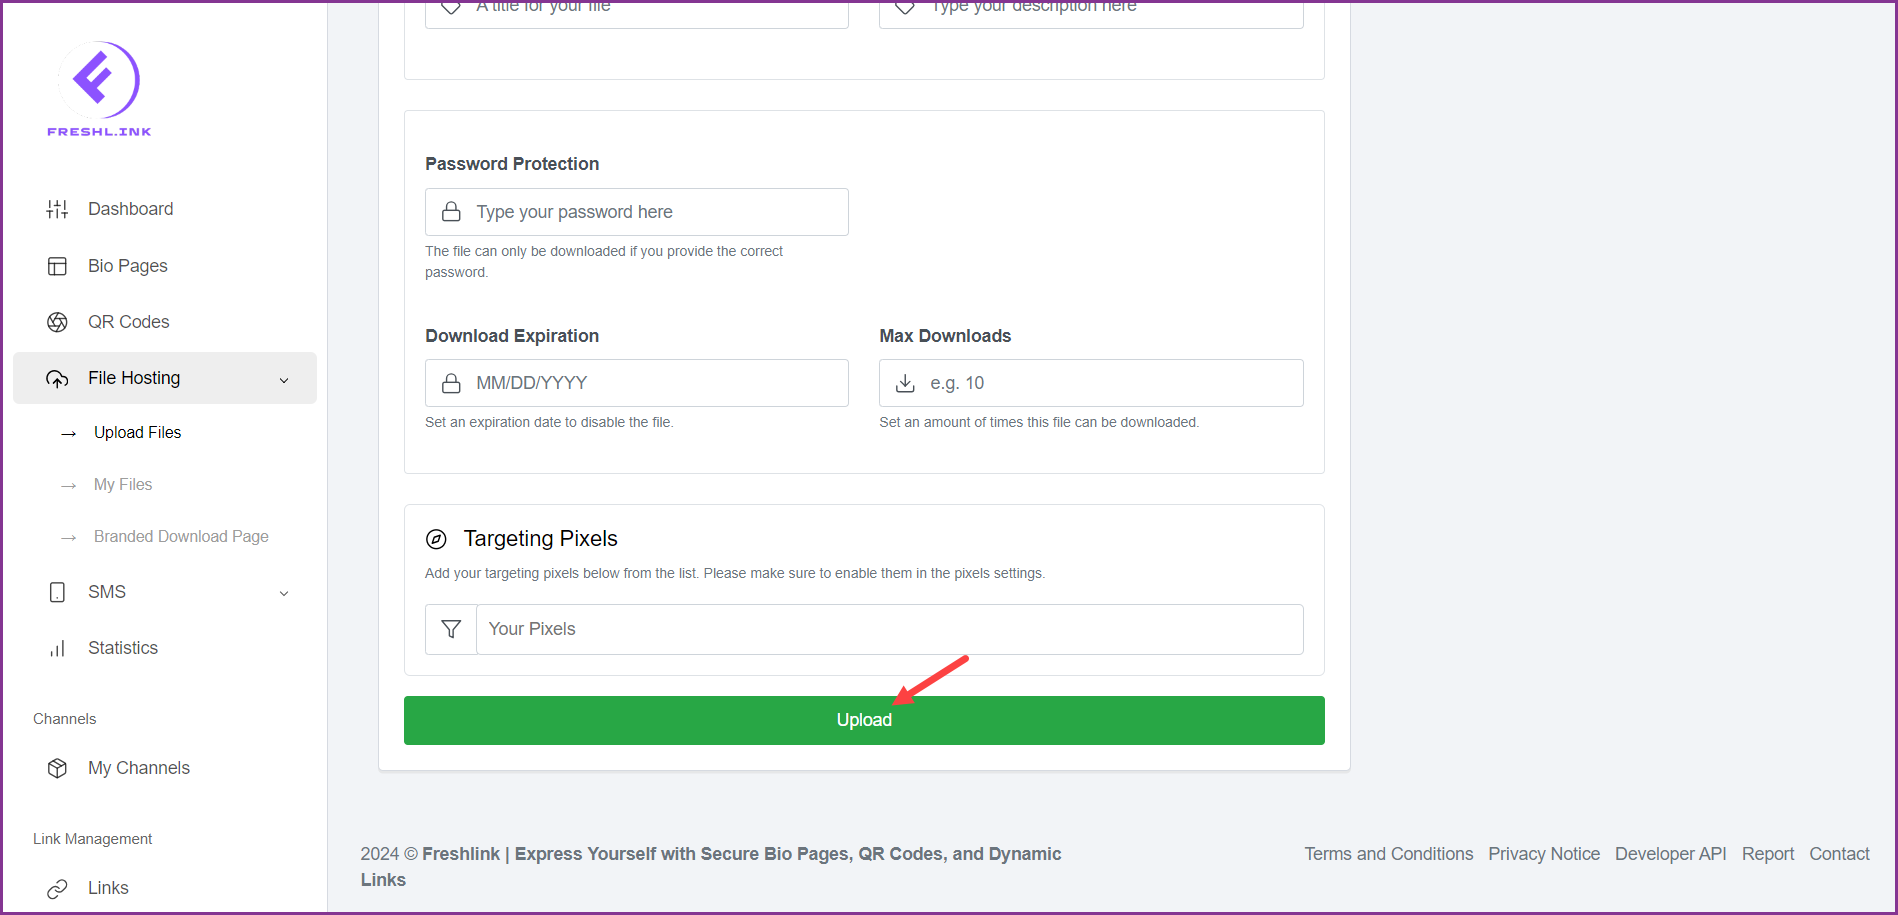
Once the required selections are made, click the  button.
