Freshlink > Left Navigation Bar > Bio Pages
Follow the above-mentioned workflow to land on the Bio Pages screen.
To create a bio page, click the  button. Doing so opens the Create Bio popup.

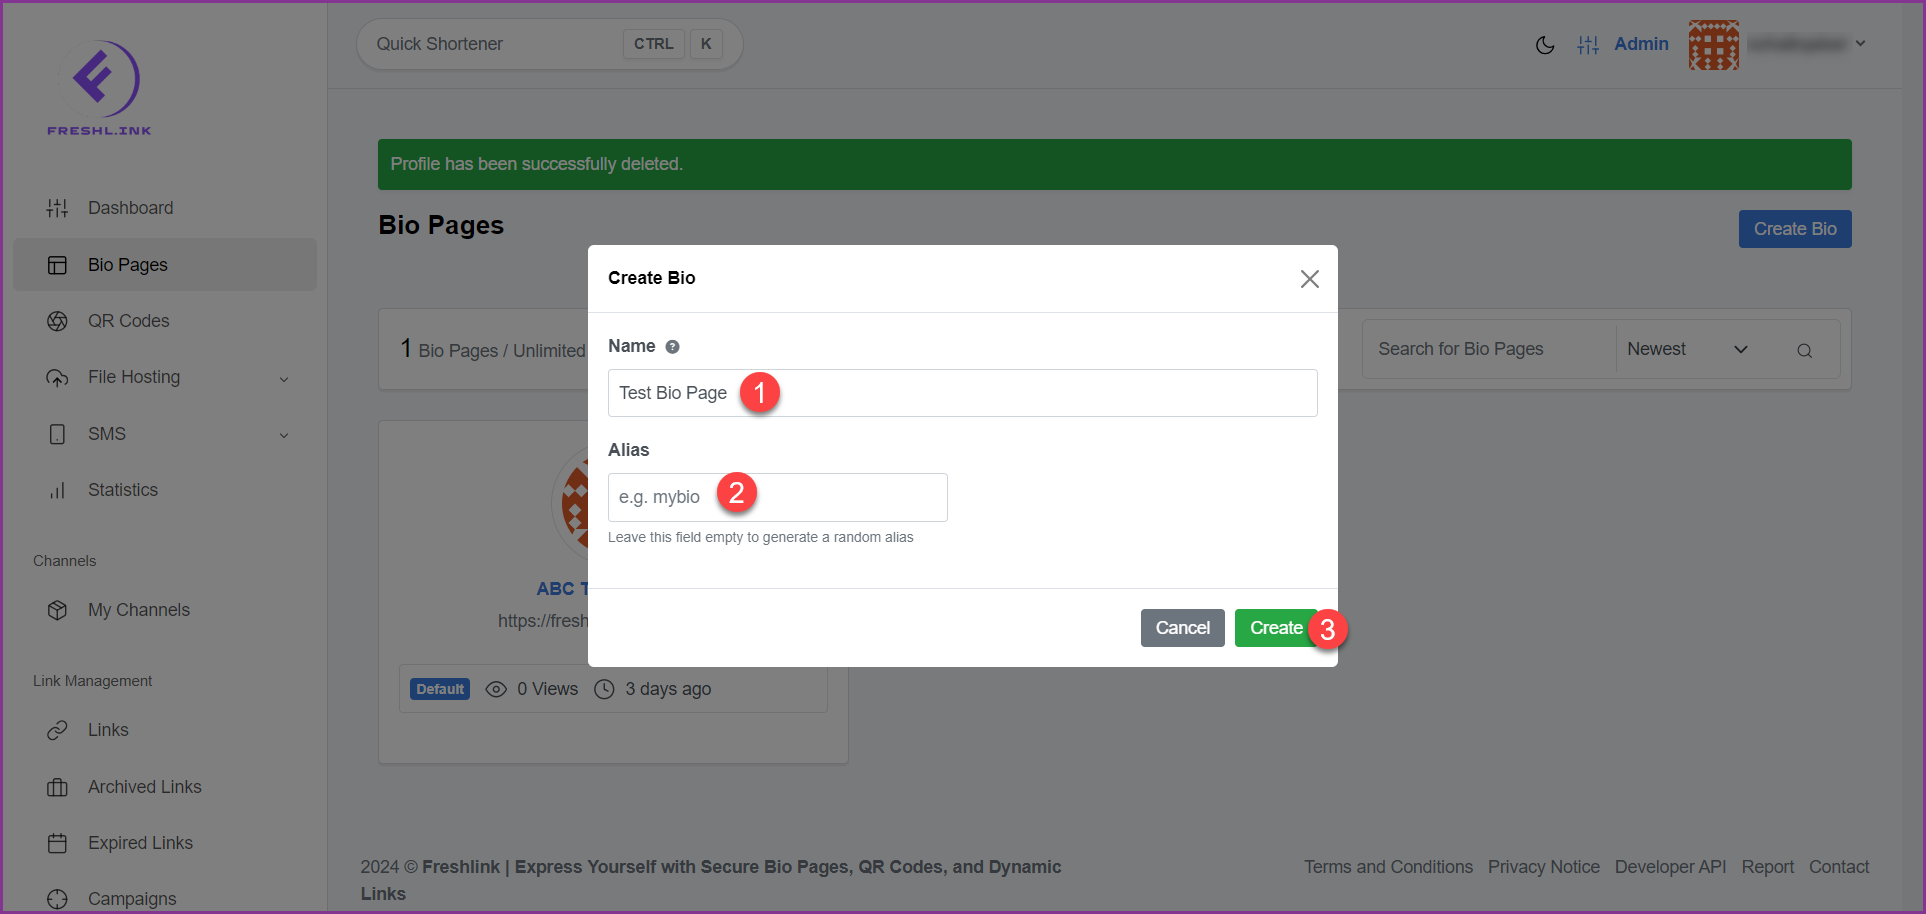
Here, enter the name of the bio page in the Name field.
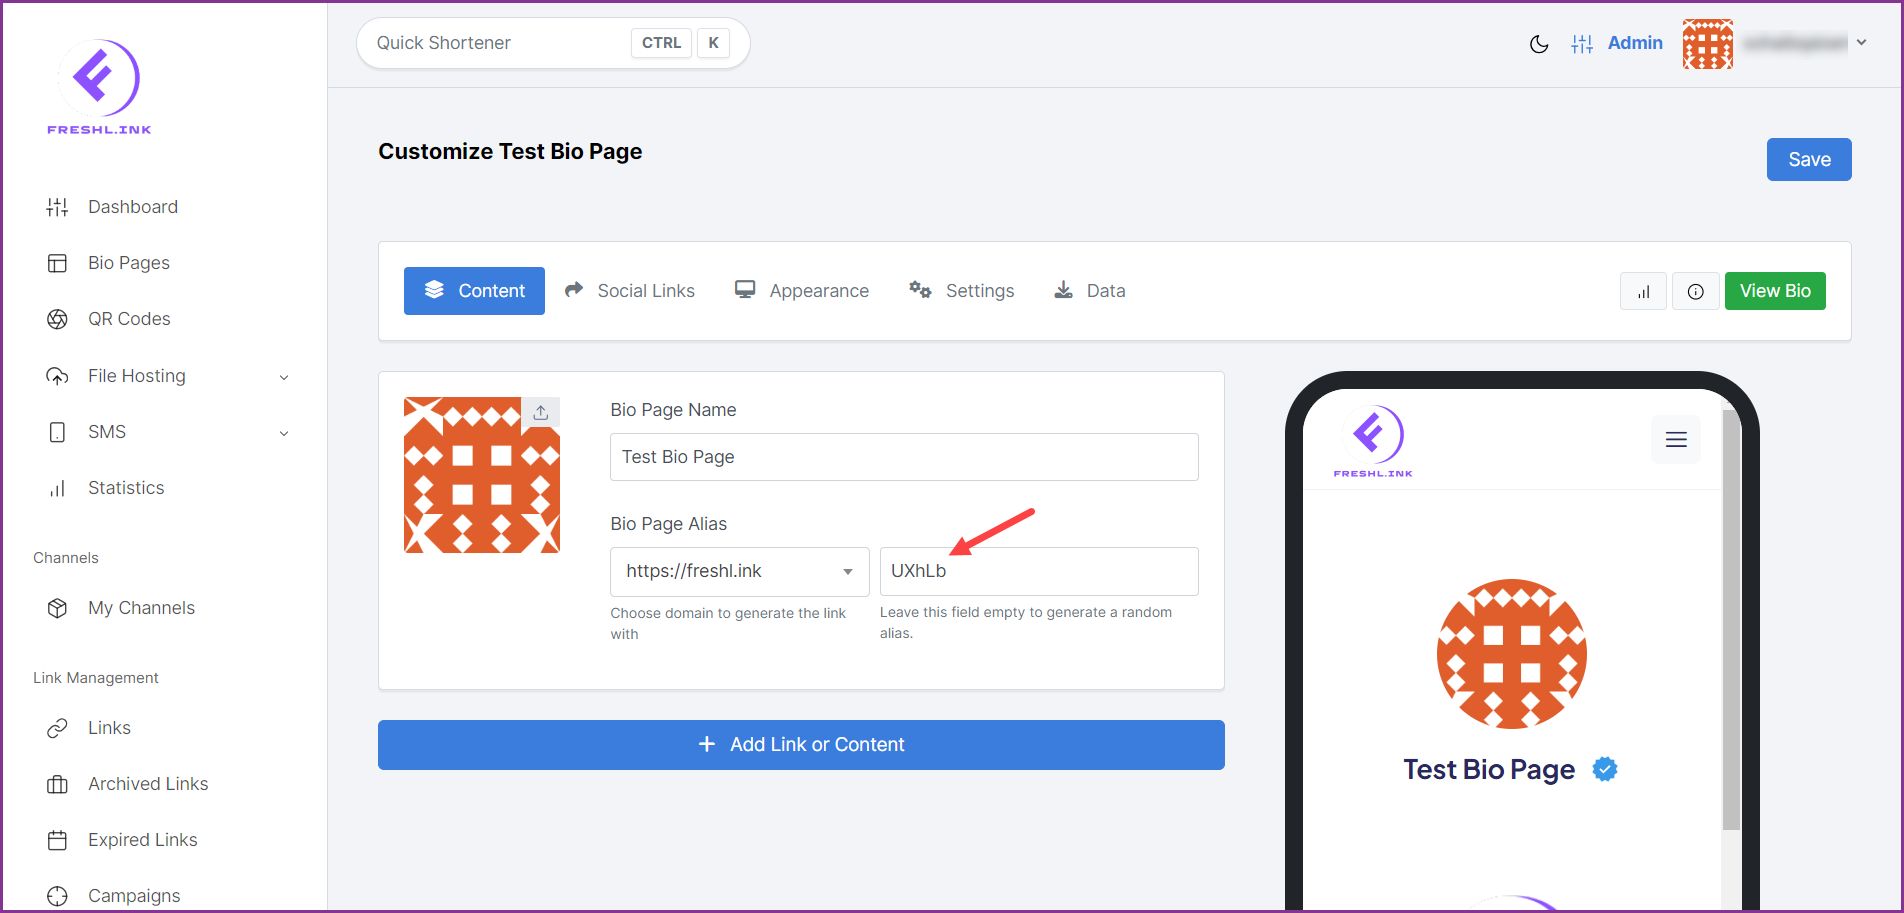
Use the Alias field to set an alias for the bio page. In case you want to generate a random alias, leave this field empty.
Once the required information is filled, click the  button. This creates the bio page and opens the customization screen where you can customize the created bio page using 5 sections namely Content, Social Links, Appearance, Settings, and Data.
By default, the Content section is displayed.
Content
In this section, the name you have set for the bio page is populated in the Bio Page Name field.
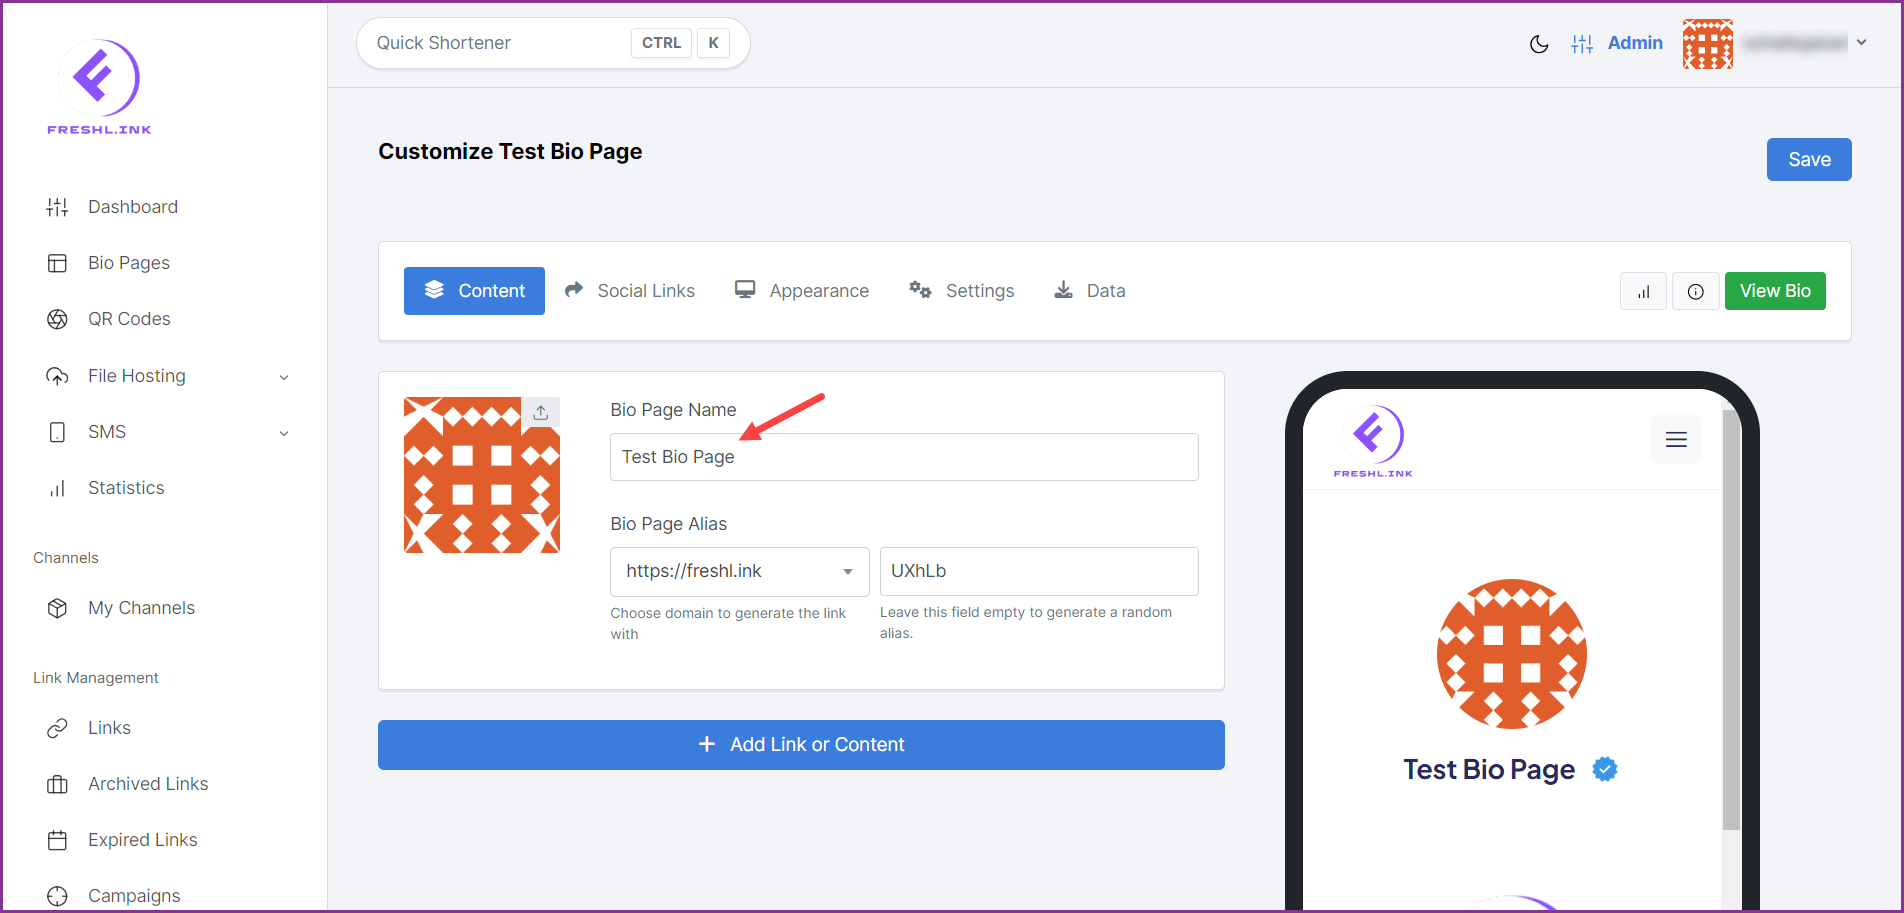
Select the domain to generate the bio page link with using the Domain dropdown.
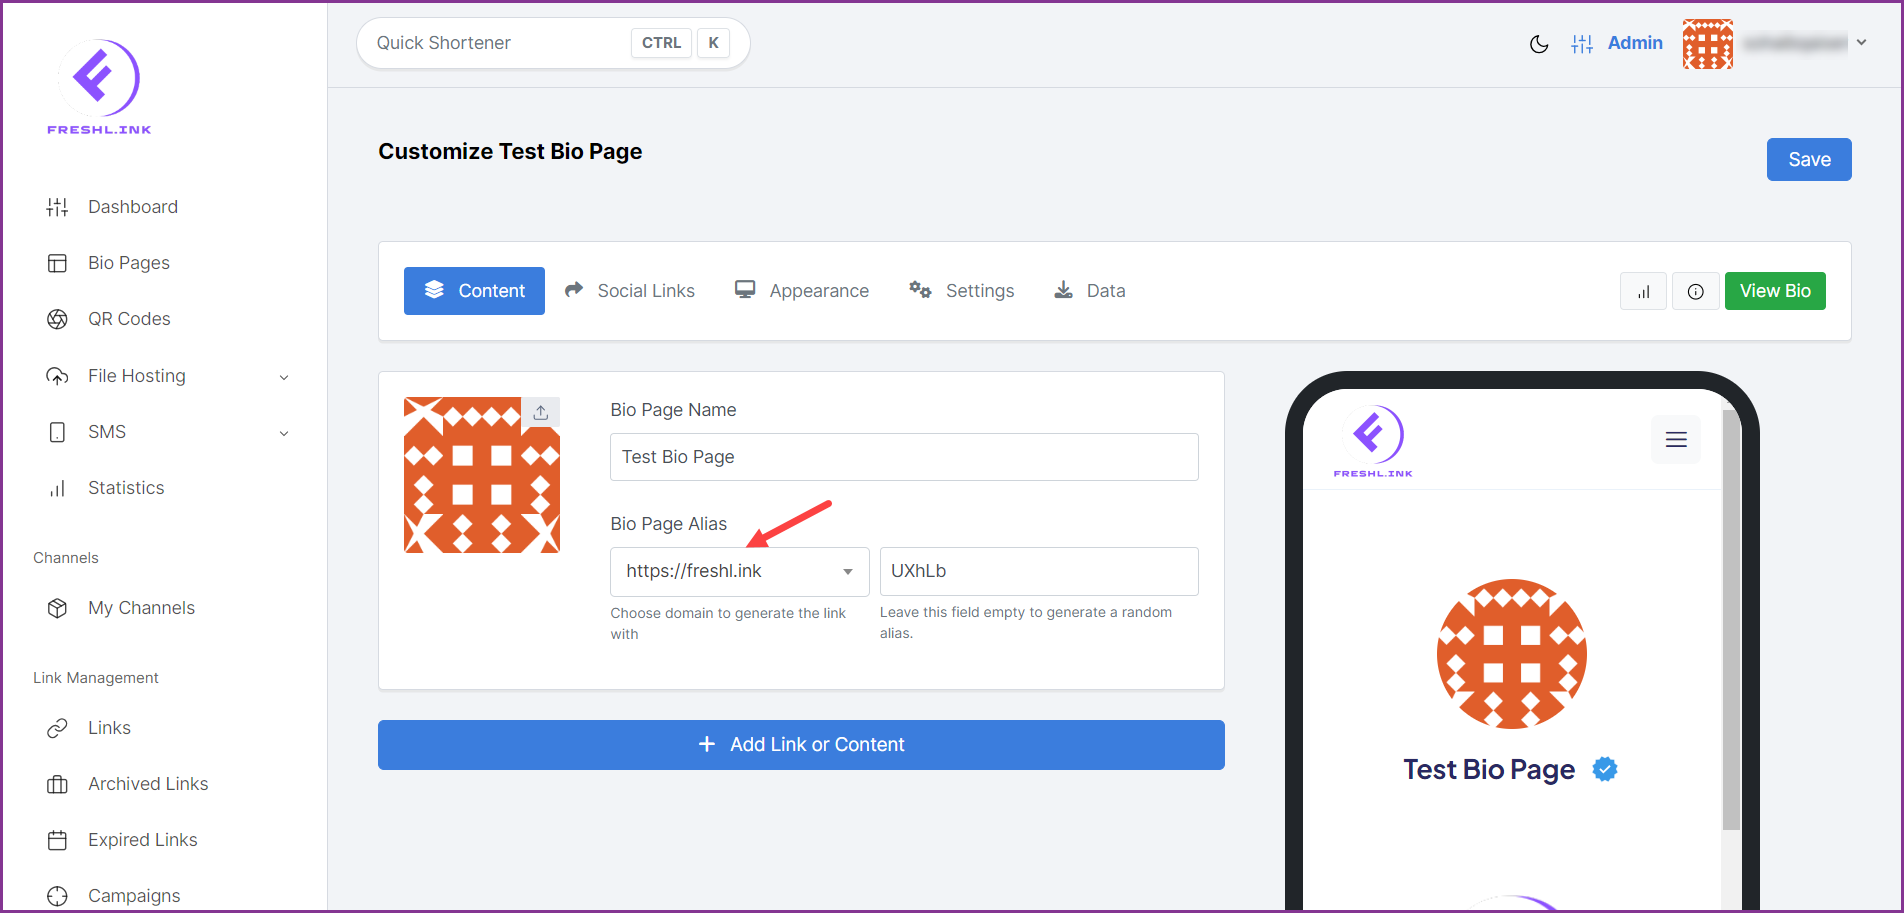
The alias appears in the Alias field.
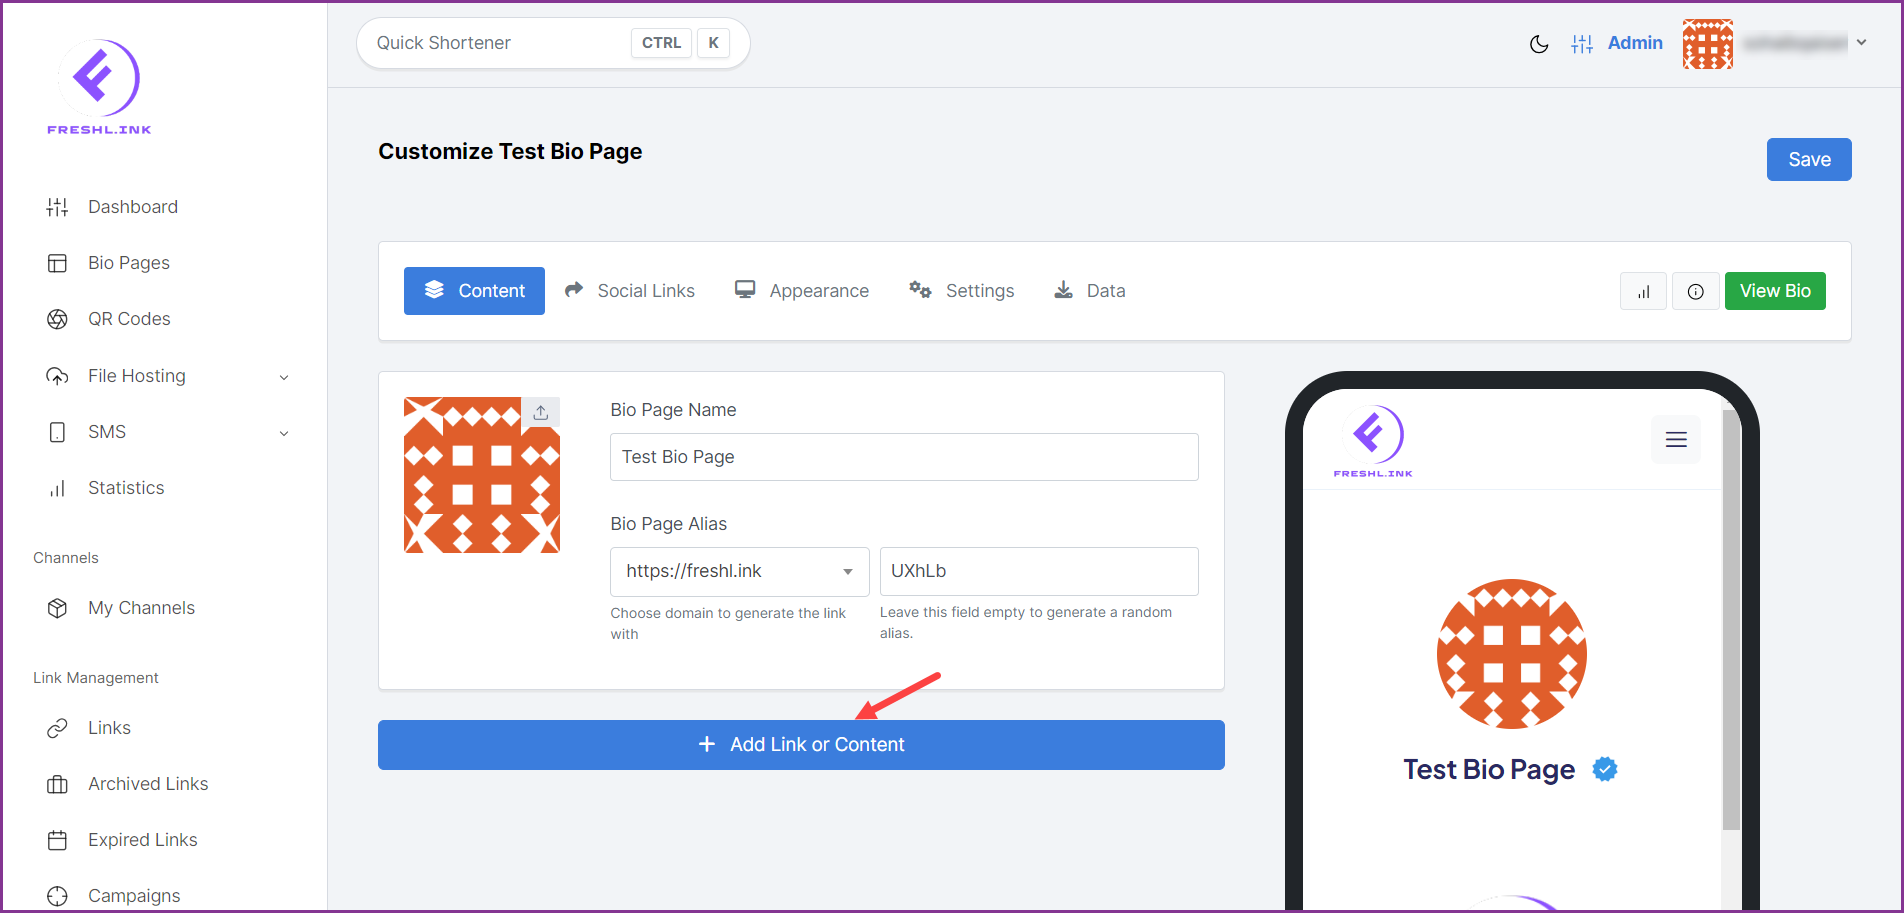
To add link or content, click the  button. This opens the content window.
Here, choose the content or widget you want to add to the bio page.
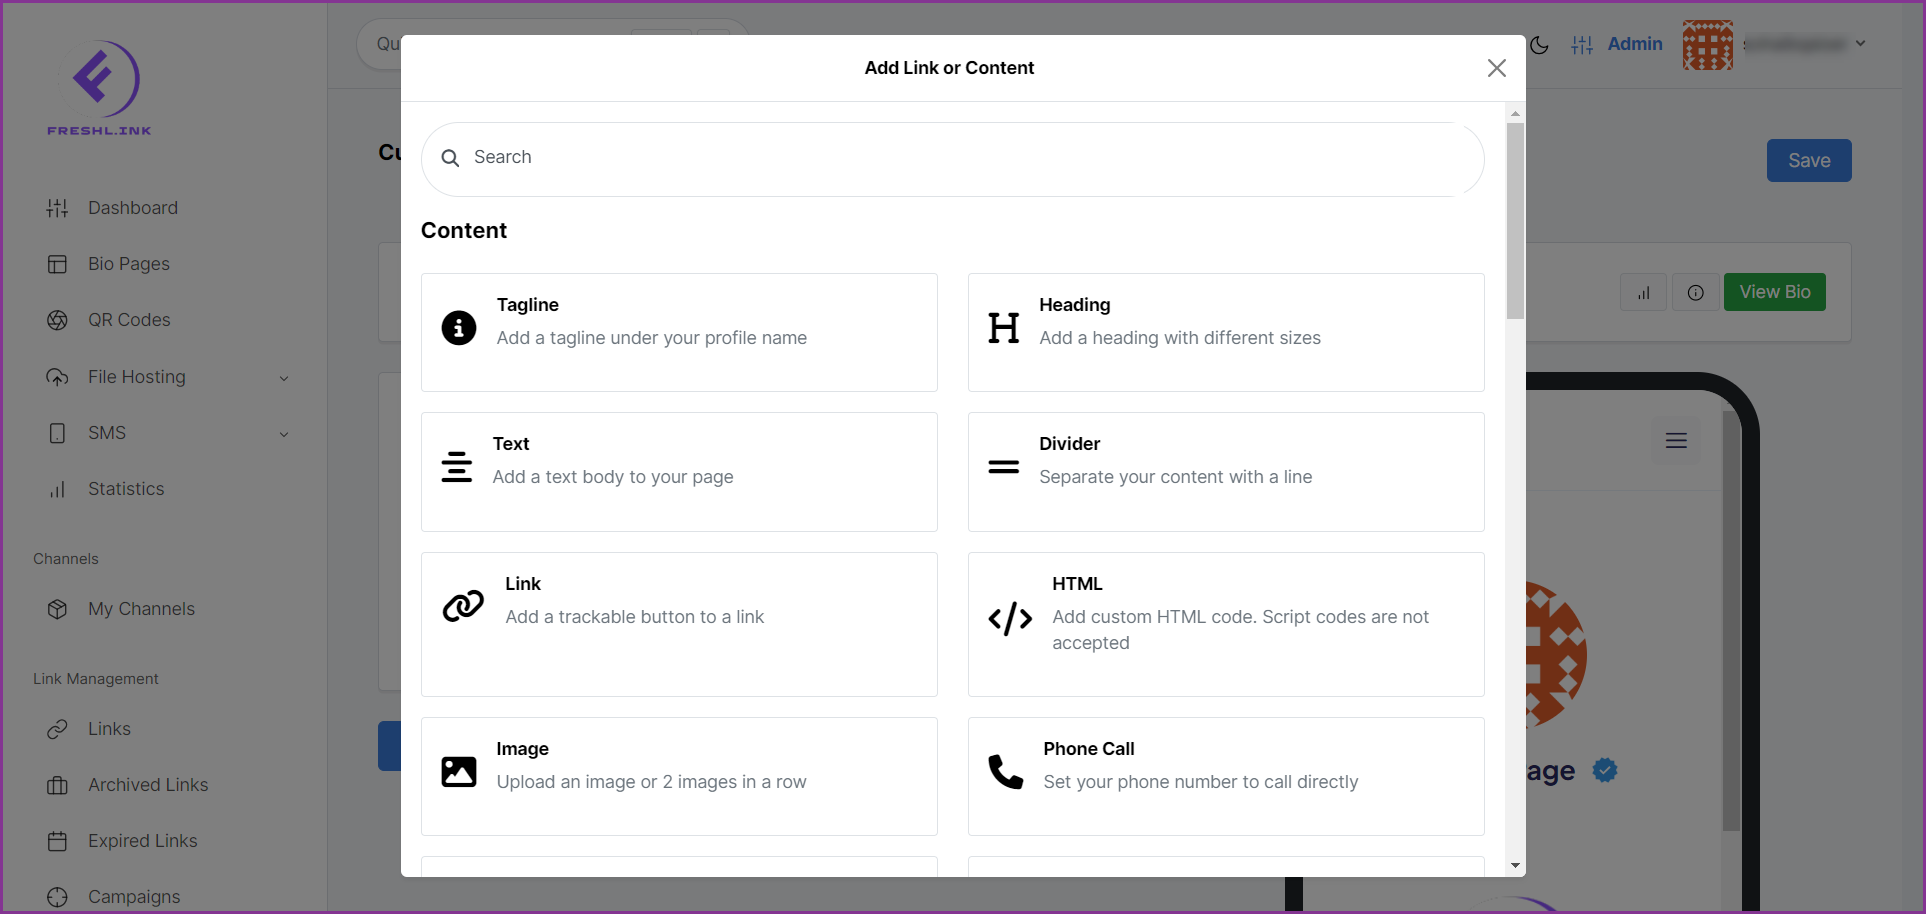
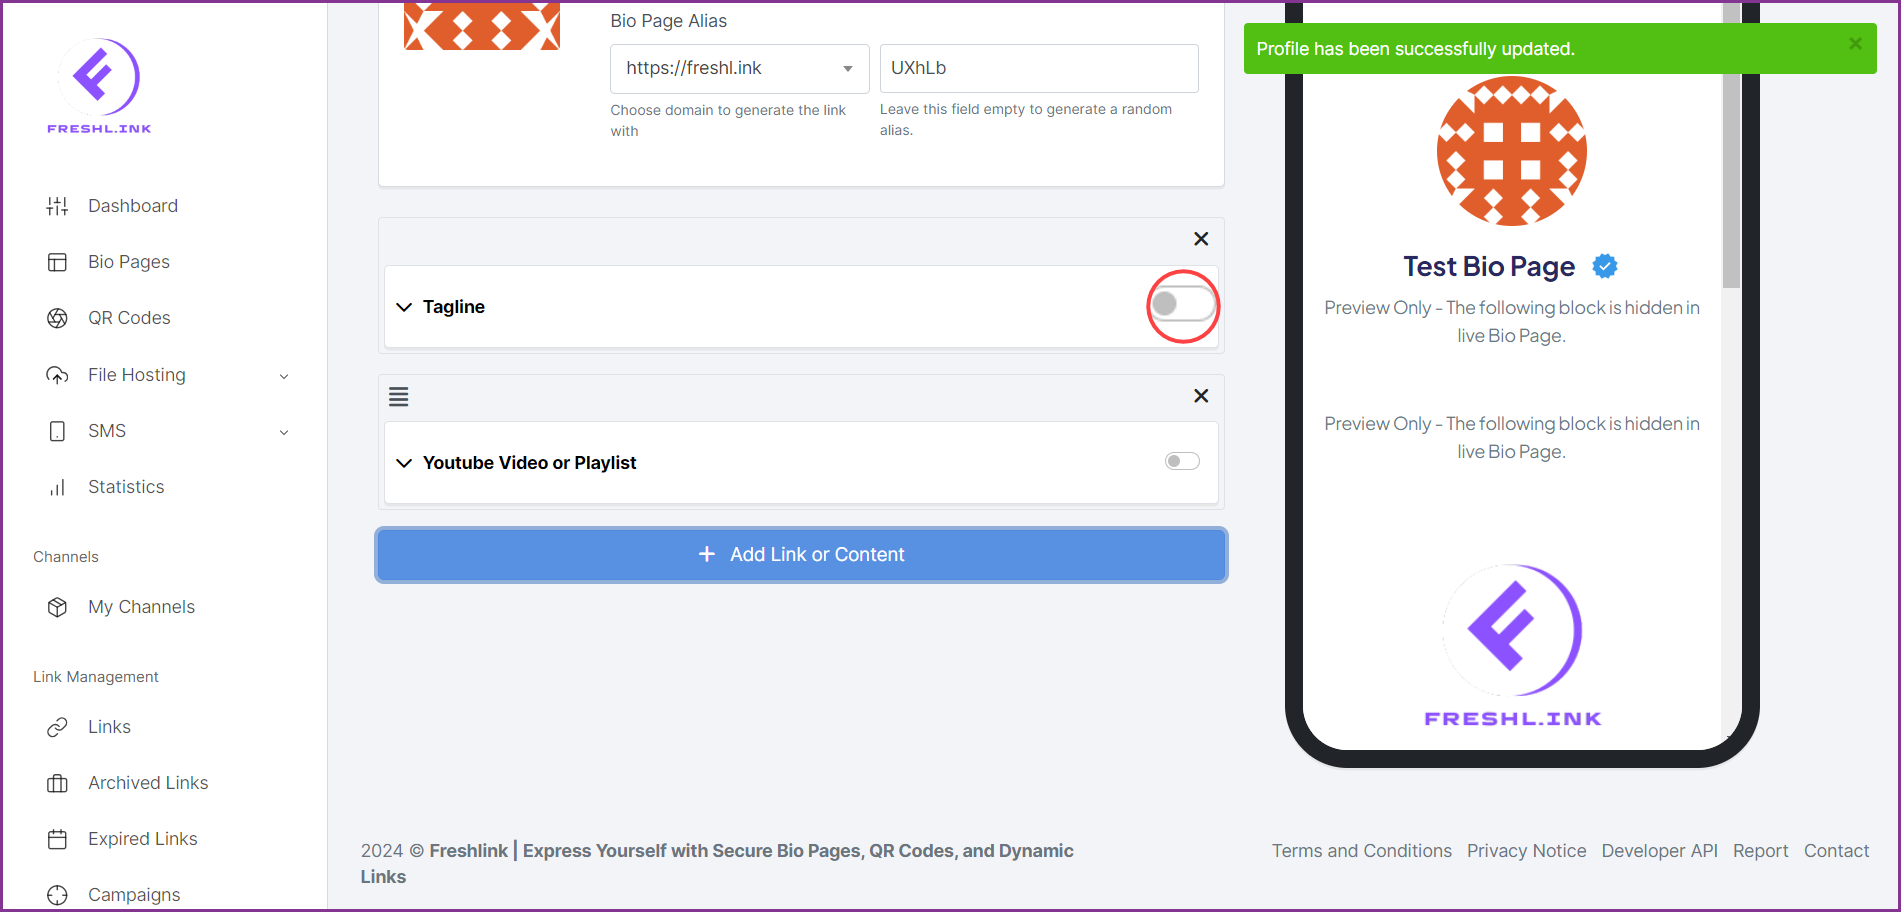
As a selection is made, the selected content/widget appears on the bio page preview as well as a slider that you can enable/disable or configure.
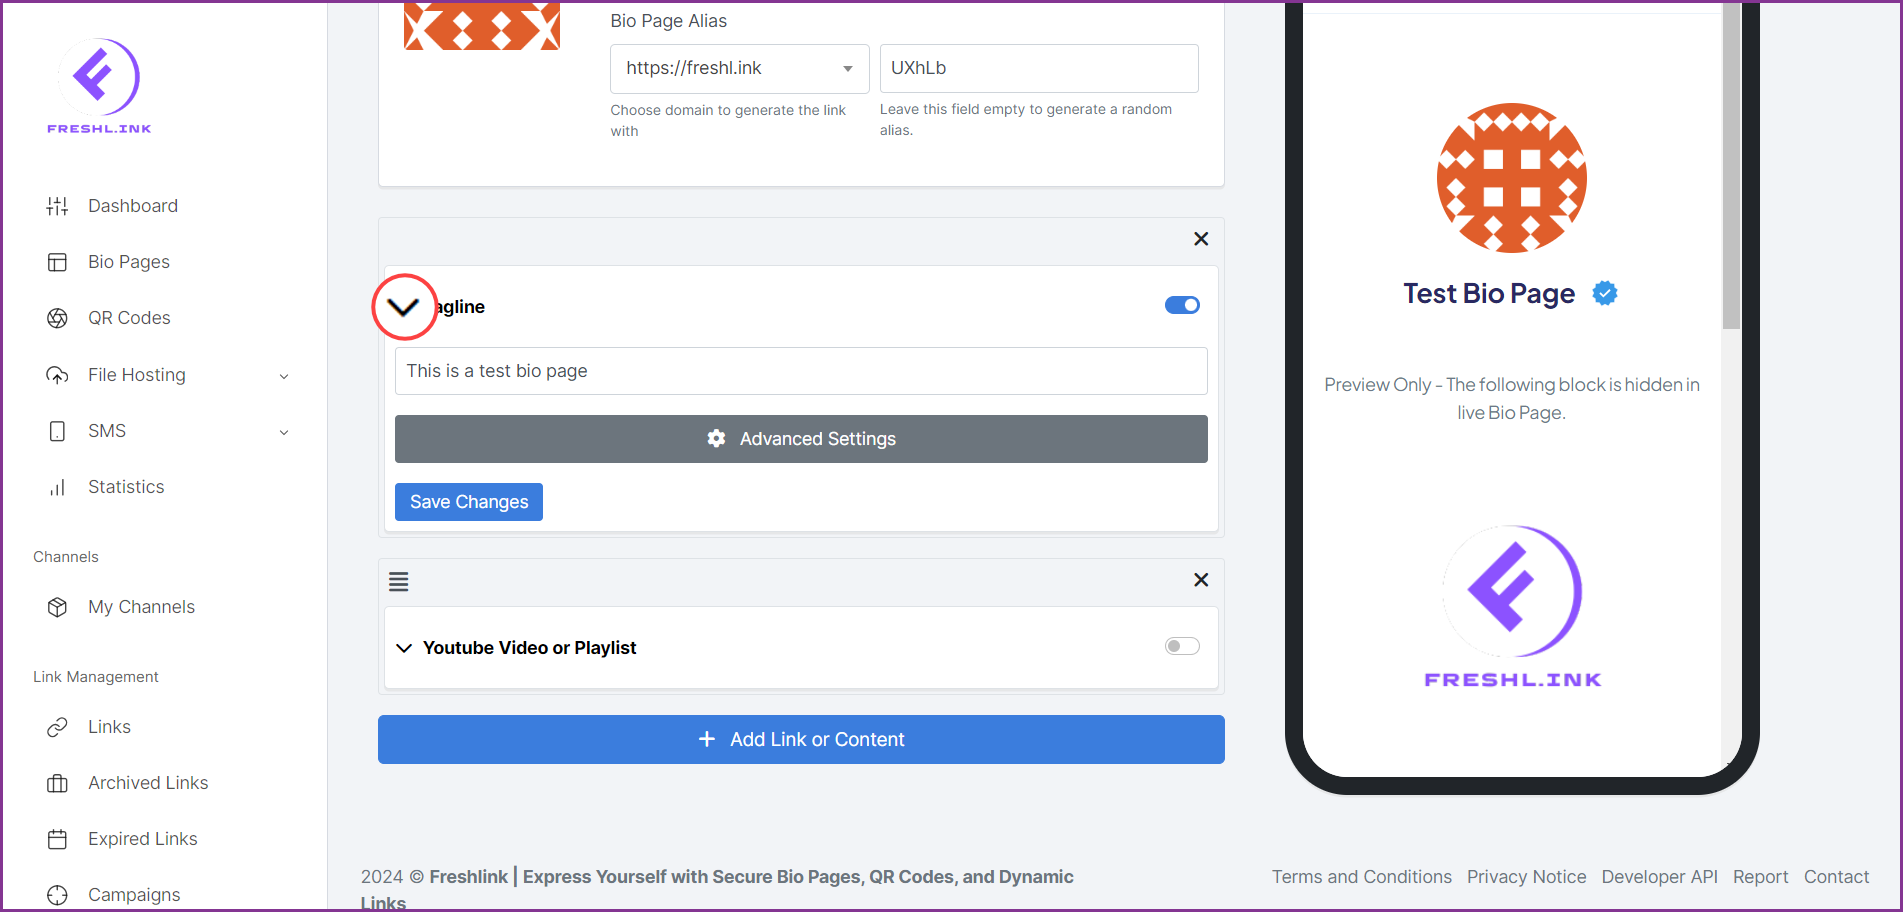
To enable a content or widget, enable the corresponding toggle button.
Clicking the downward arrow expands the section for you to configure the added content/widget.
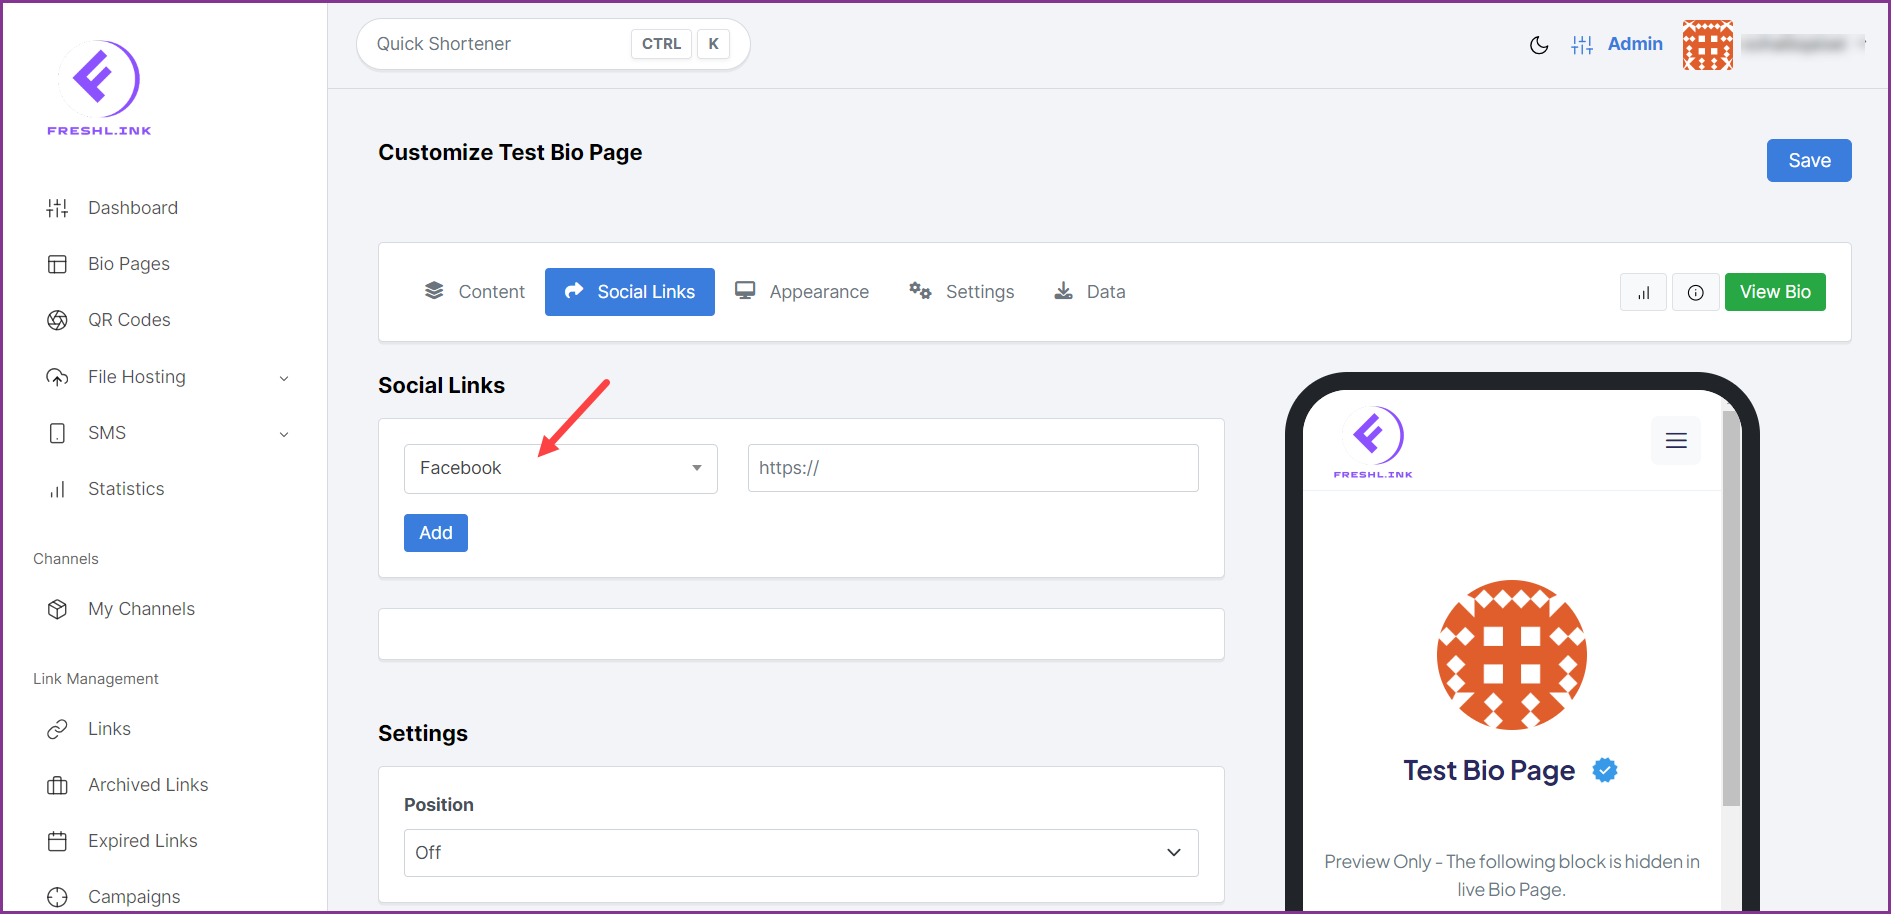
Social Links
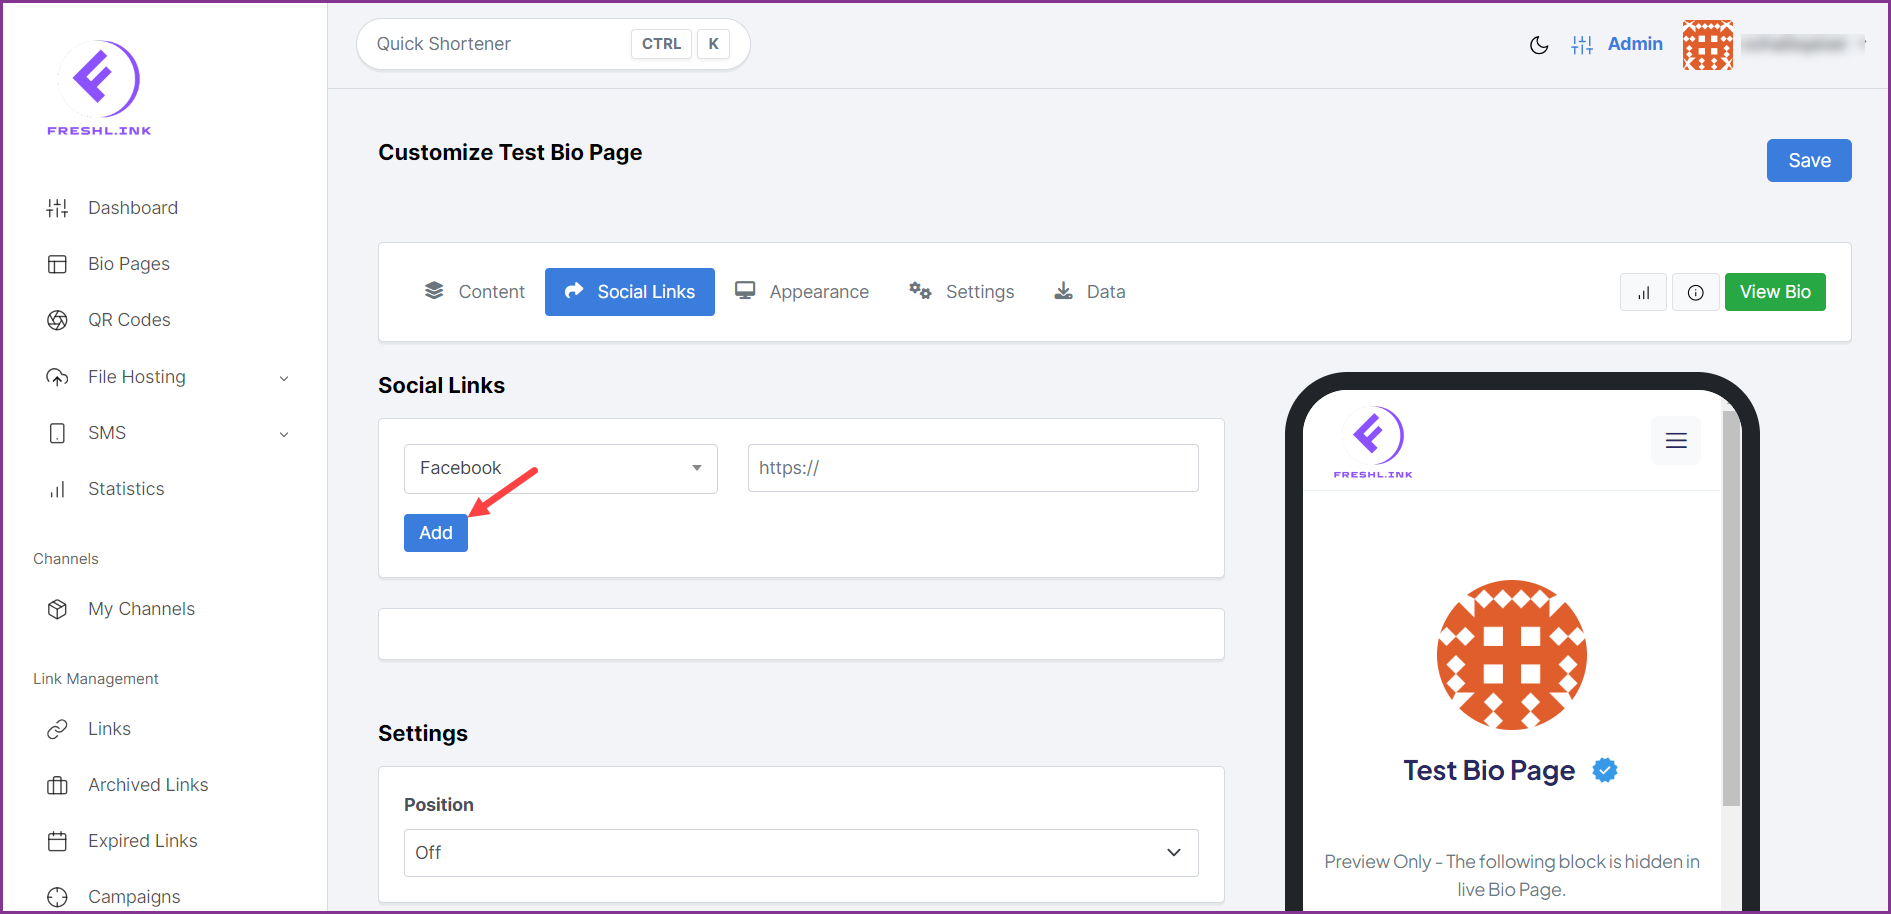
In this section, use the social media dropdown to select the platform for which you want to add the link to the bio page.
Once selected, paste the link in the corresponding field.
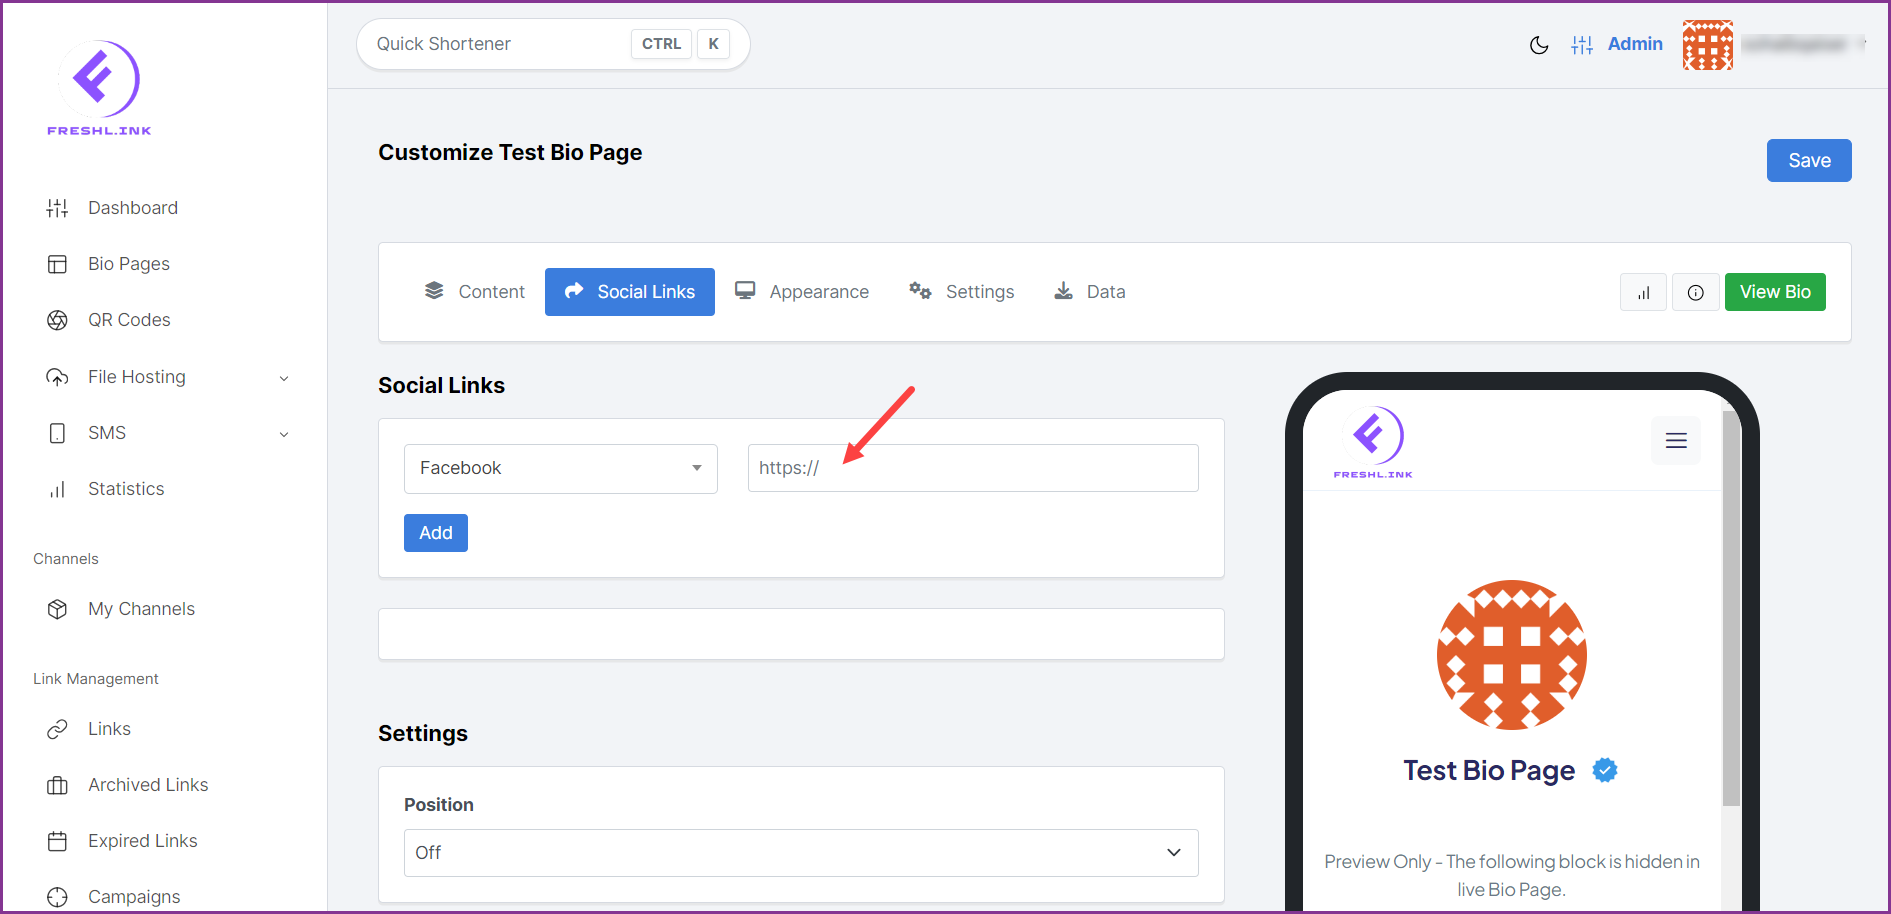
As the link is provided, click the  button.
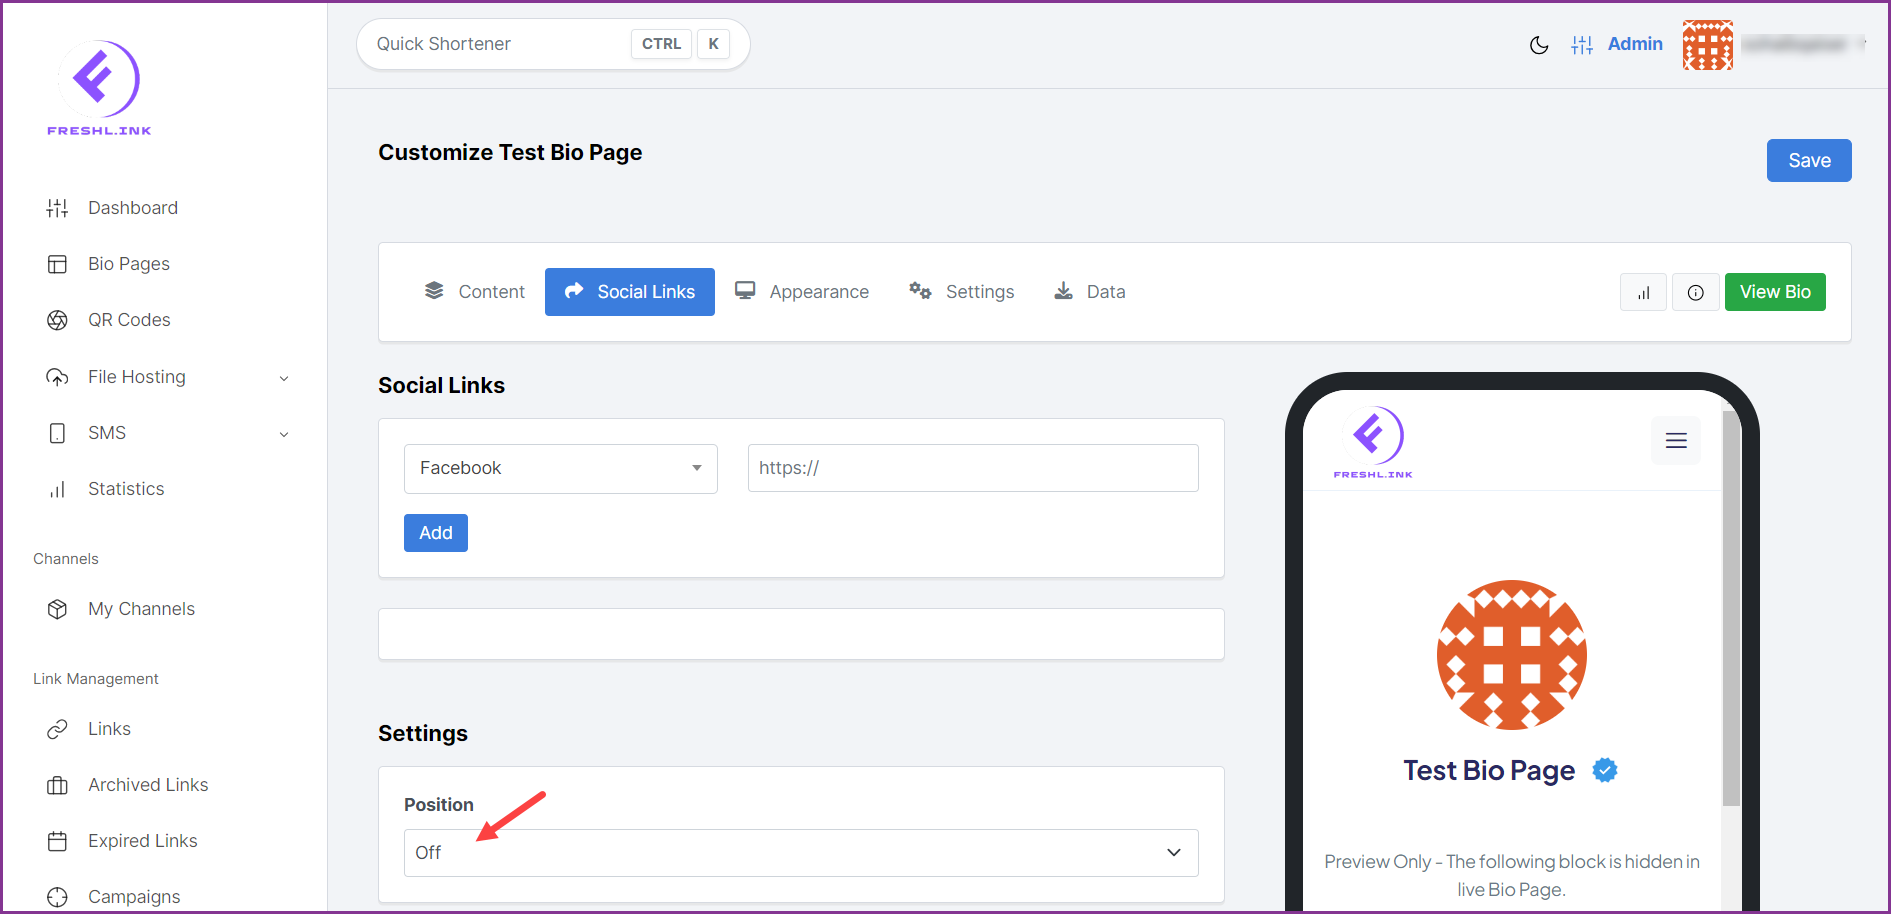
Use the Position dropdown under the Settings heading to set the position of the social link.
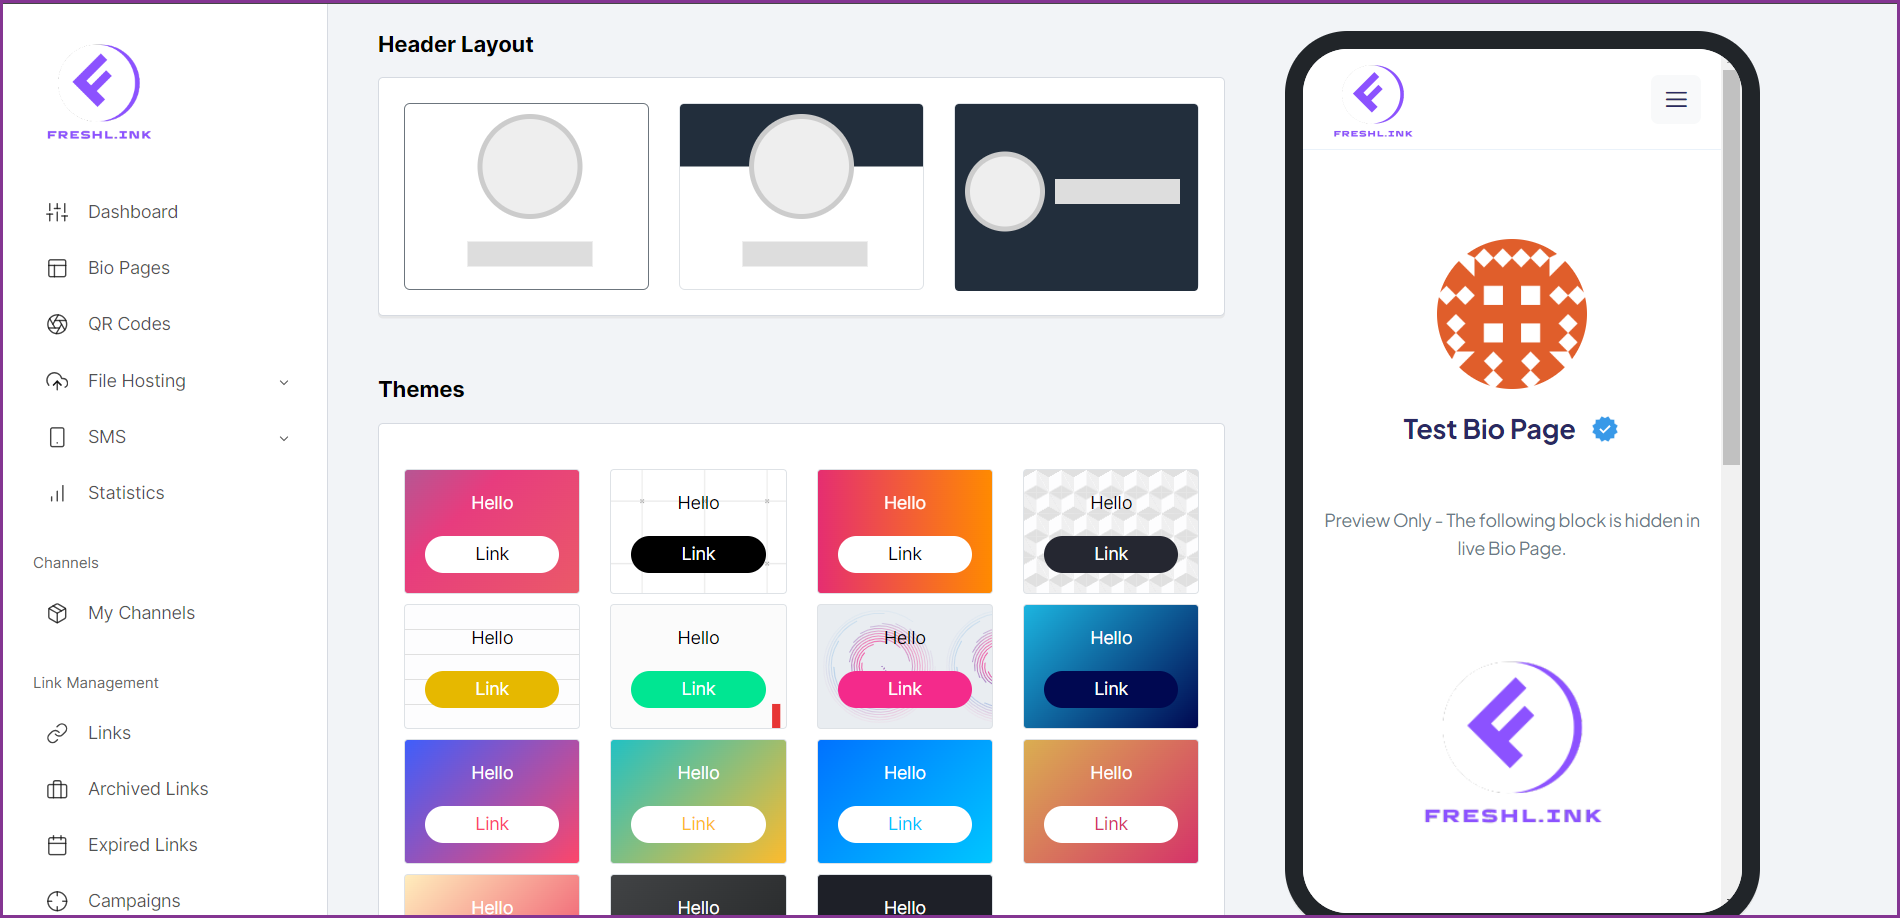
Appearance
The Appearance section allows you to select the Header Layout, Theme, Fonts, Custom Background colors, and Buttons colors for the whole page.
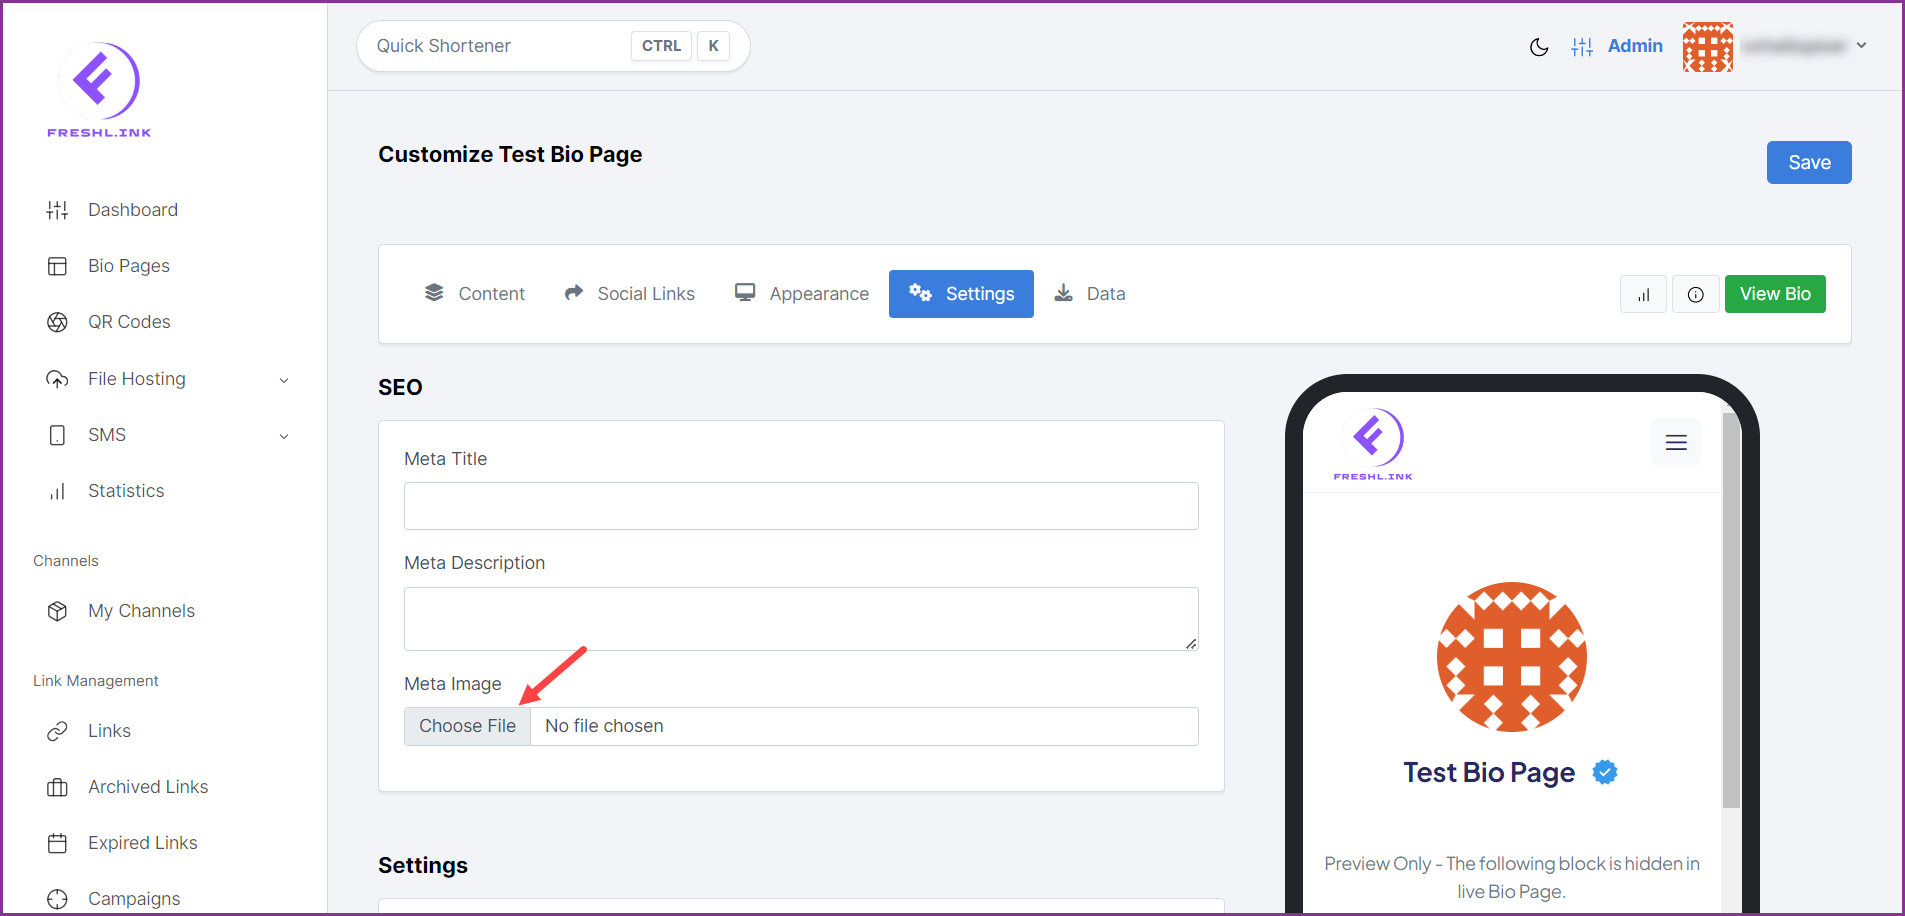
Settings
To include metadata, enter the title of the meta in the Meta Title field.
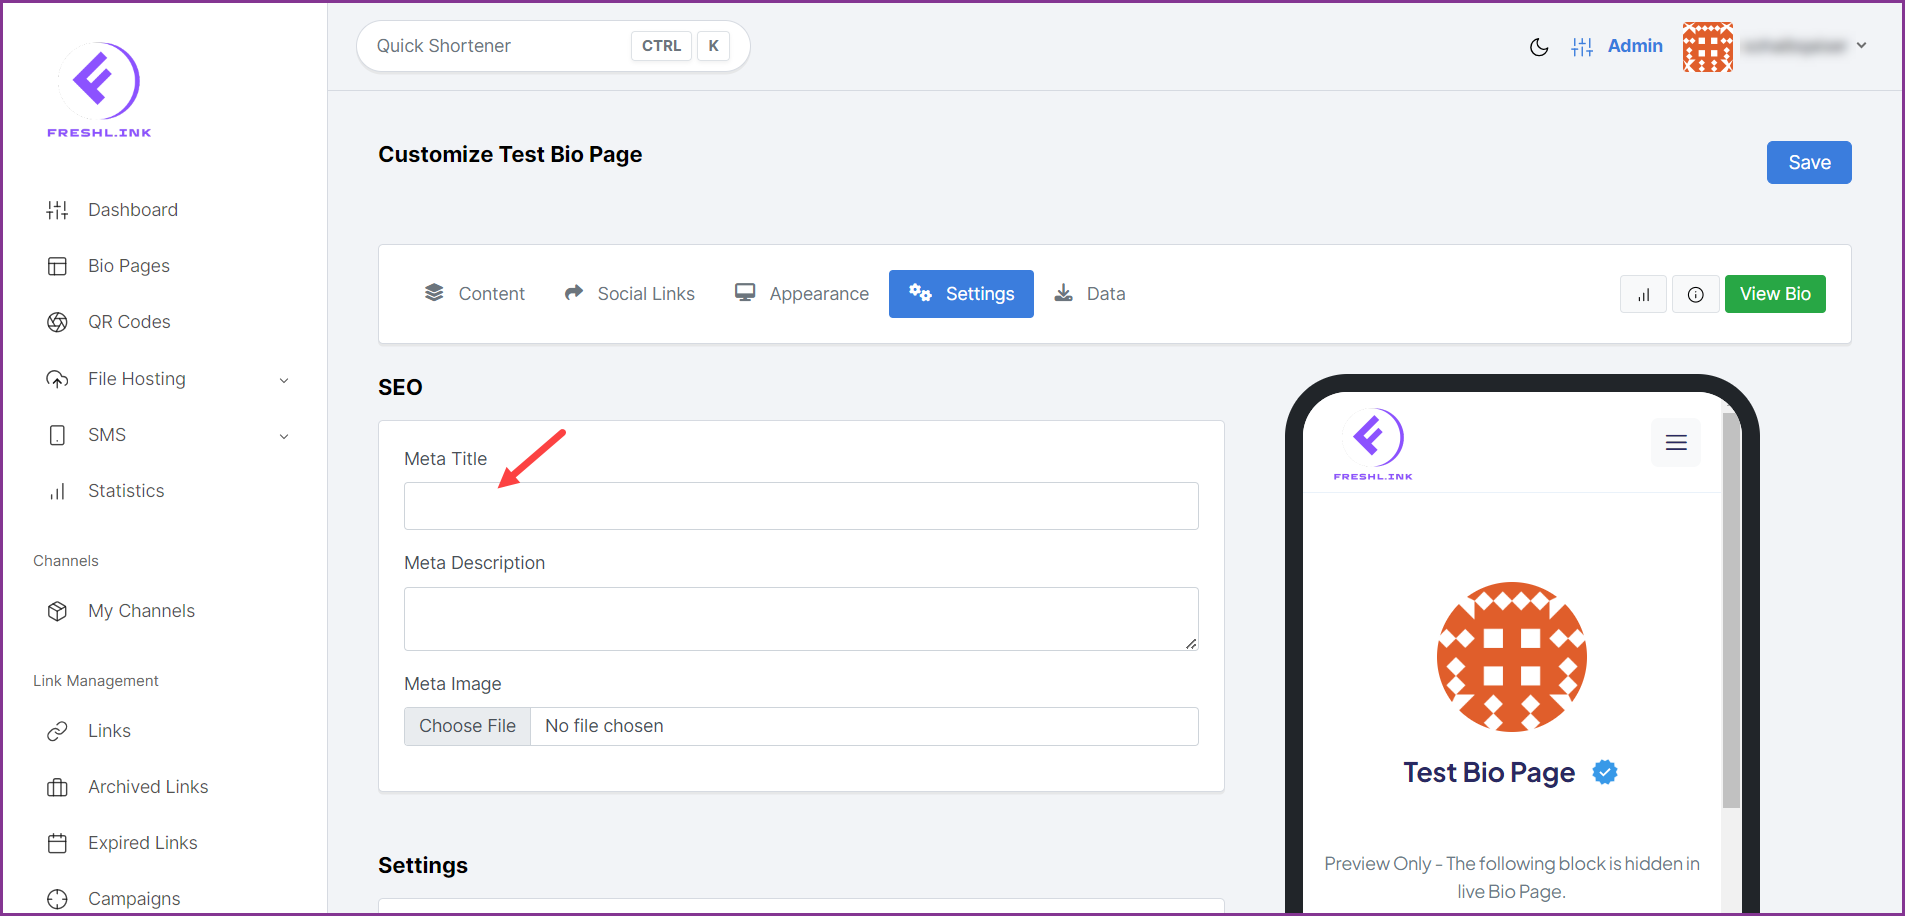
Use the Meta Description field to provide a meta description.

Click the Choose File button under Meta Image to select an image from your system storage for meta.
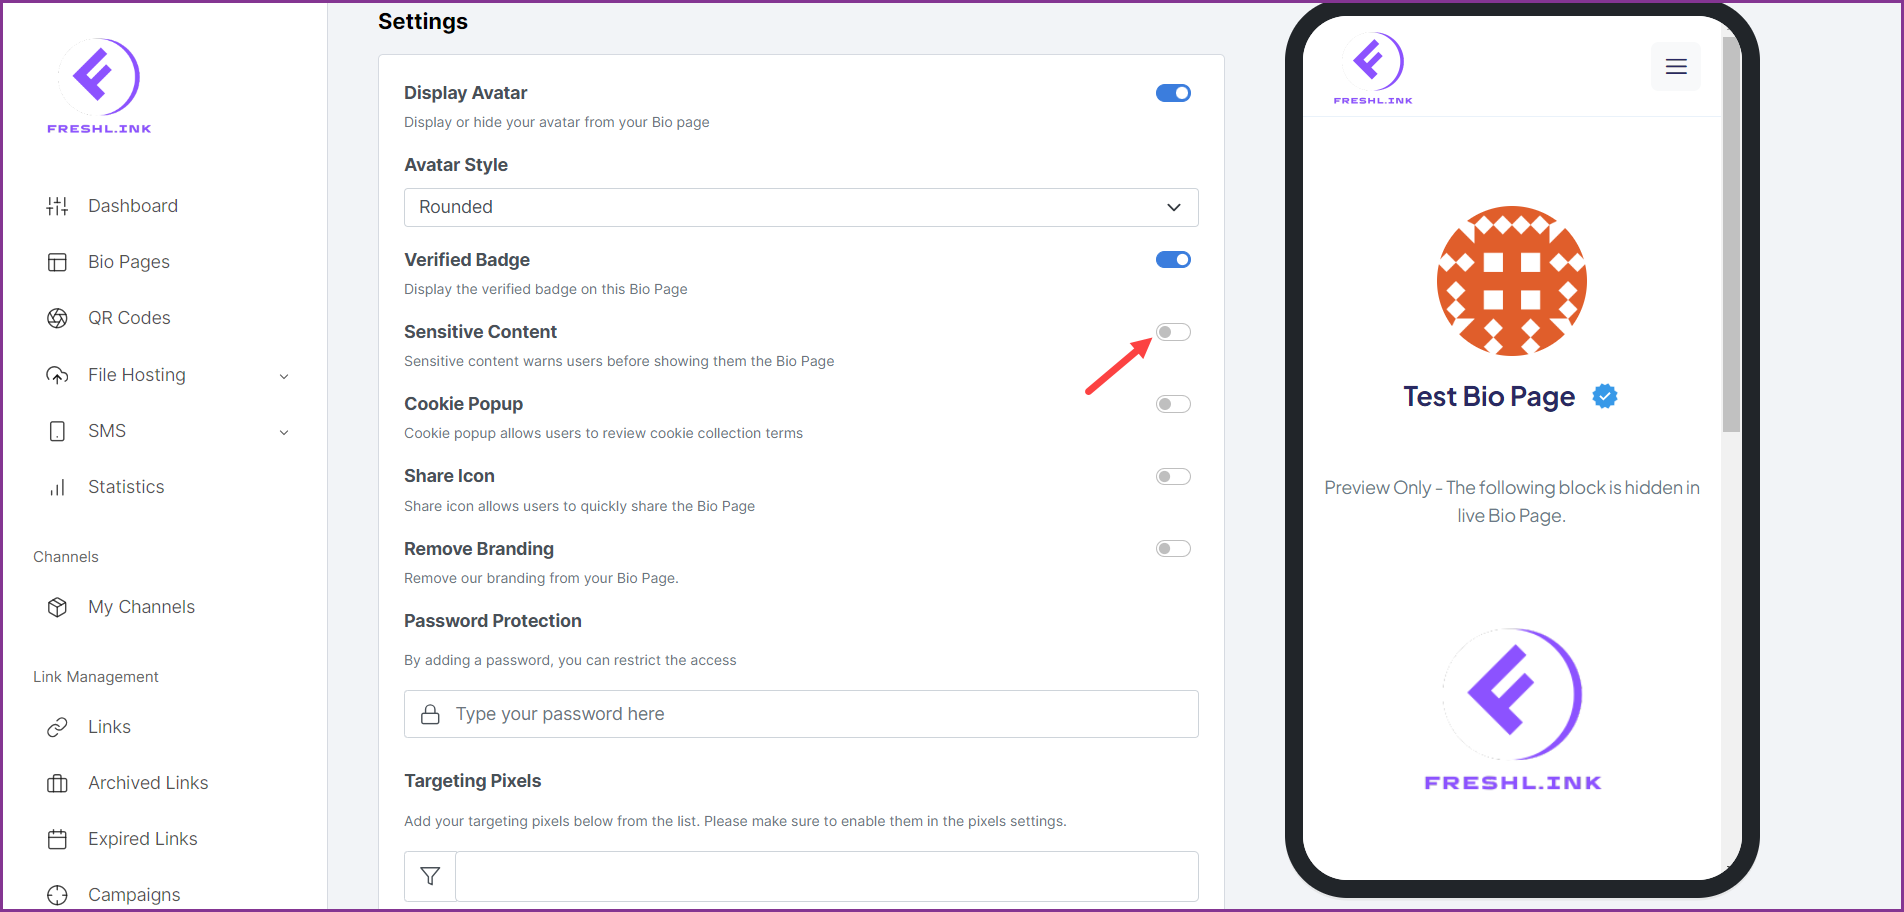
In case you do not want the avatar to appear, disable the Display Avatar toggle button.

If it is enabled, choose the avatar style from the Avatar Style dropdown.

To disable the verified badge, disable the Verified Badge toggle button.

In case you want the users to be warned prior to viewing sensitive content on the page, enable the Sensitive Content toggle button.
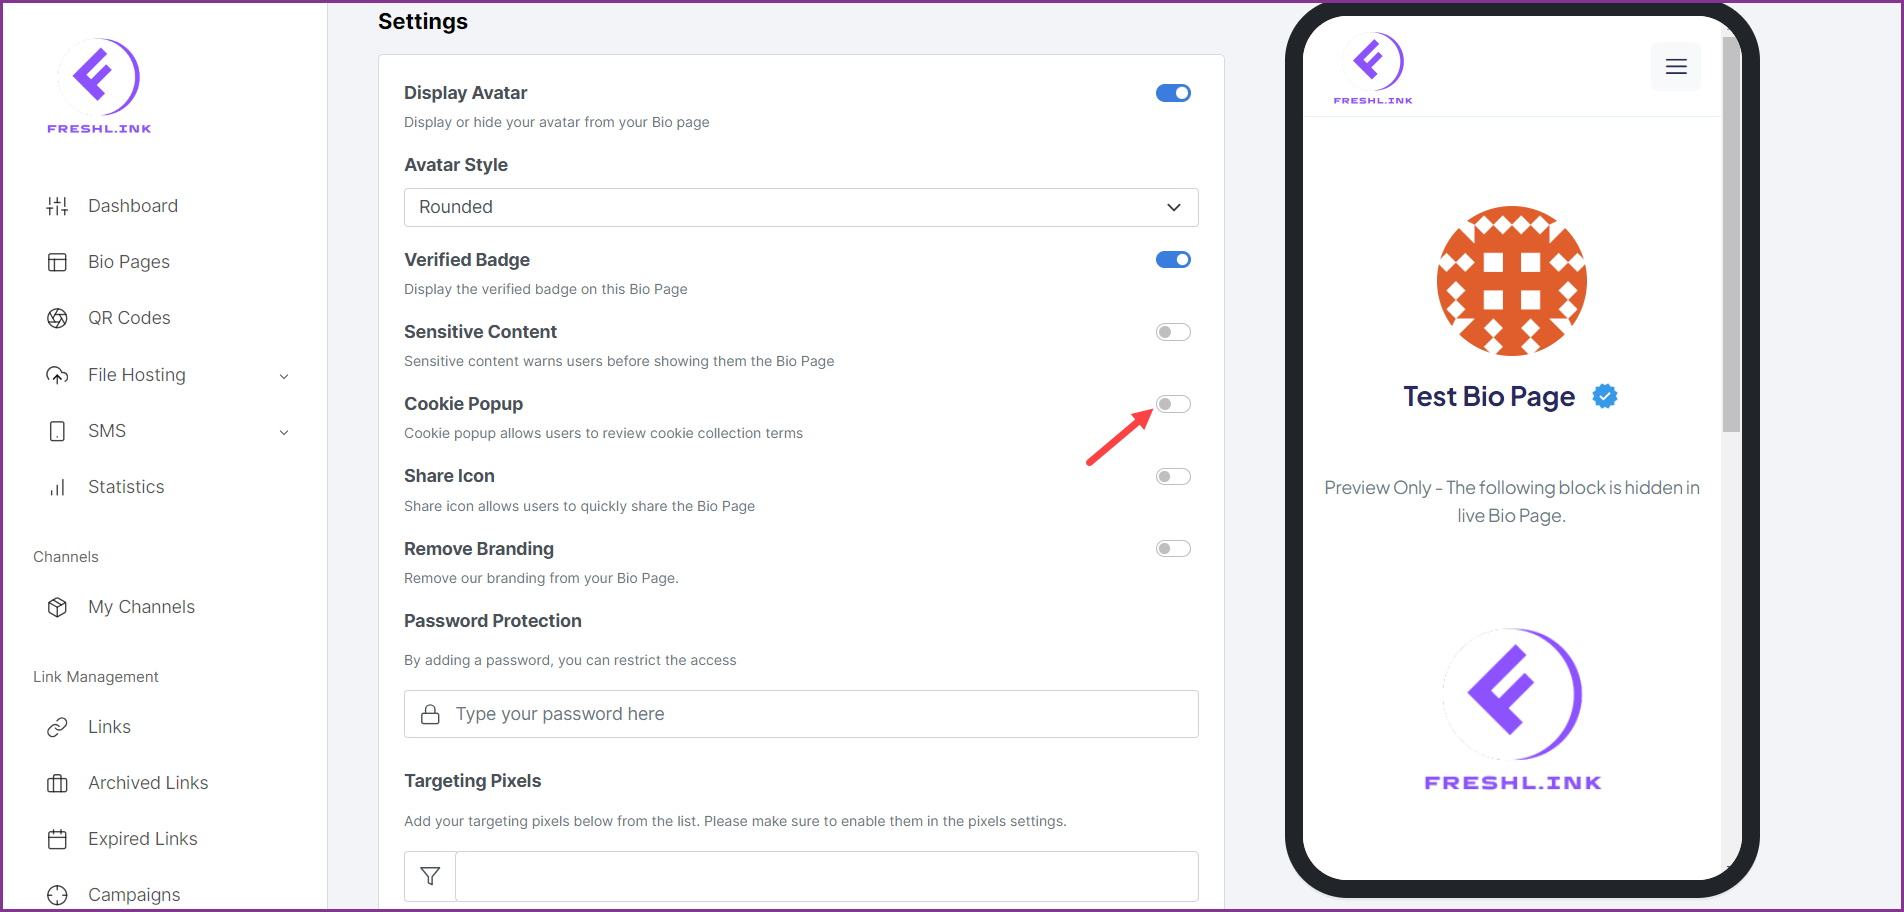
In case you want the users to review cookie collection terms, enable the Cookie Popup toggle button.
To include a share icon, enable the Share Icon toggle button.
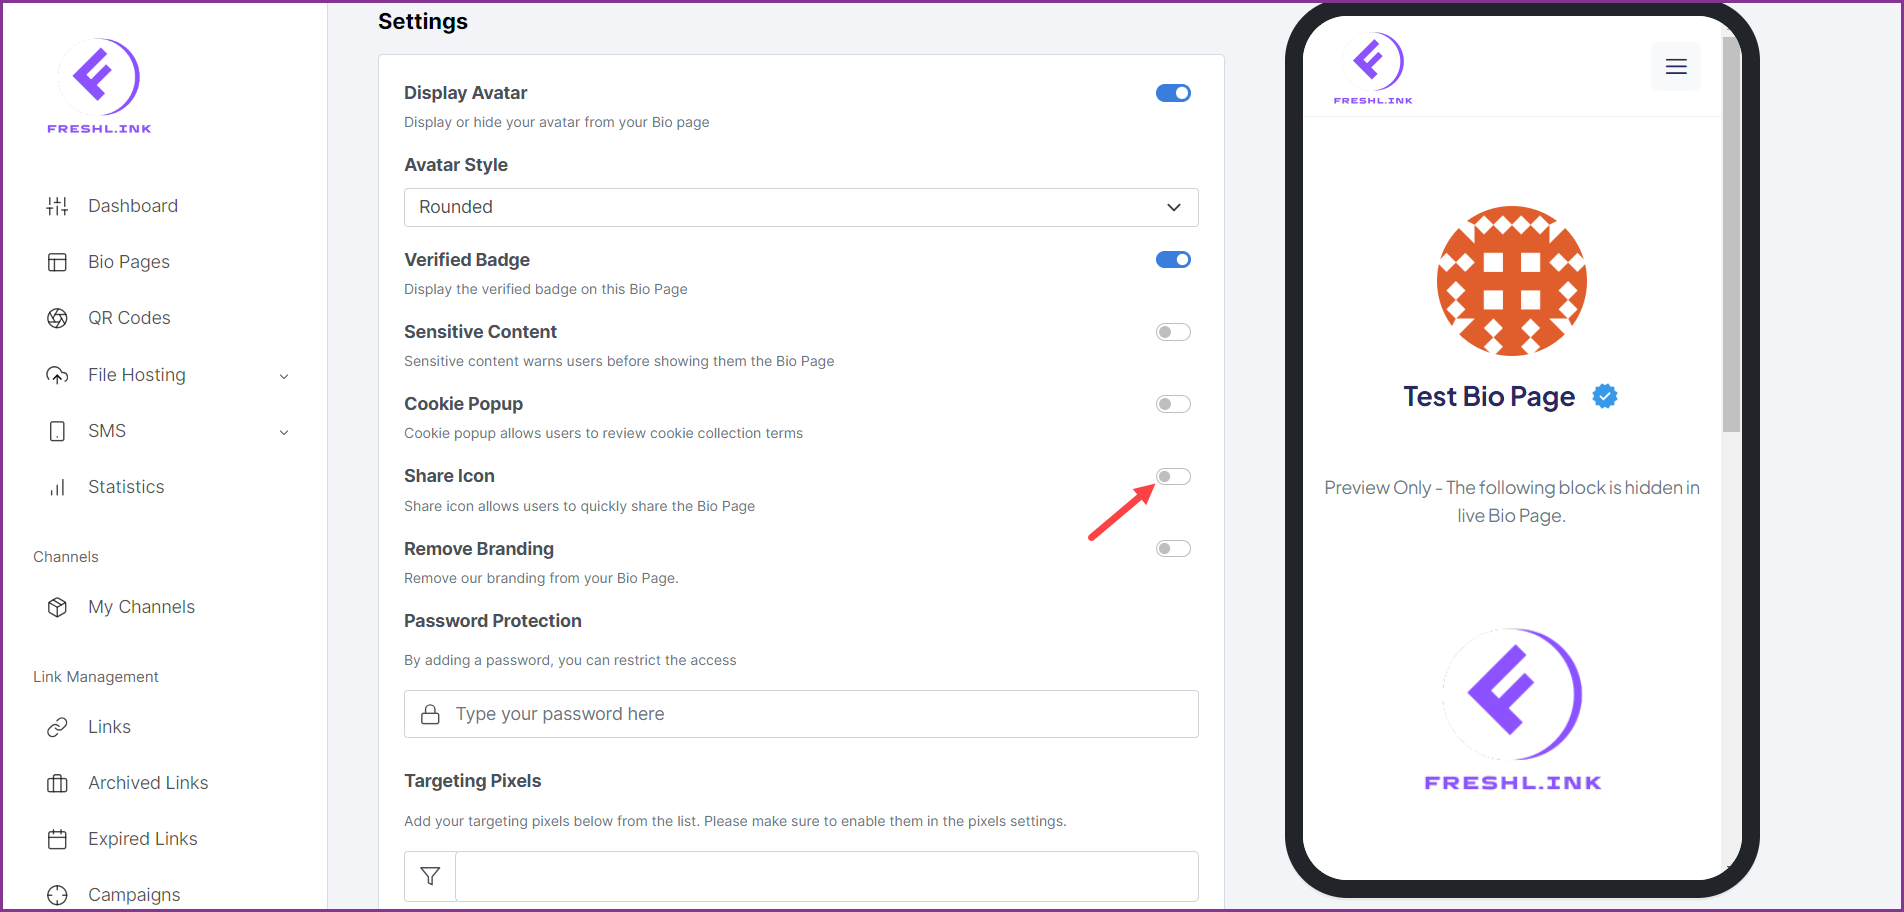
To remove branding from the page, enable the Remove Branding toggle button.

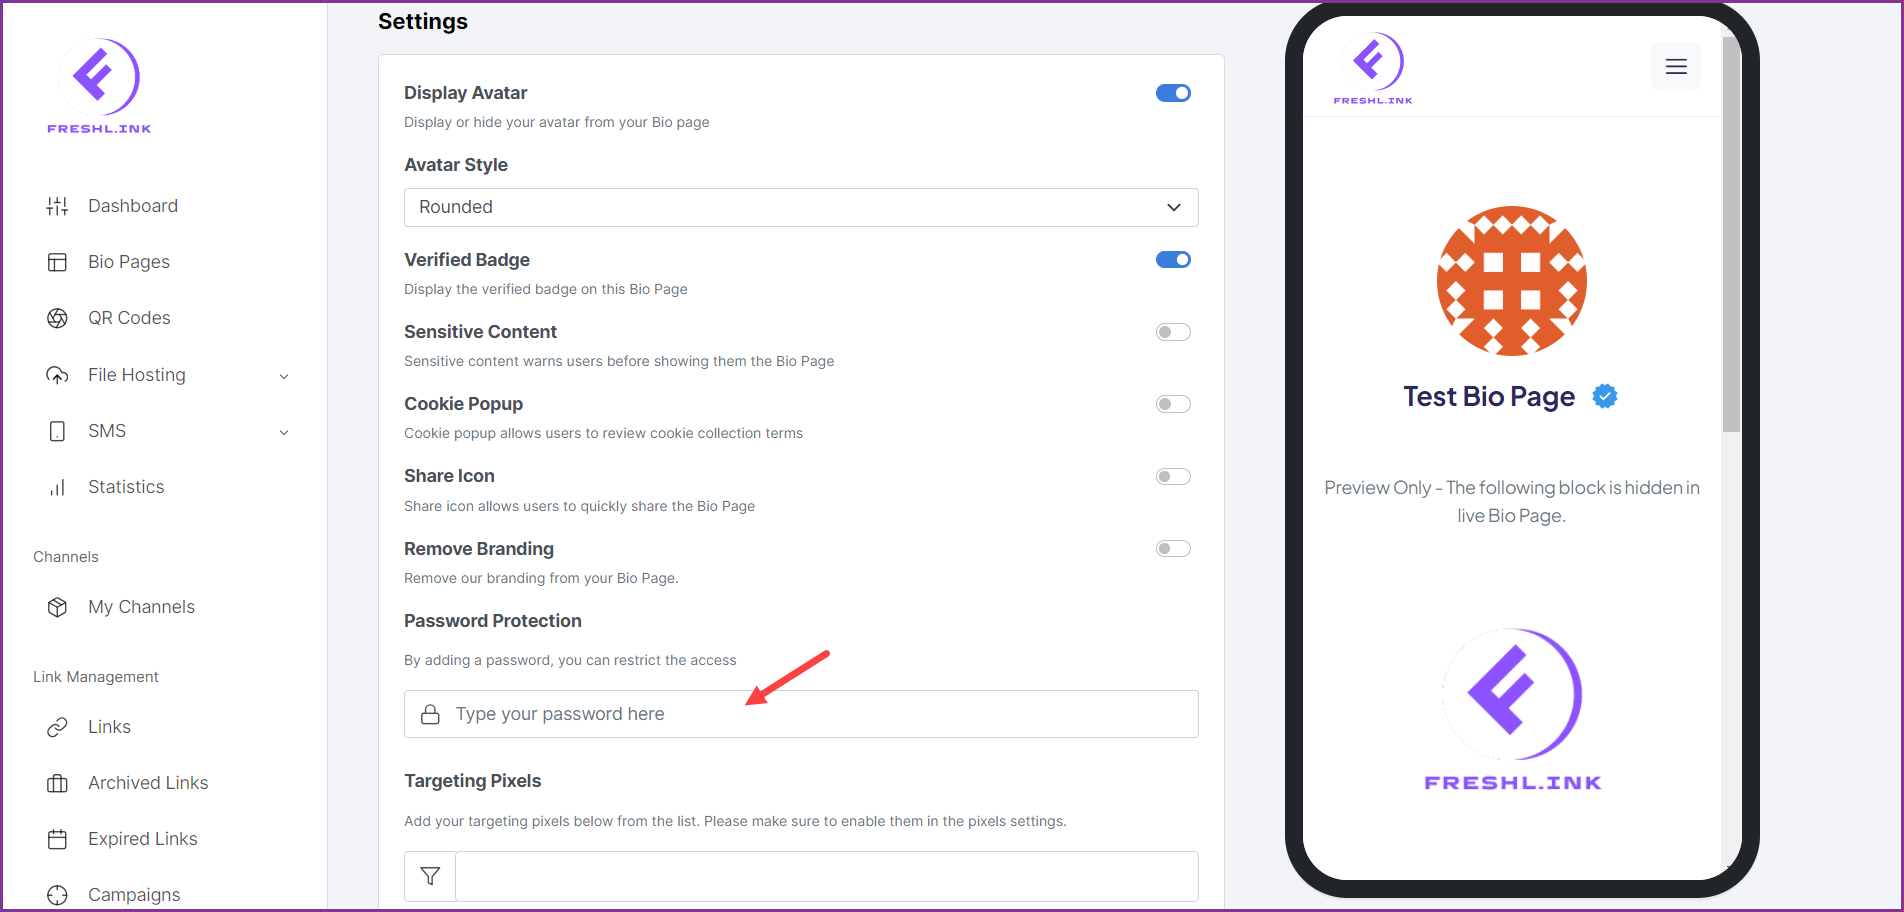
In case you want to restrict the access to the page, enter a password for restriction using the Password Protection field.
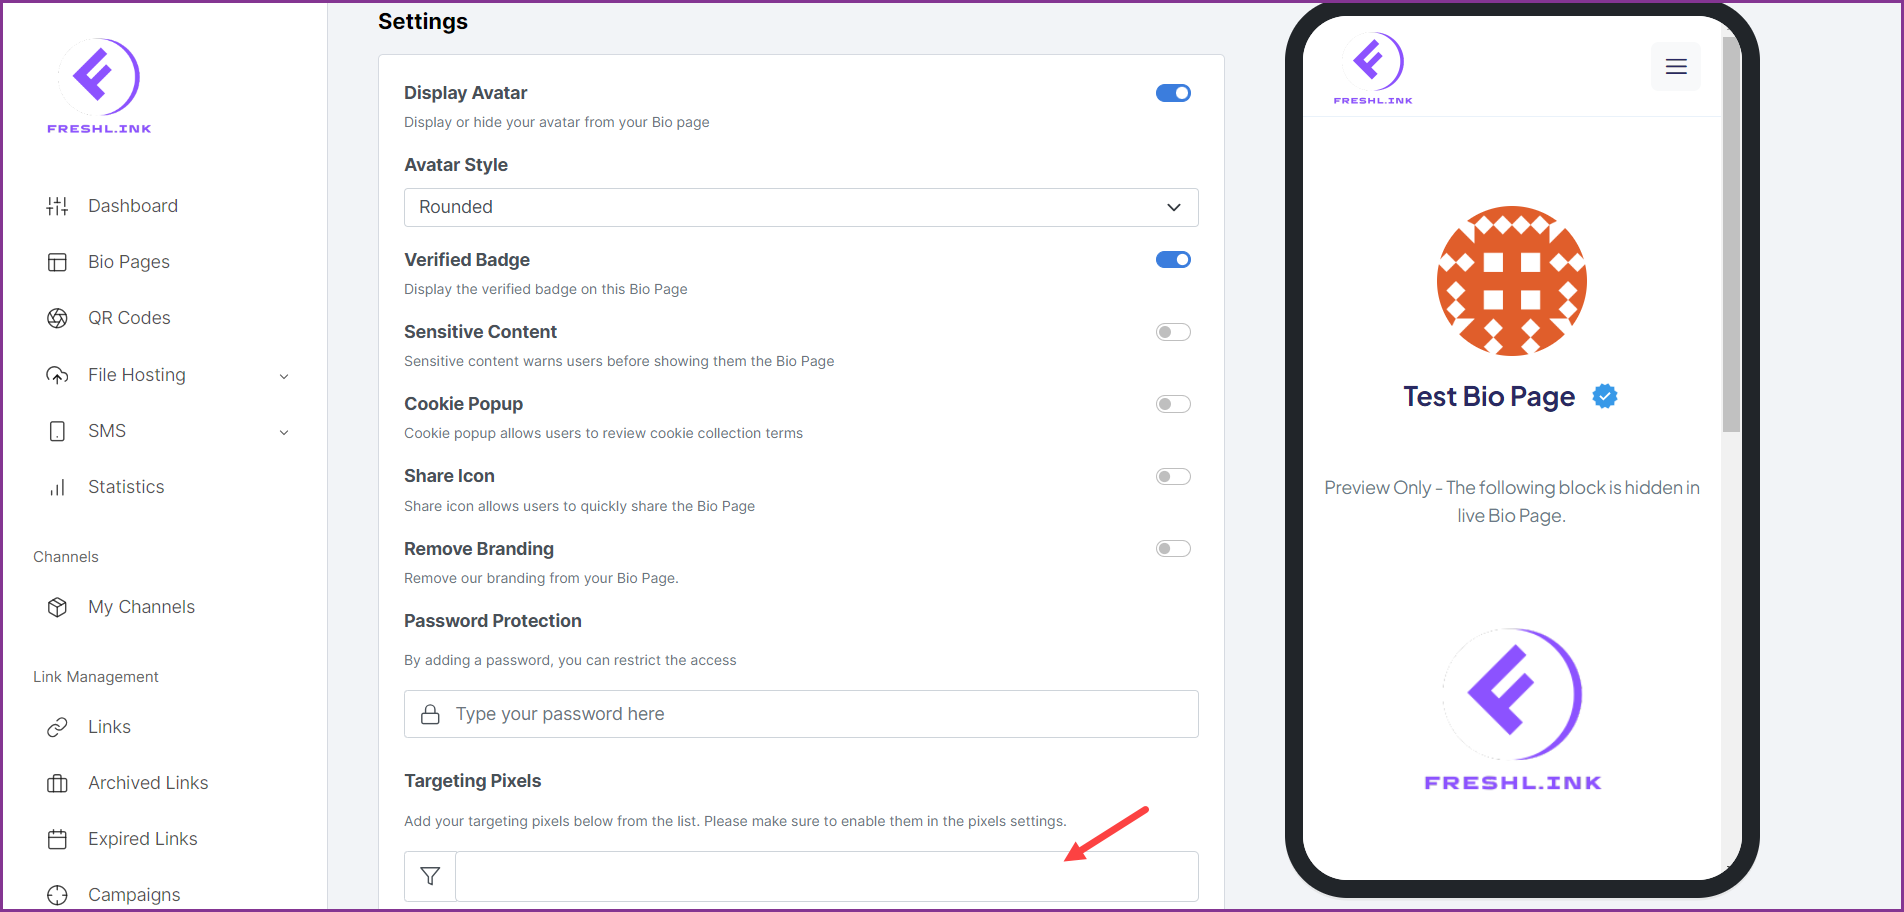
To add targeting pixels to the page, choose the targeting pixels from the Targeting Pixels dropdown.
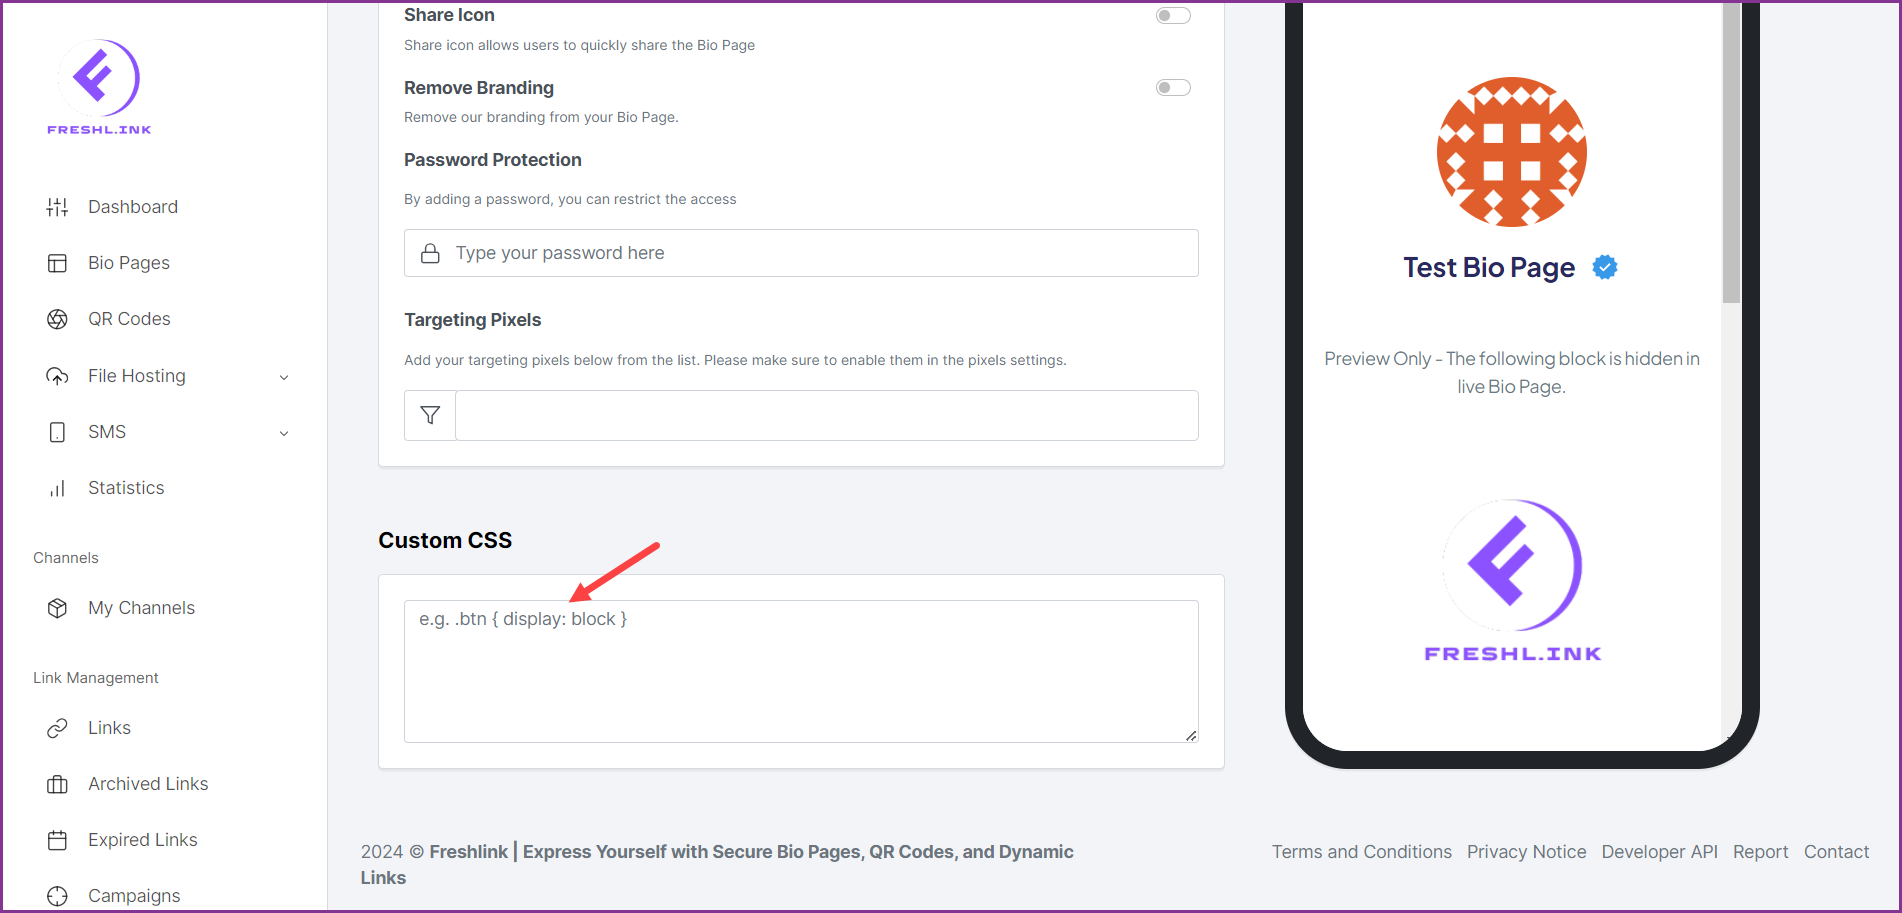
To include custom CSS, enter the script in the Custom CSS textbox.
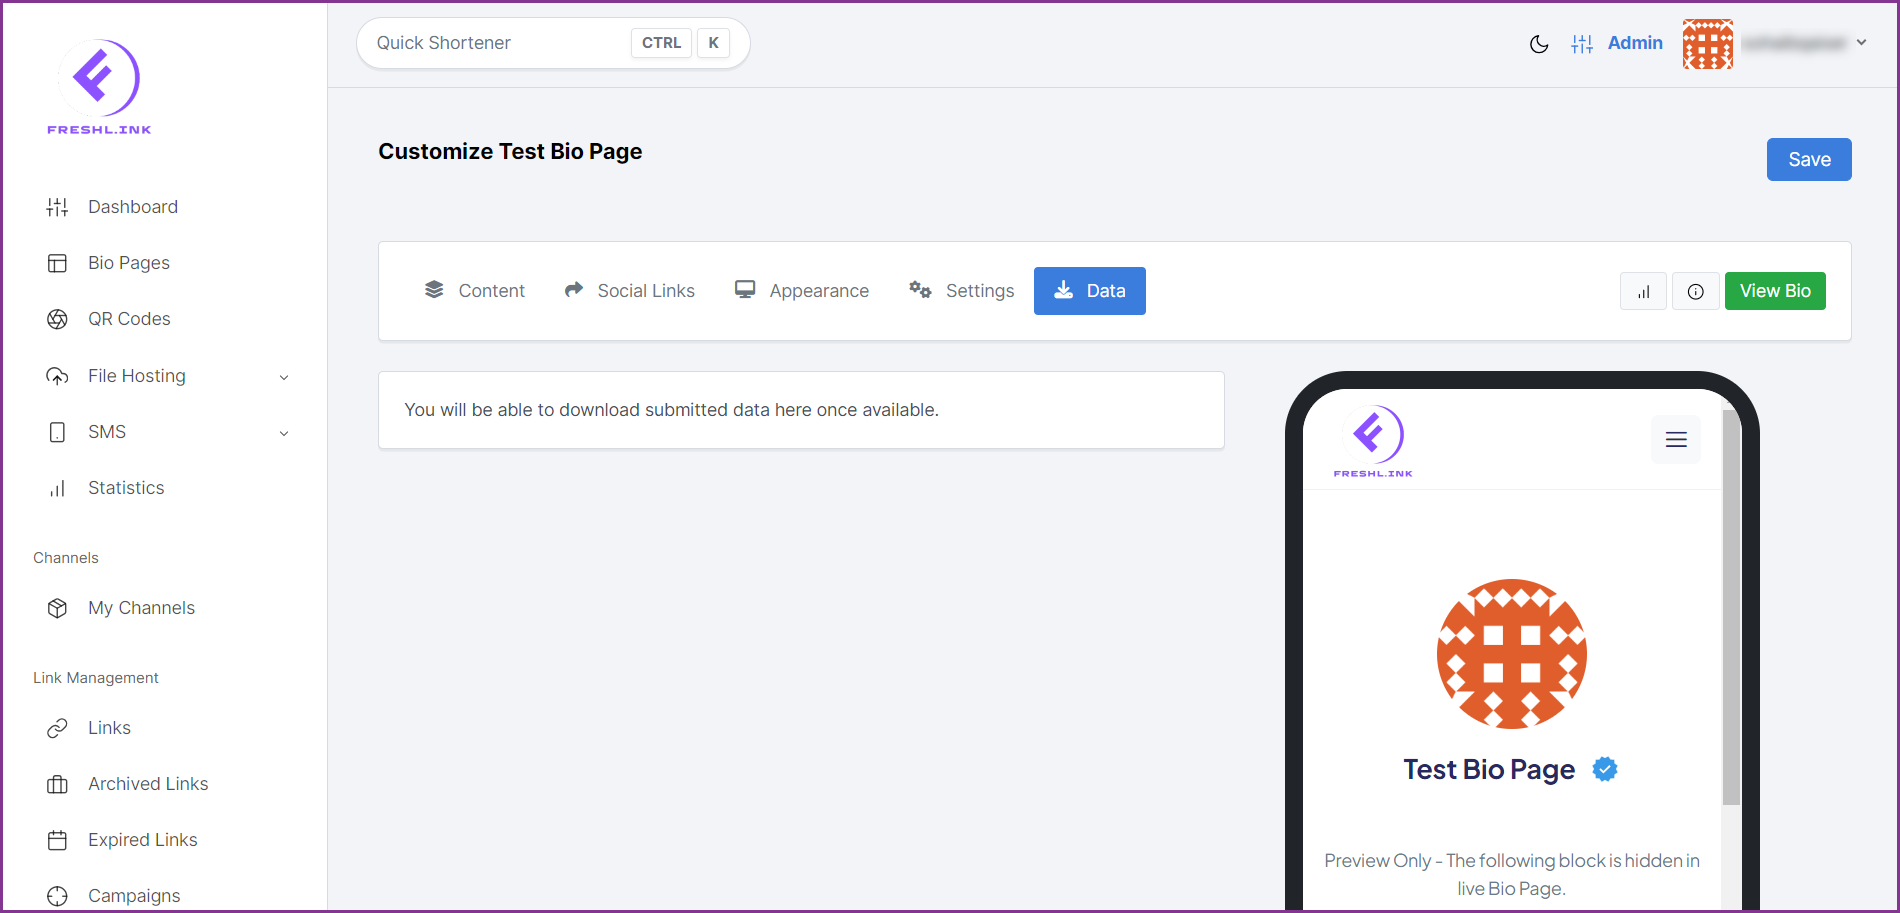
Data
All submitted data for the page can be downloaded from this section.
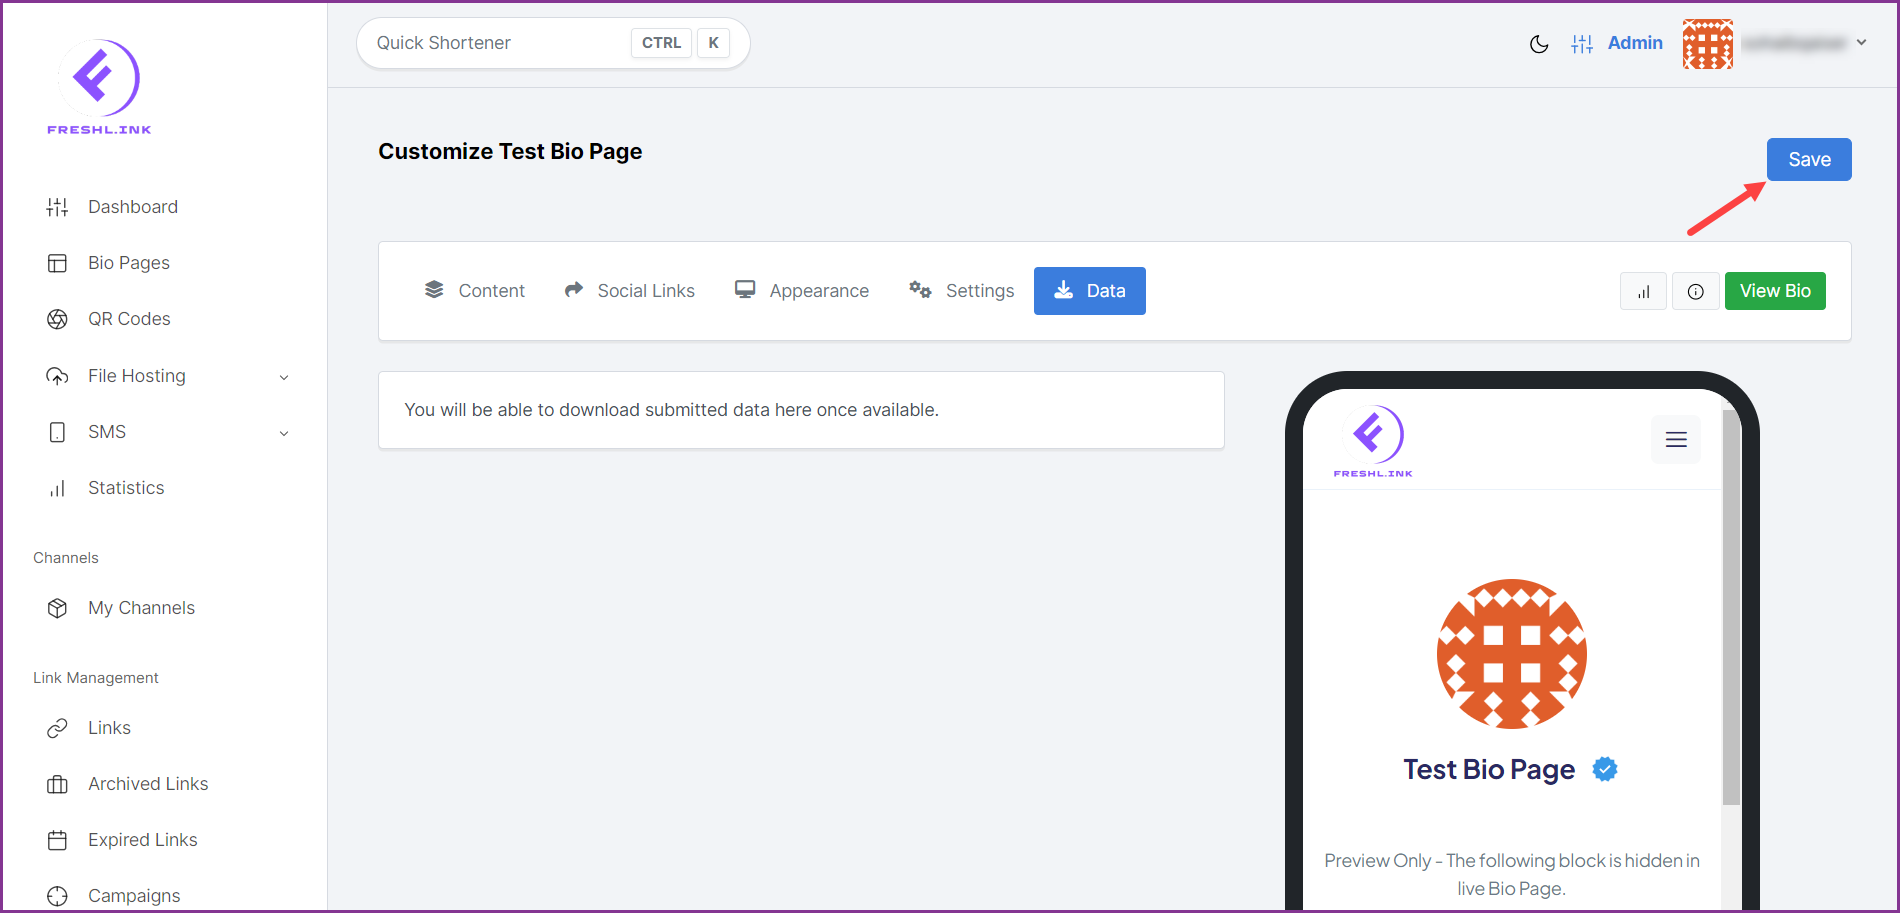
As the required customization is made, click the  button.