Freshlink > Left Navigation Bar > Dashboard
Follow the above-mentioned workflow to land on the Dashboard screen.
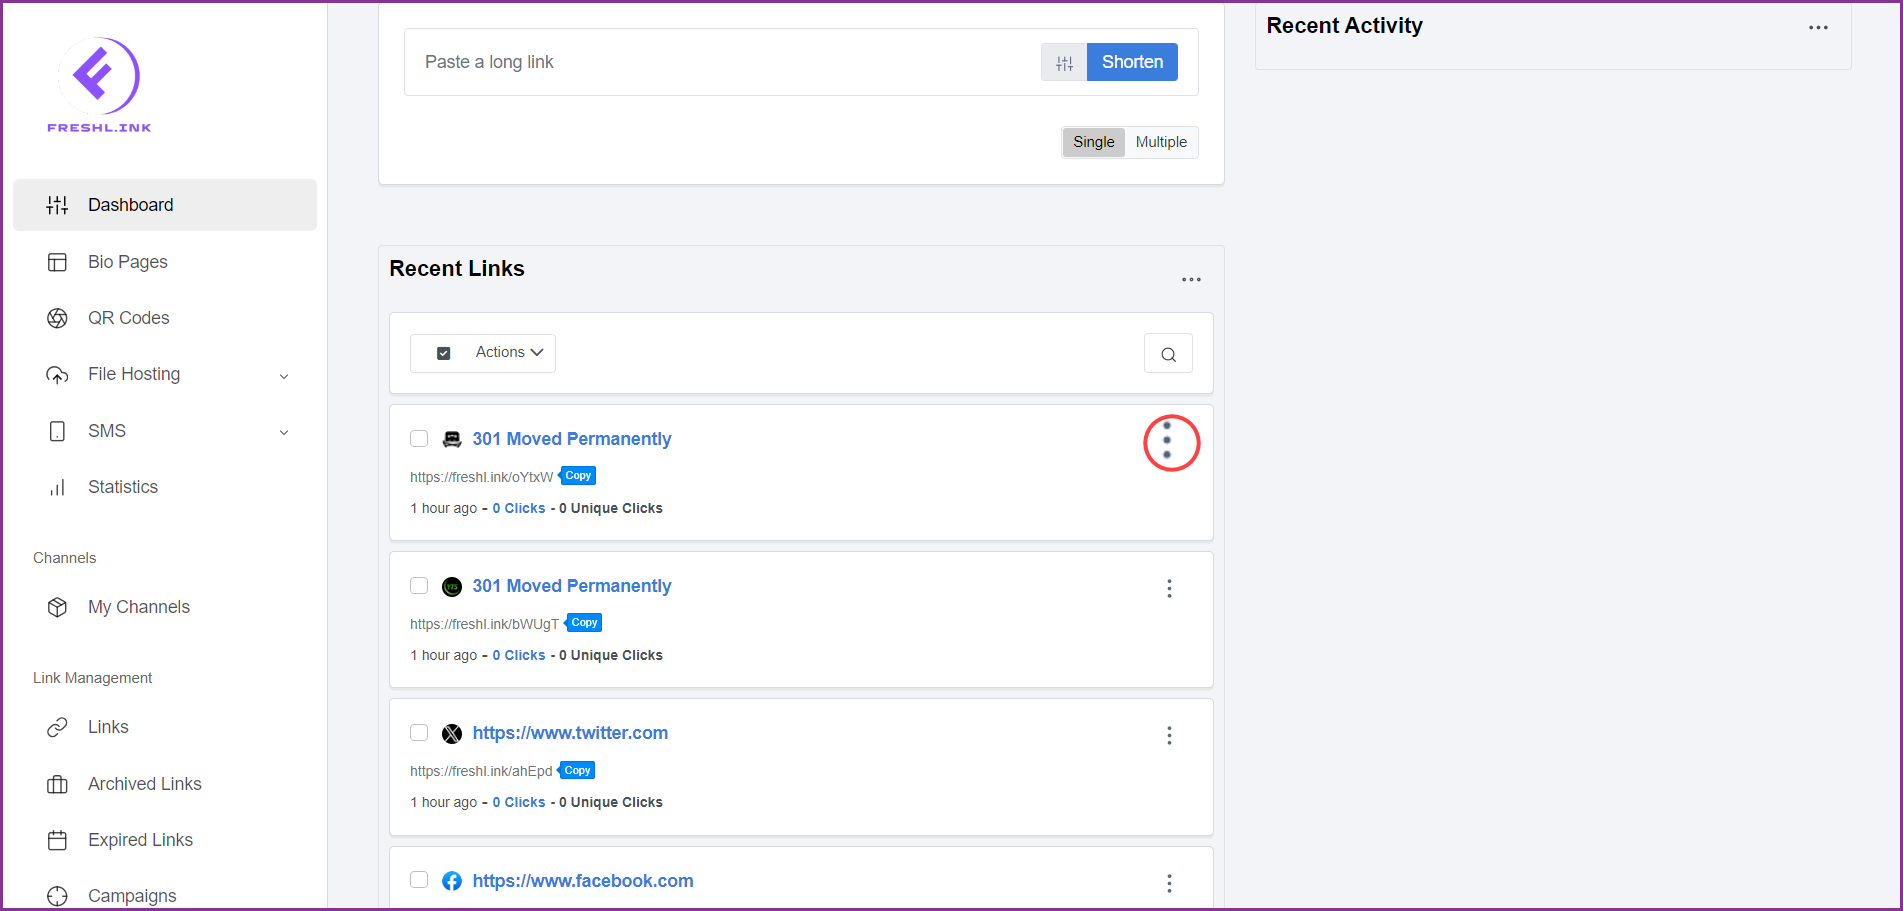
Navigate to the Recent Links section.
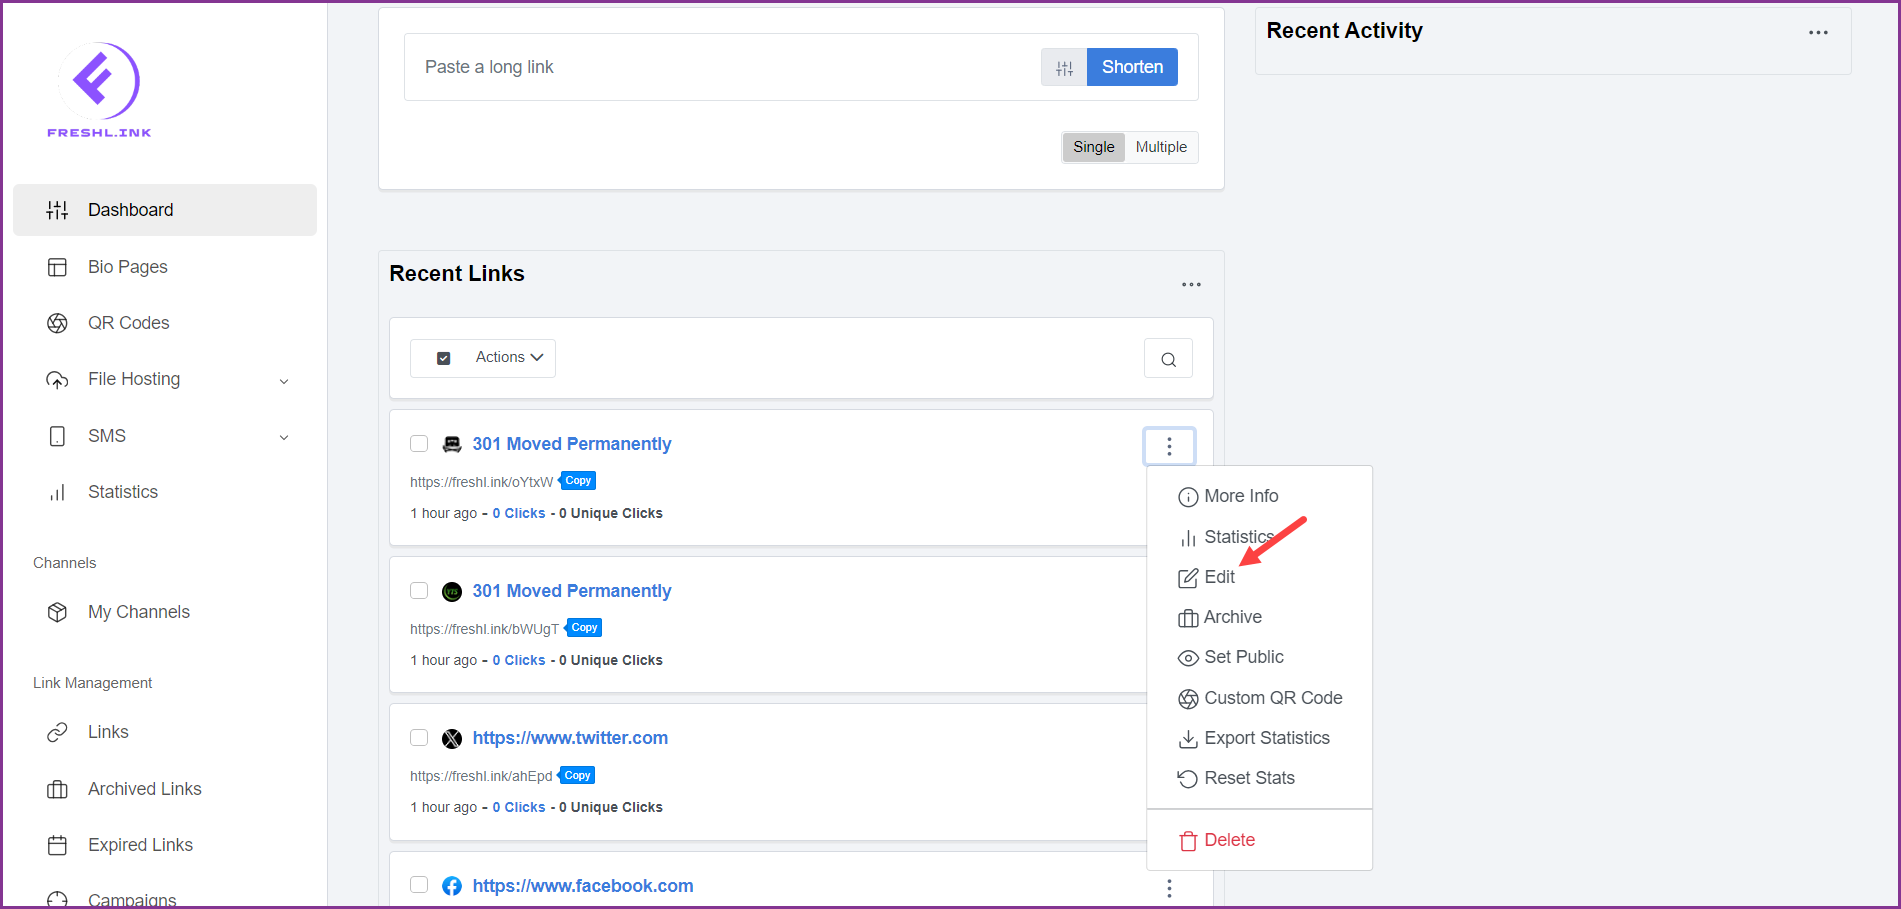
For a link you want to edit, click the three-dot icon located at the top-right corner of the link card. This reveals a number of options.
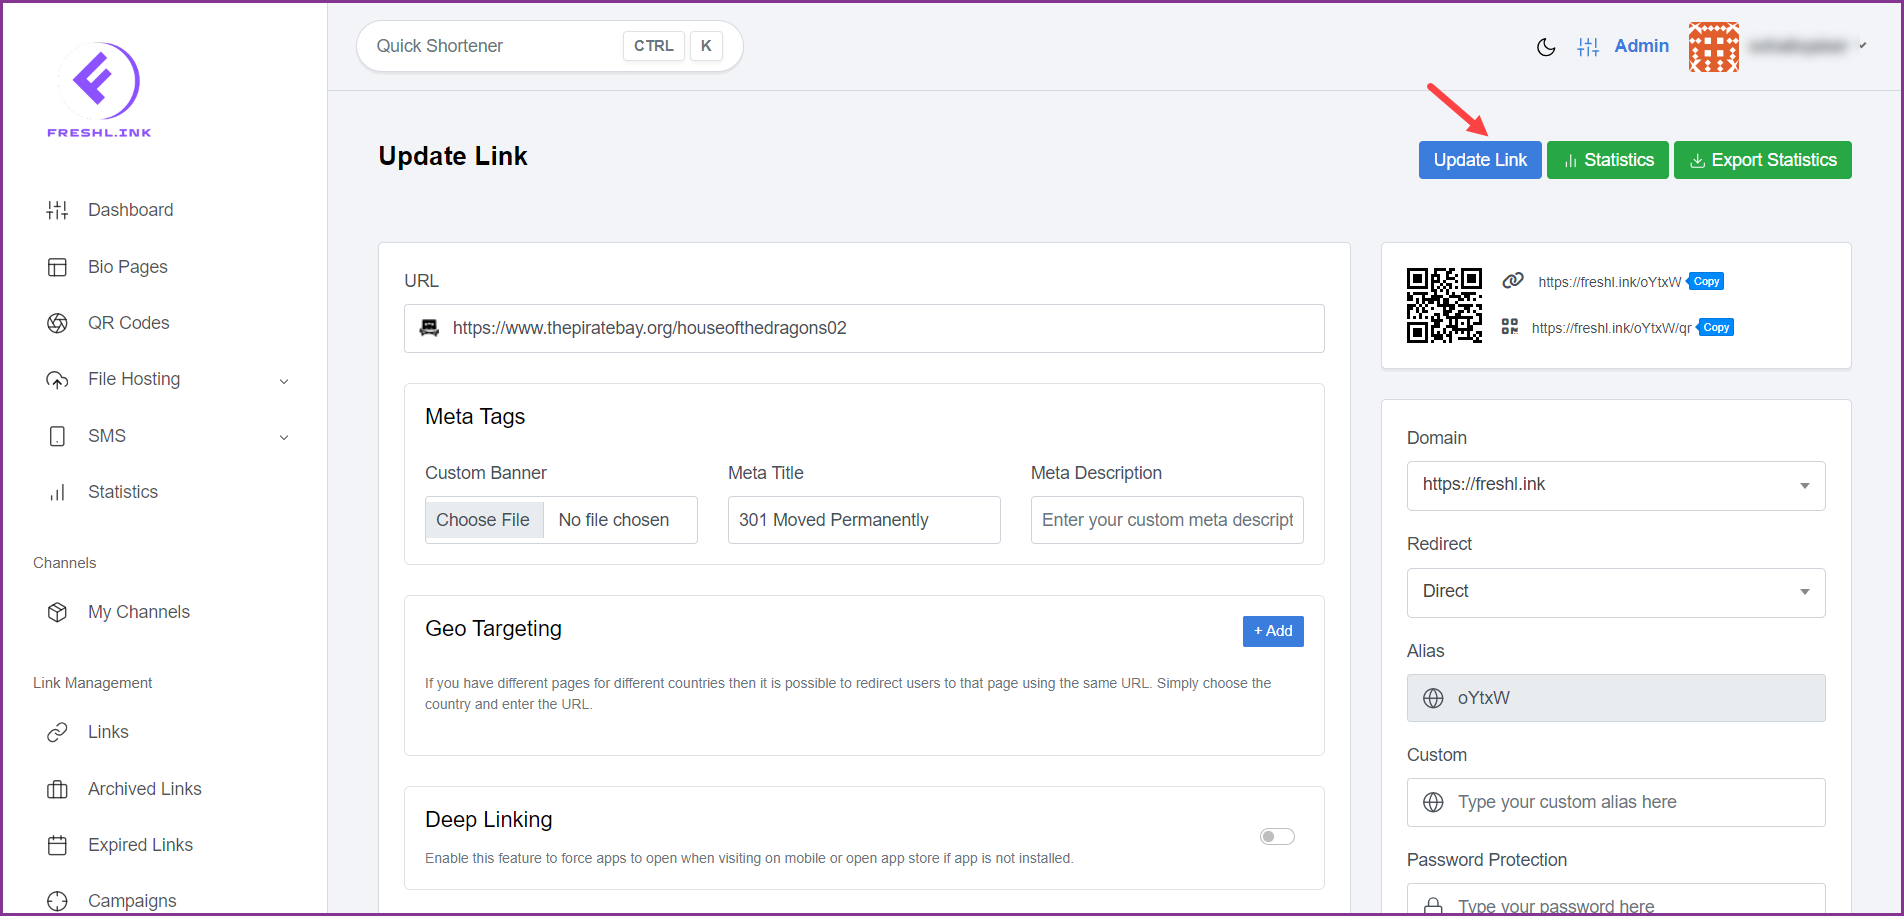
Click Edit. Doing so opens the Update Link screen.
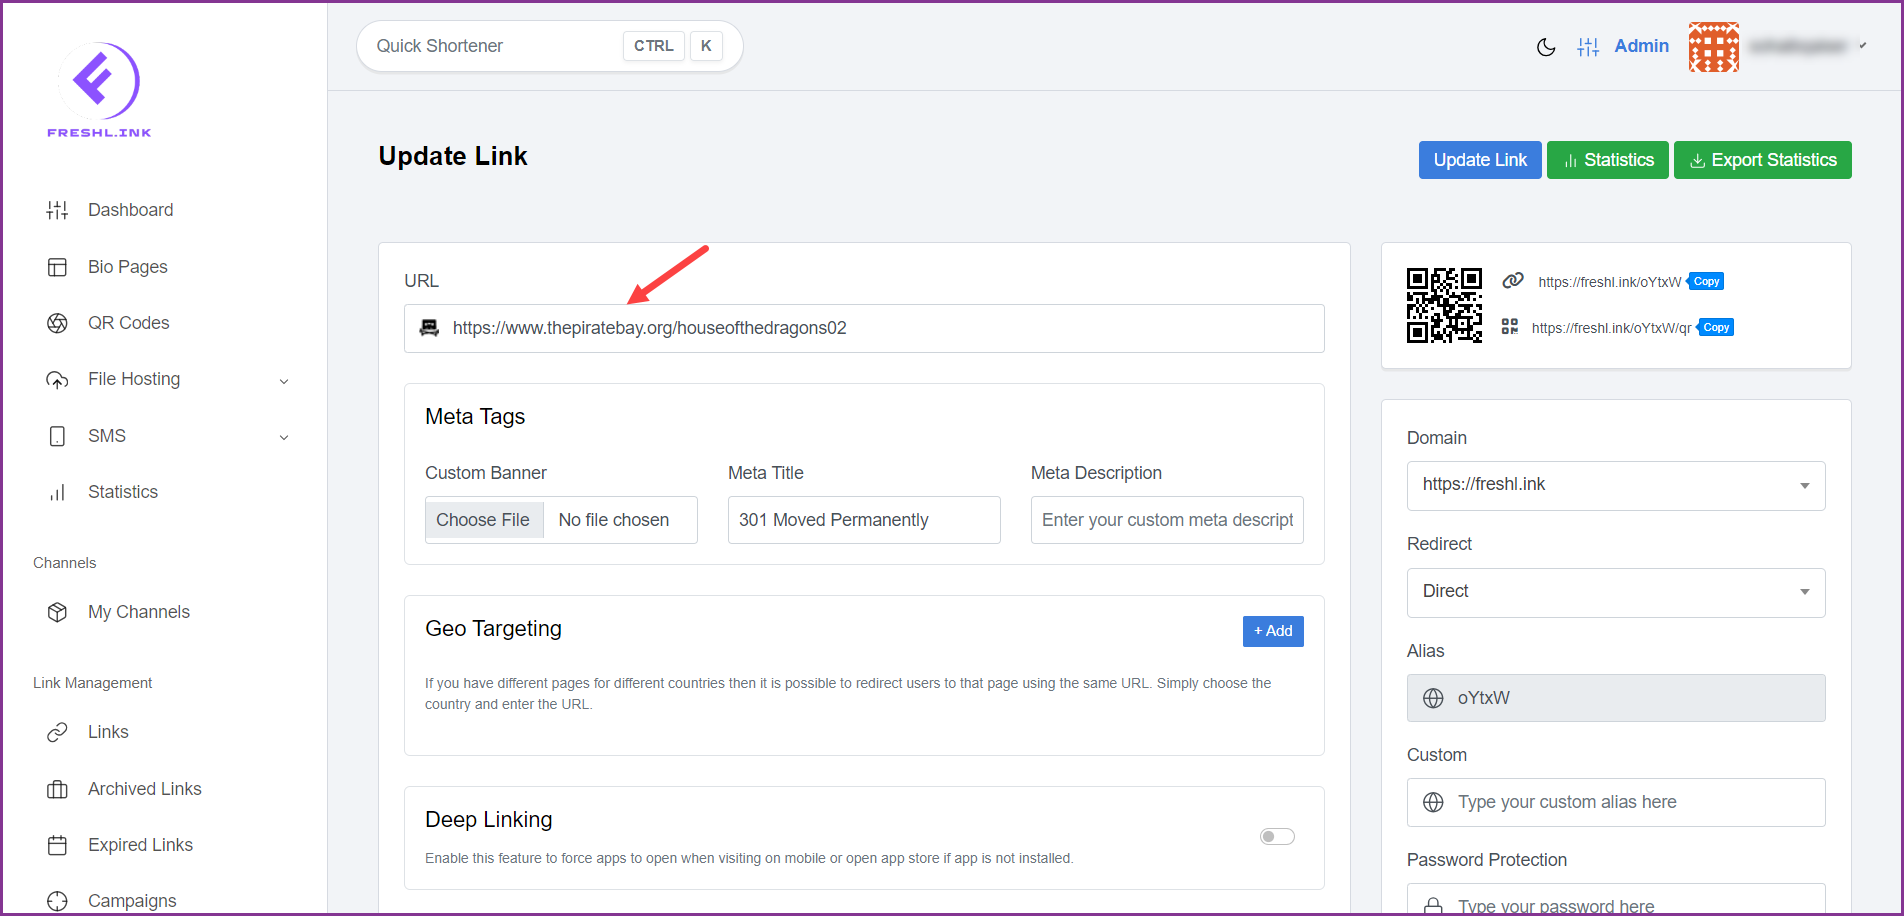
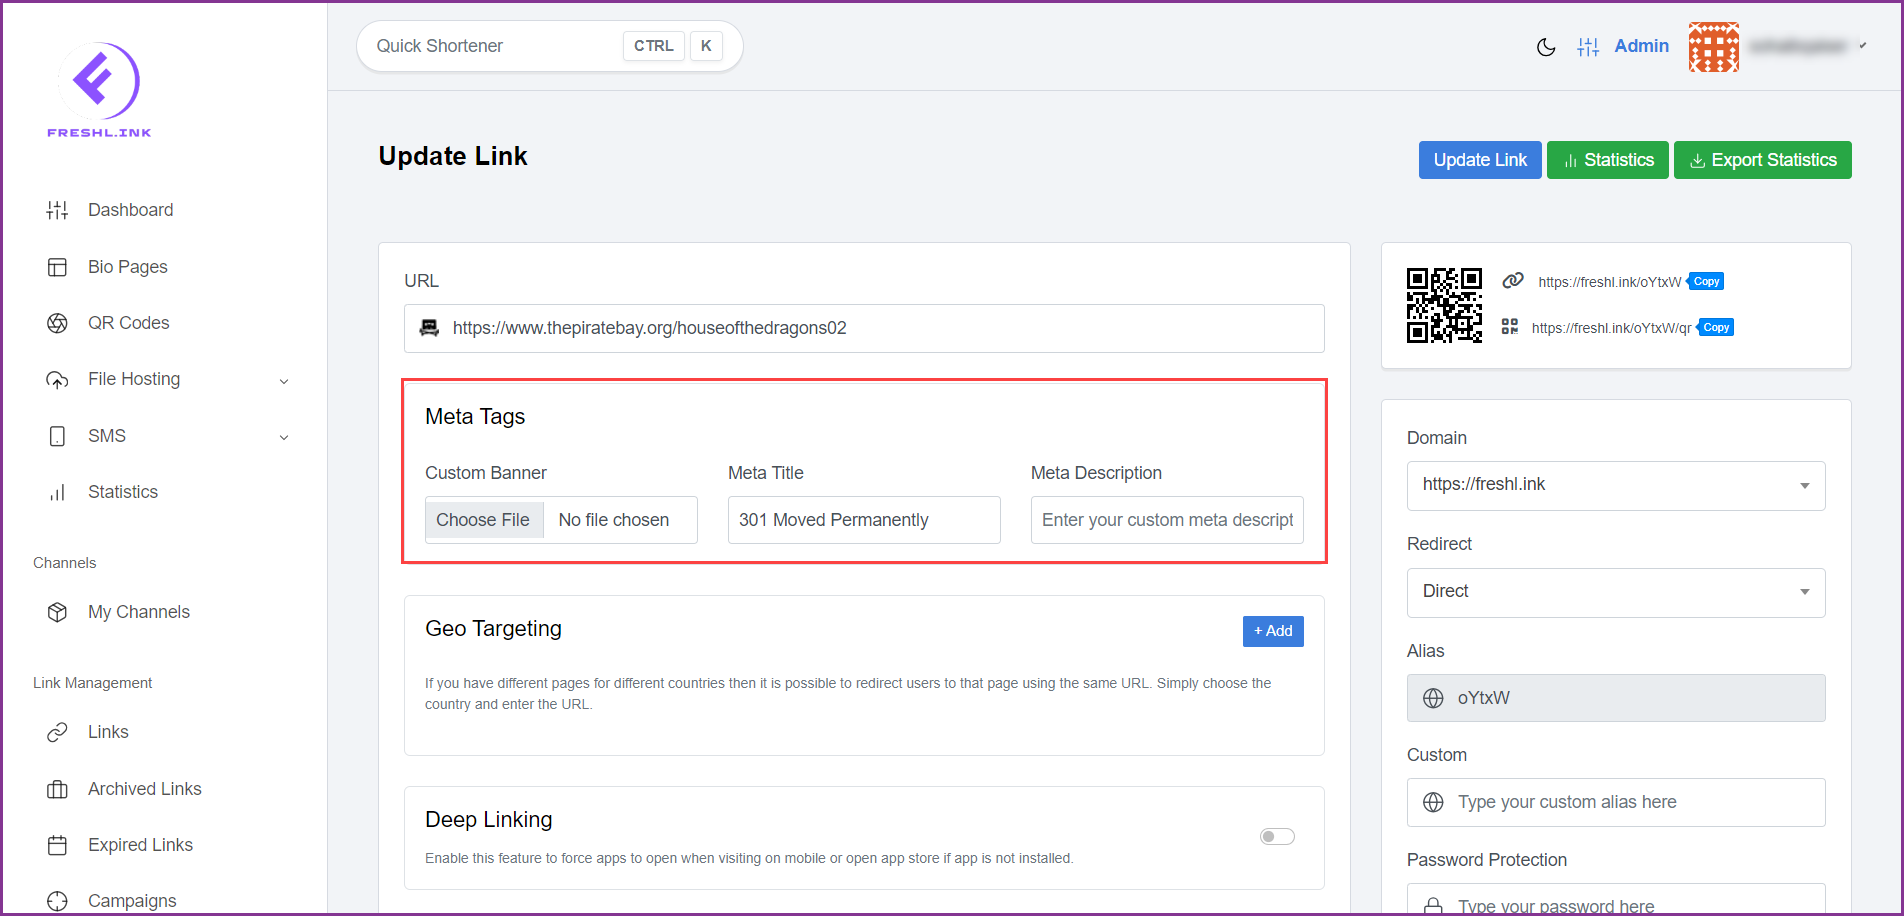
Here, use the URL field to edit the URL you shortened.
The Meta Tags section allows you to add a custom banner from your system storage, add a Meta Title, and include a Meta Description.
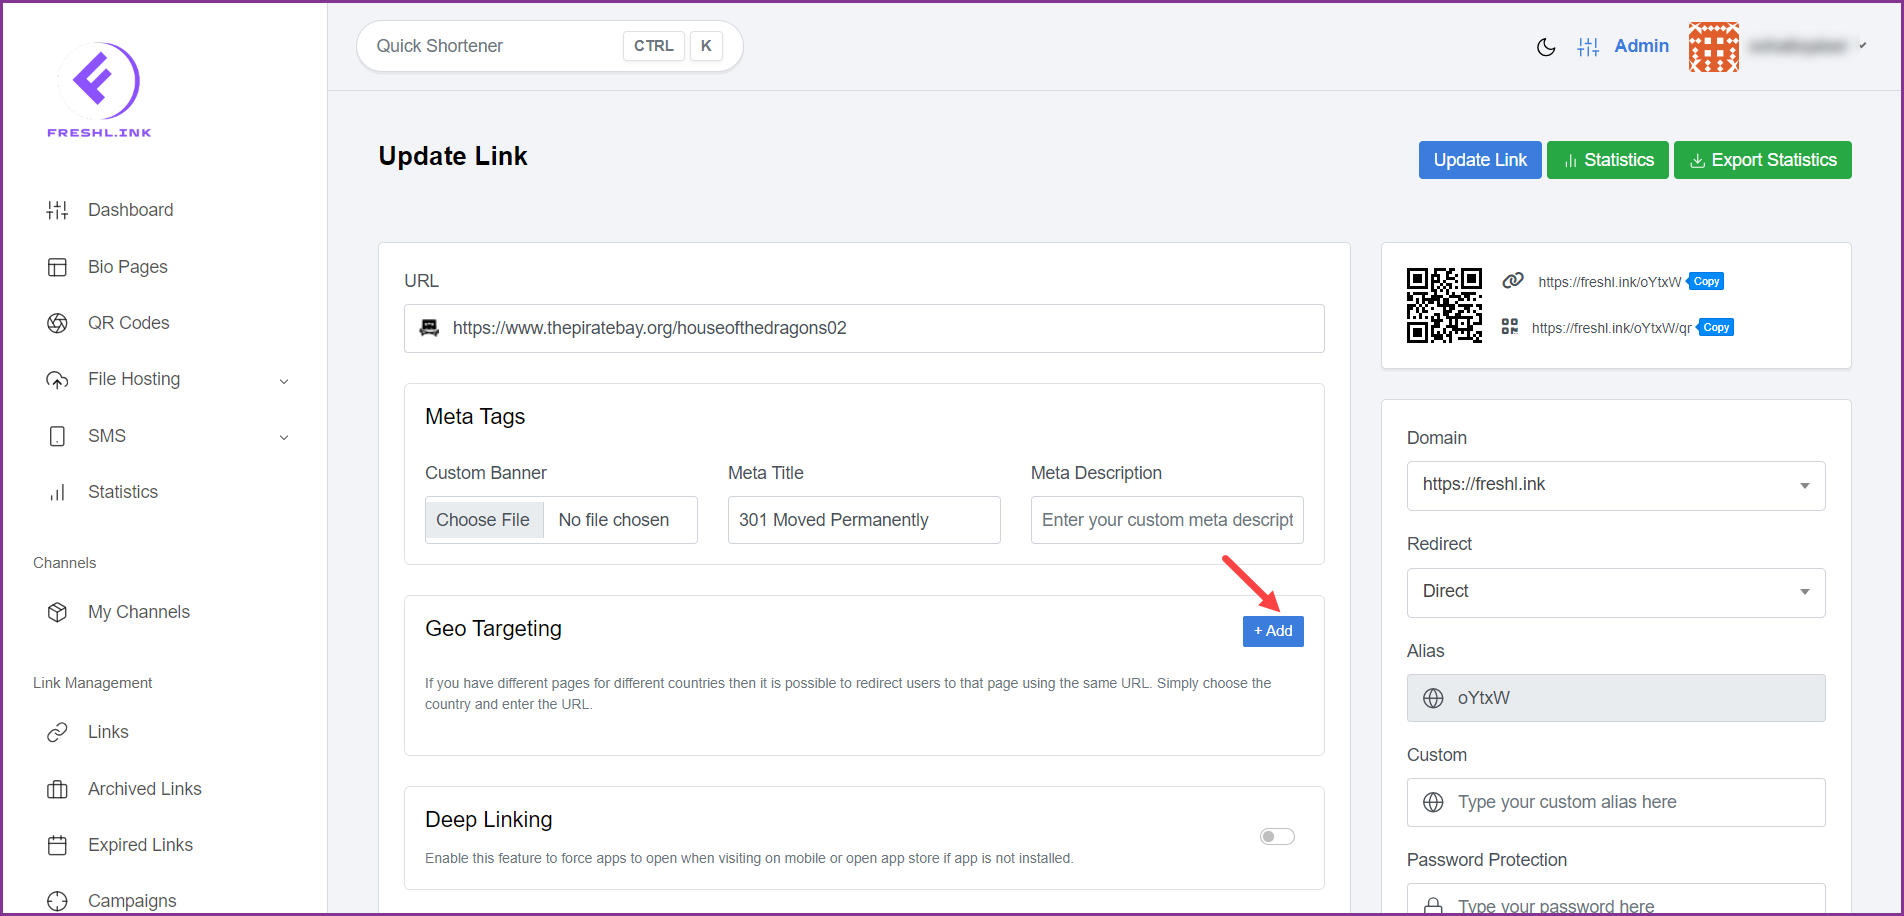
In case you want to add geo targeting to the selected link, click the  button from the Geo Targeting section.
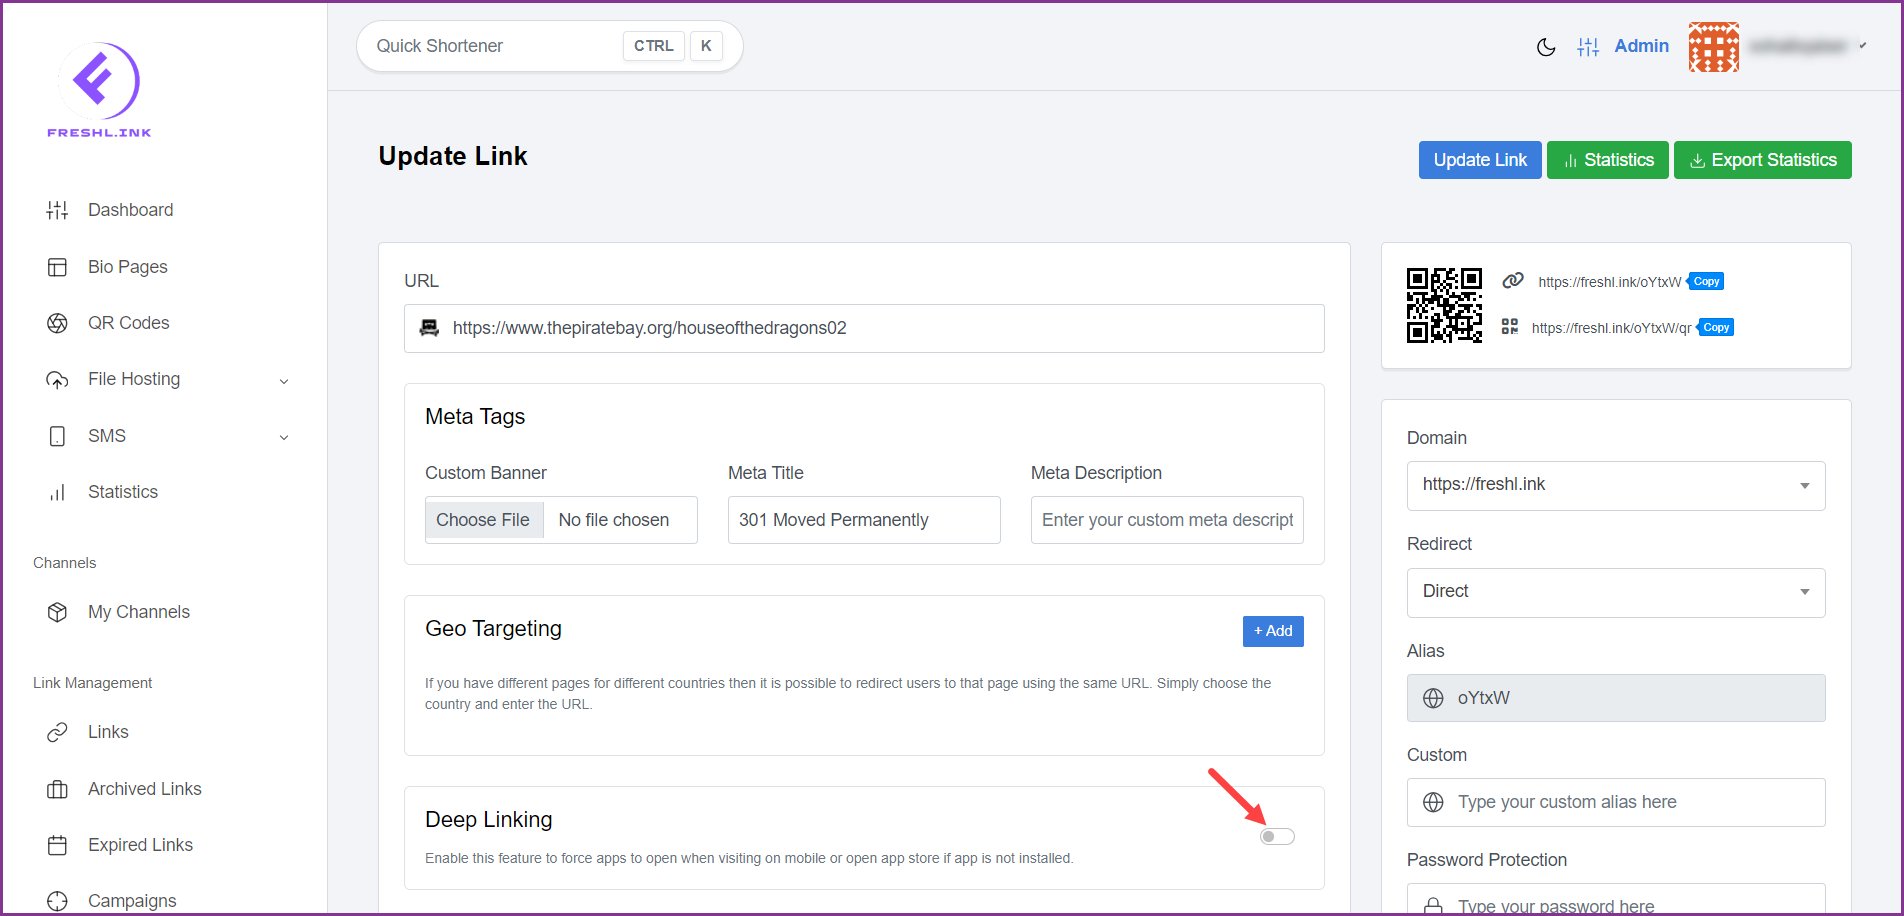
To force the mobile app to open or the app store to open when the link is accessed from mobile, enable the Deep Linking toggle button.
To include device targeting, click the  button from the Device Targeting section.
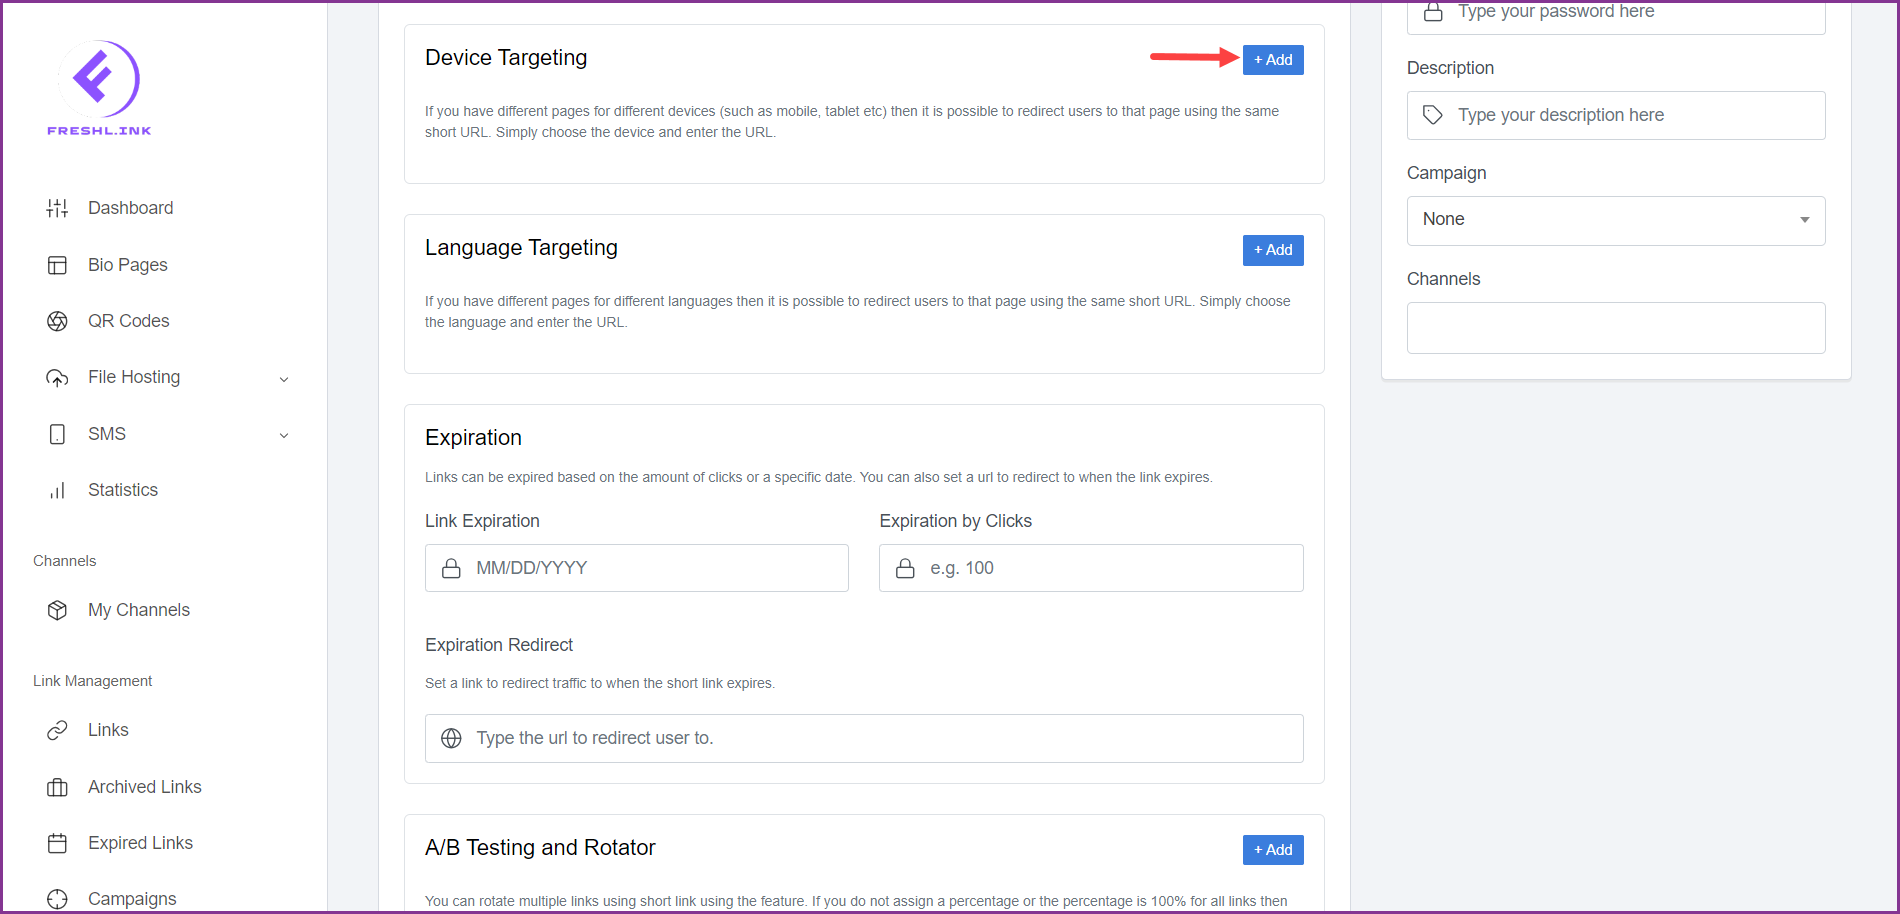
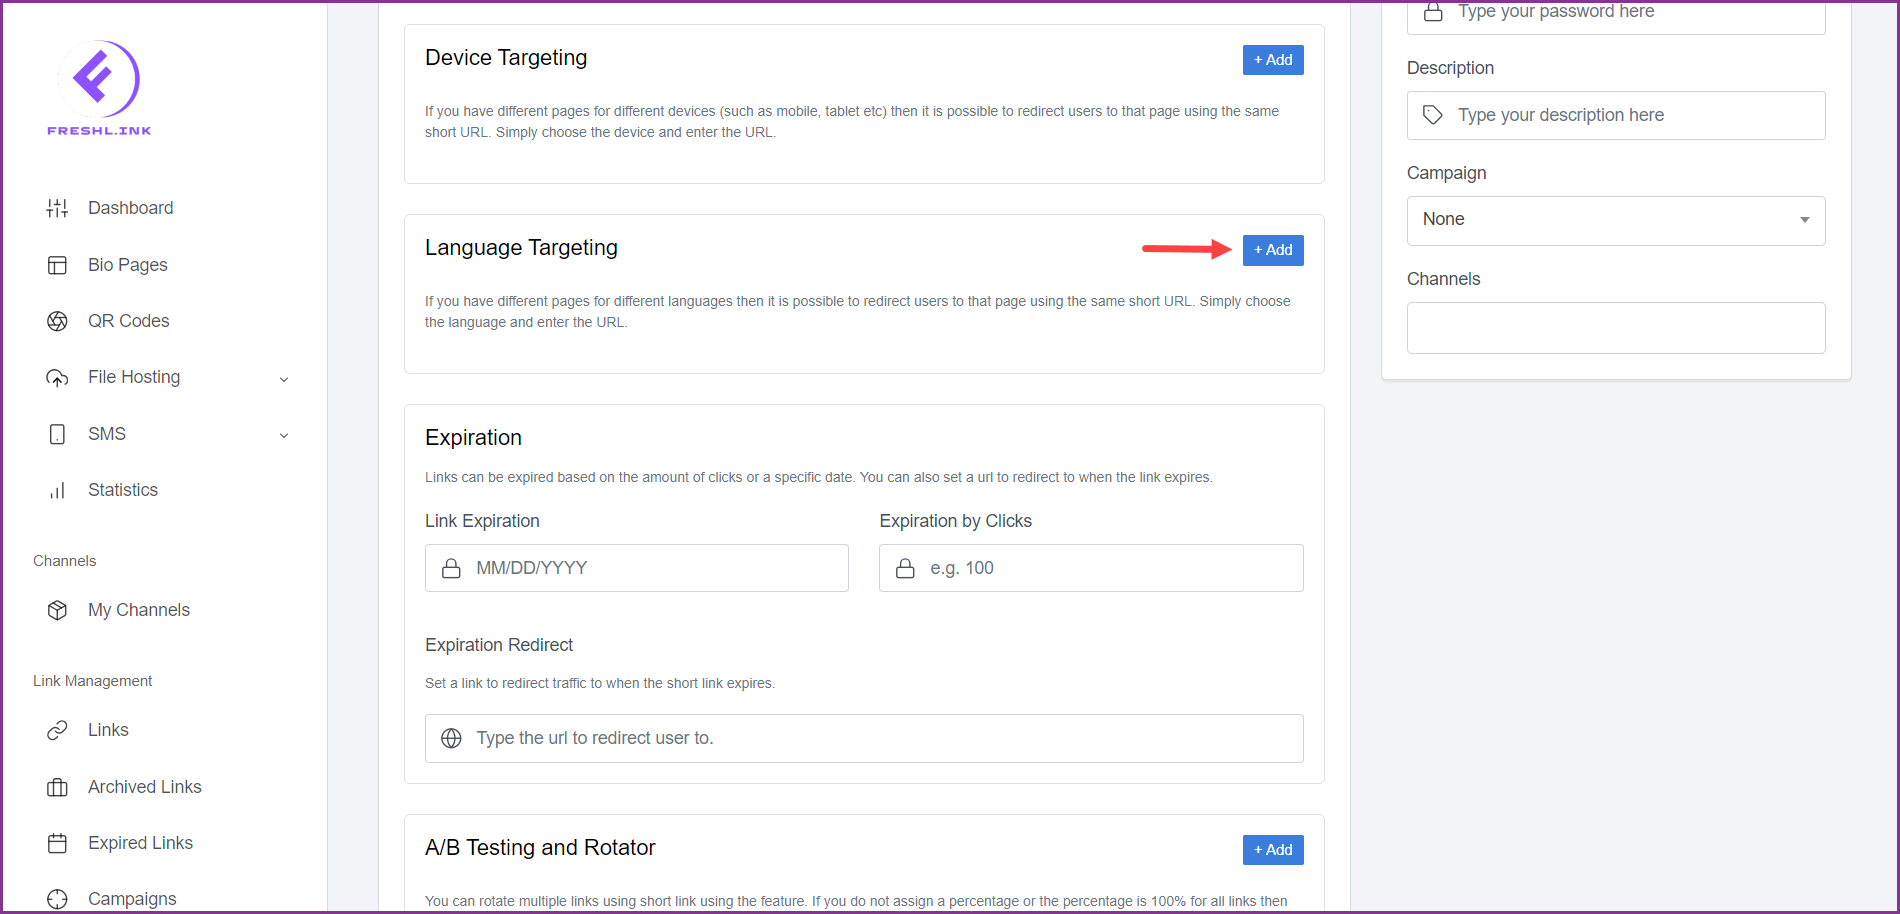
Similarly, click the  button from the Language Targeting section to include language targeting.
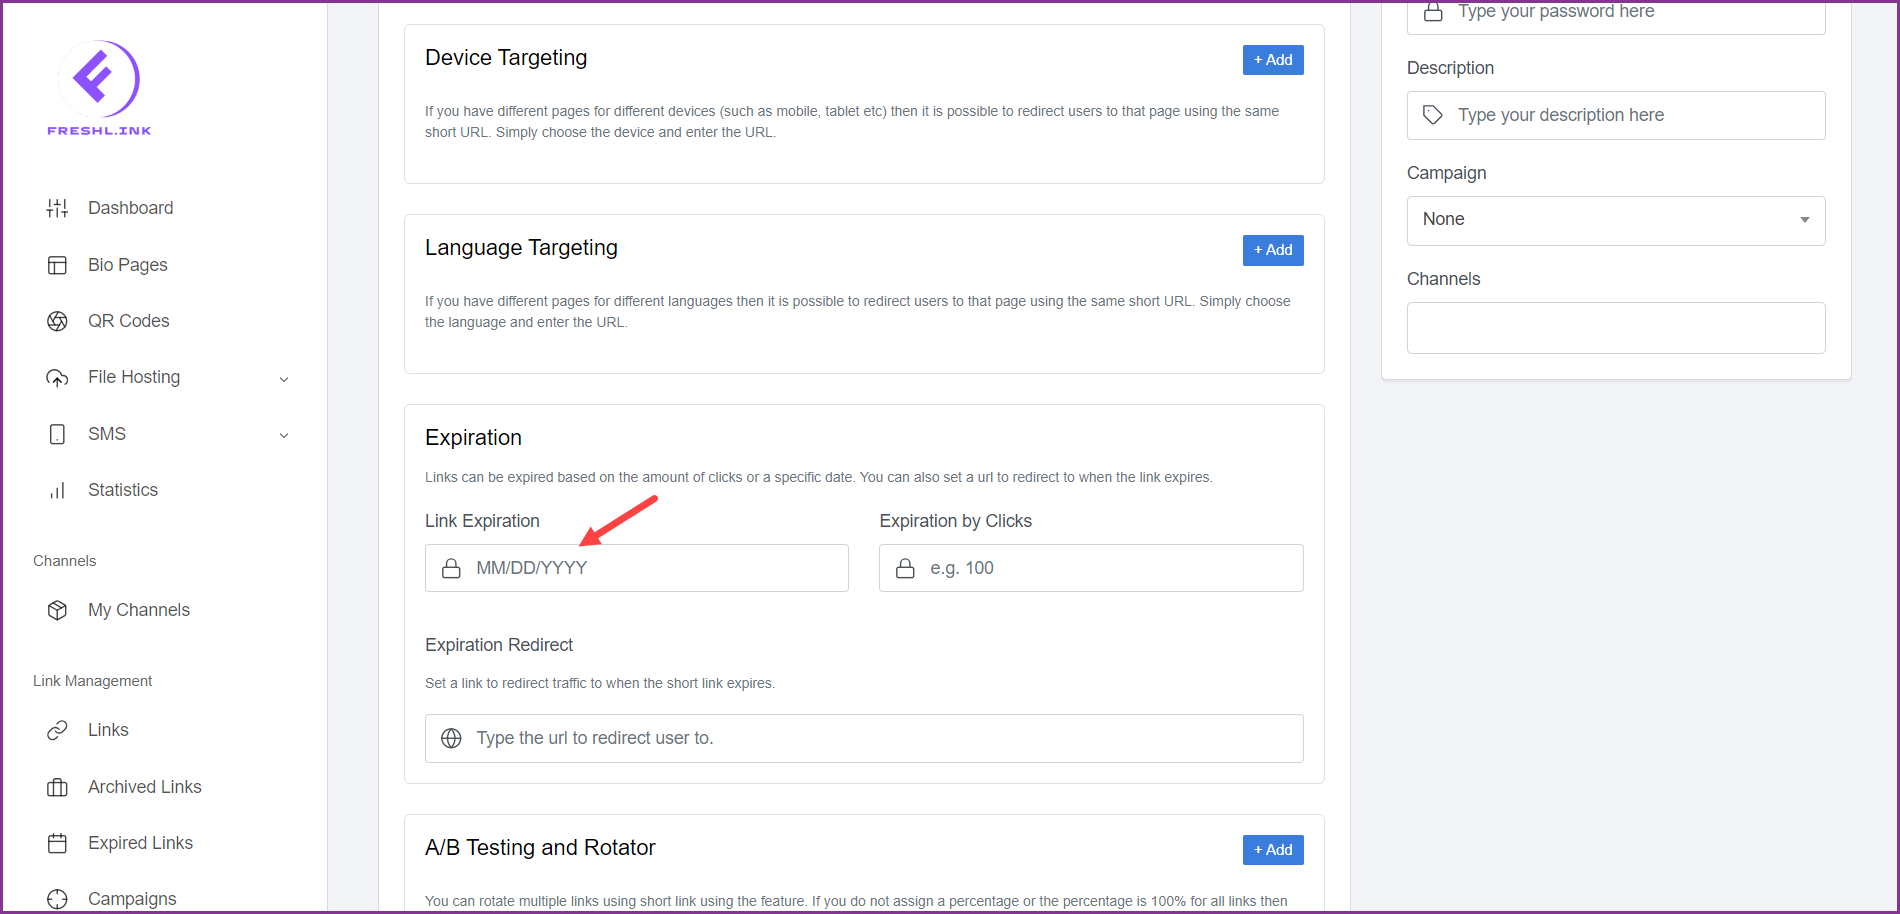
Moving to the Expiration section, use the Link Expiration date selector to select the expiry date for the link.
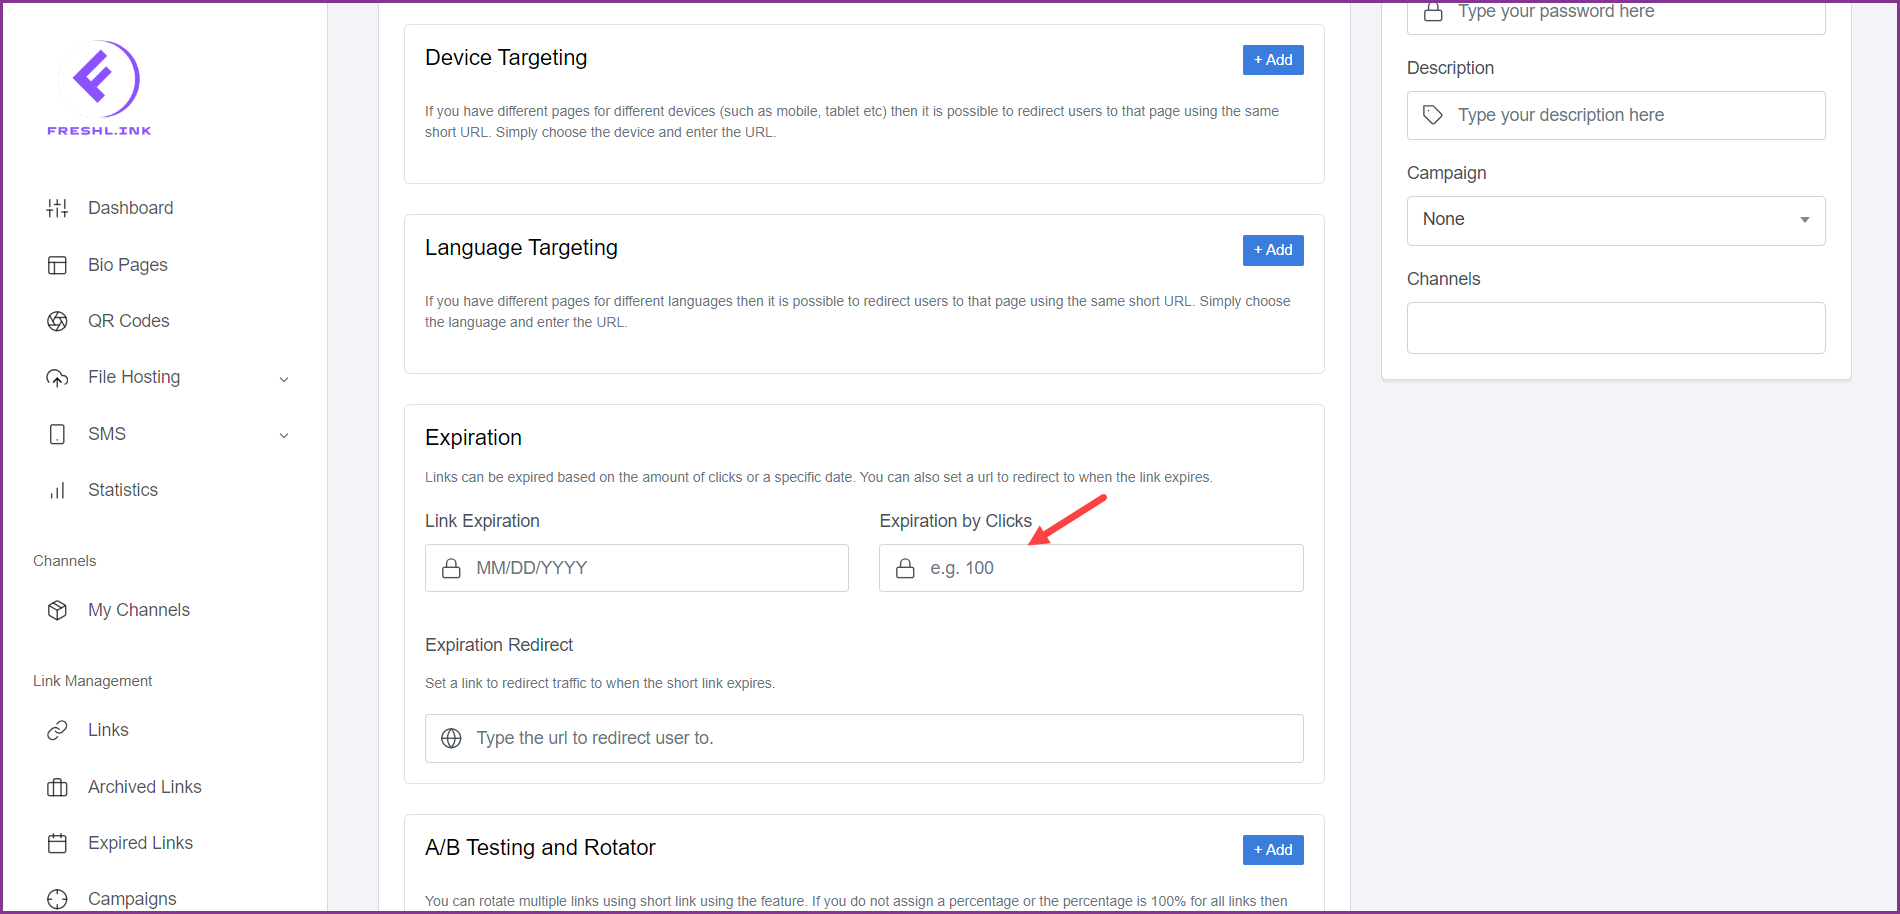
In case you want to set link expiry on the number of clicks, enter the number of clicks in the Expiration by Clicks field.
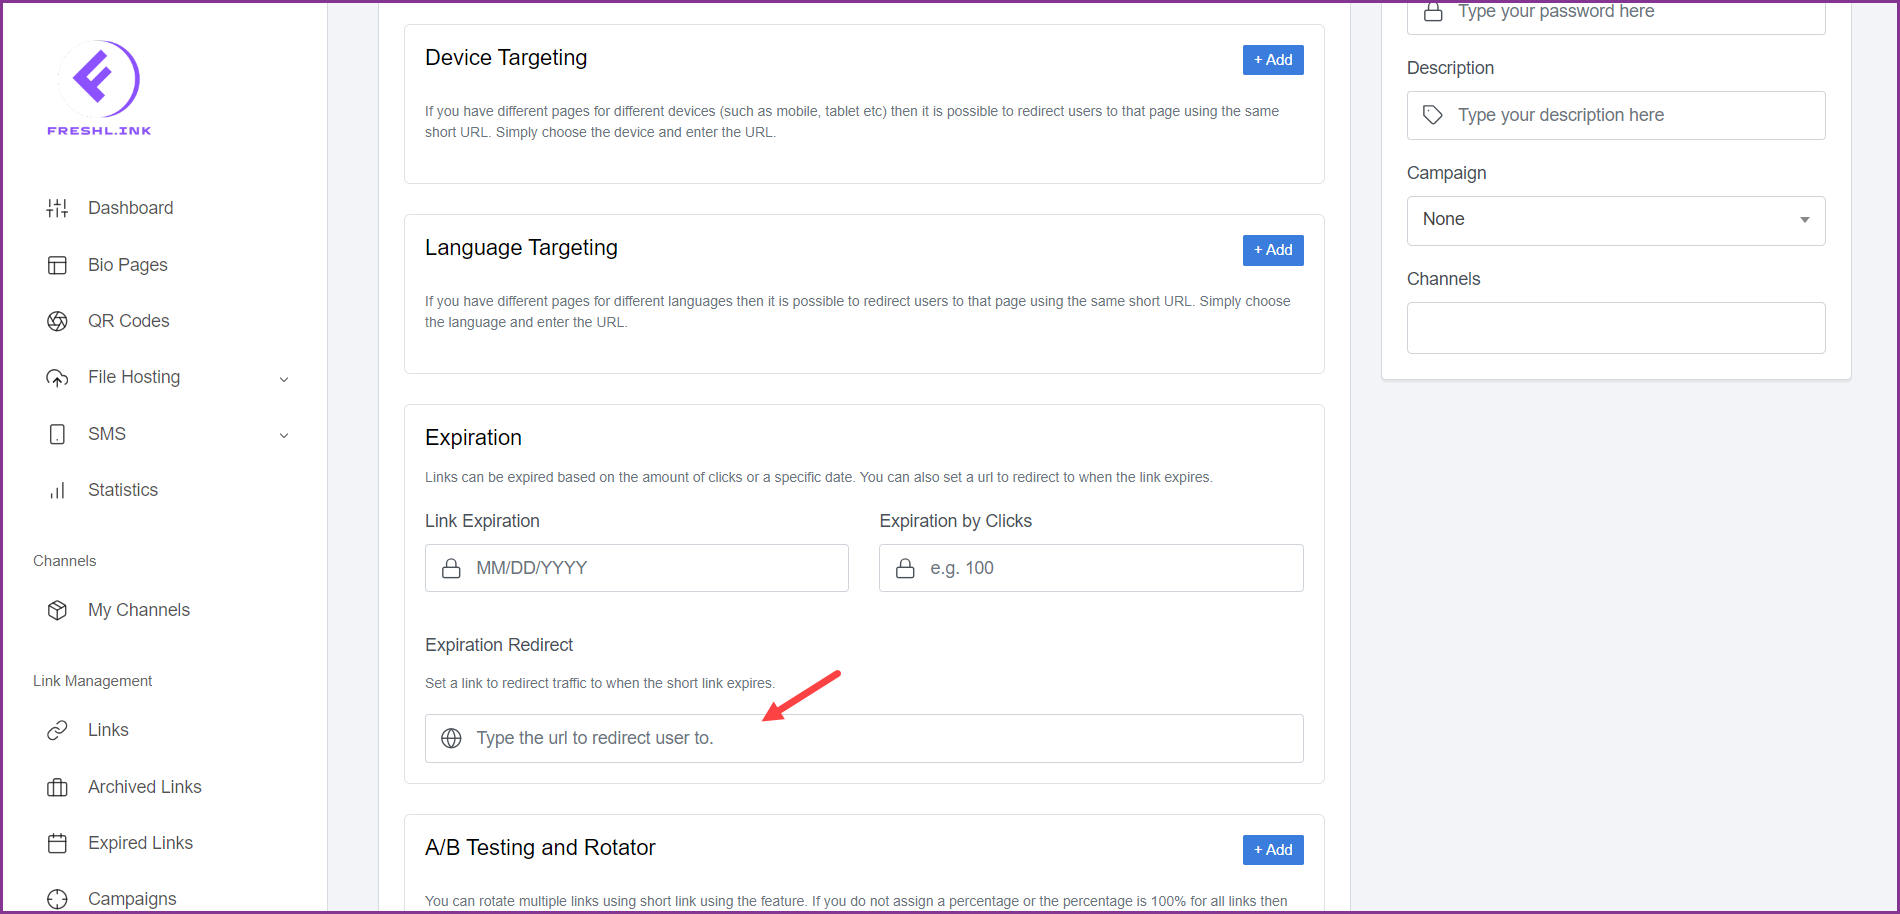
In case you want to redirect the user to another link when the shortened link expires, enter the URL in the Expiration Redirect field.
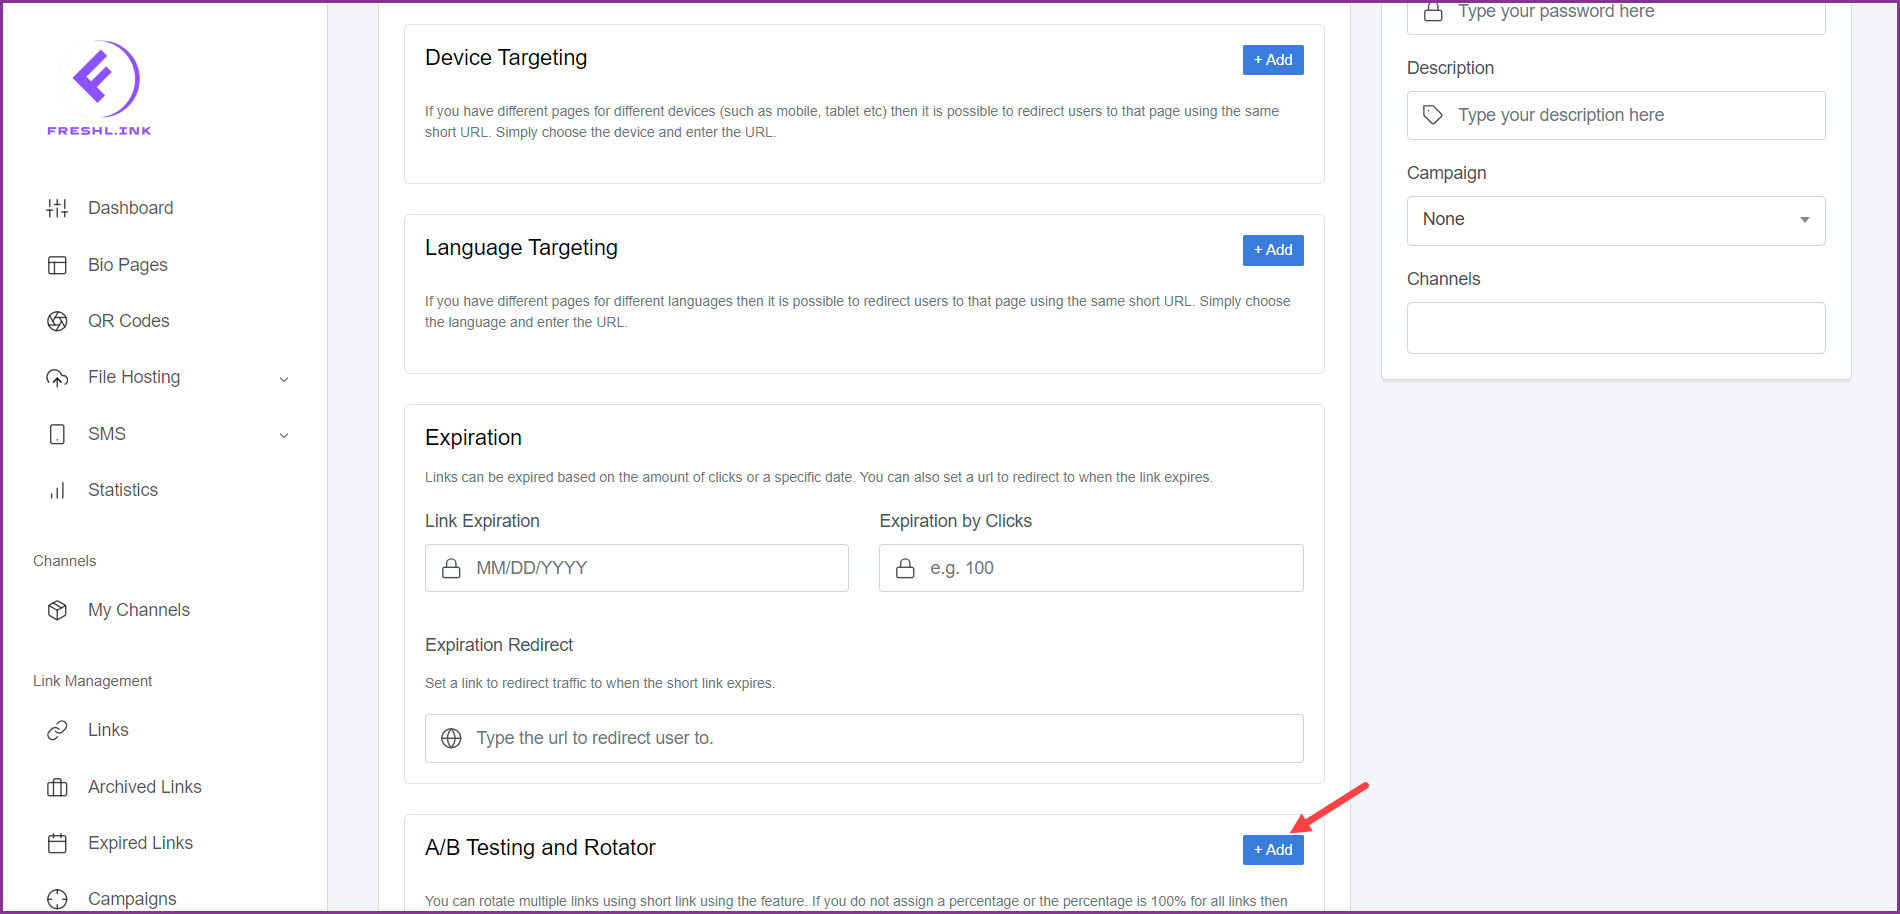
To include A/B testing and rotate multiple links to compare the traffic distribution, click the  button from the A/B Testing and Rotator section.
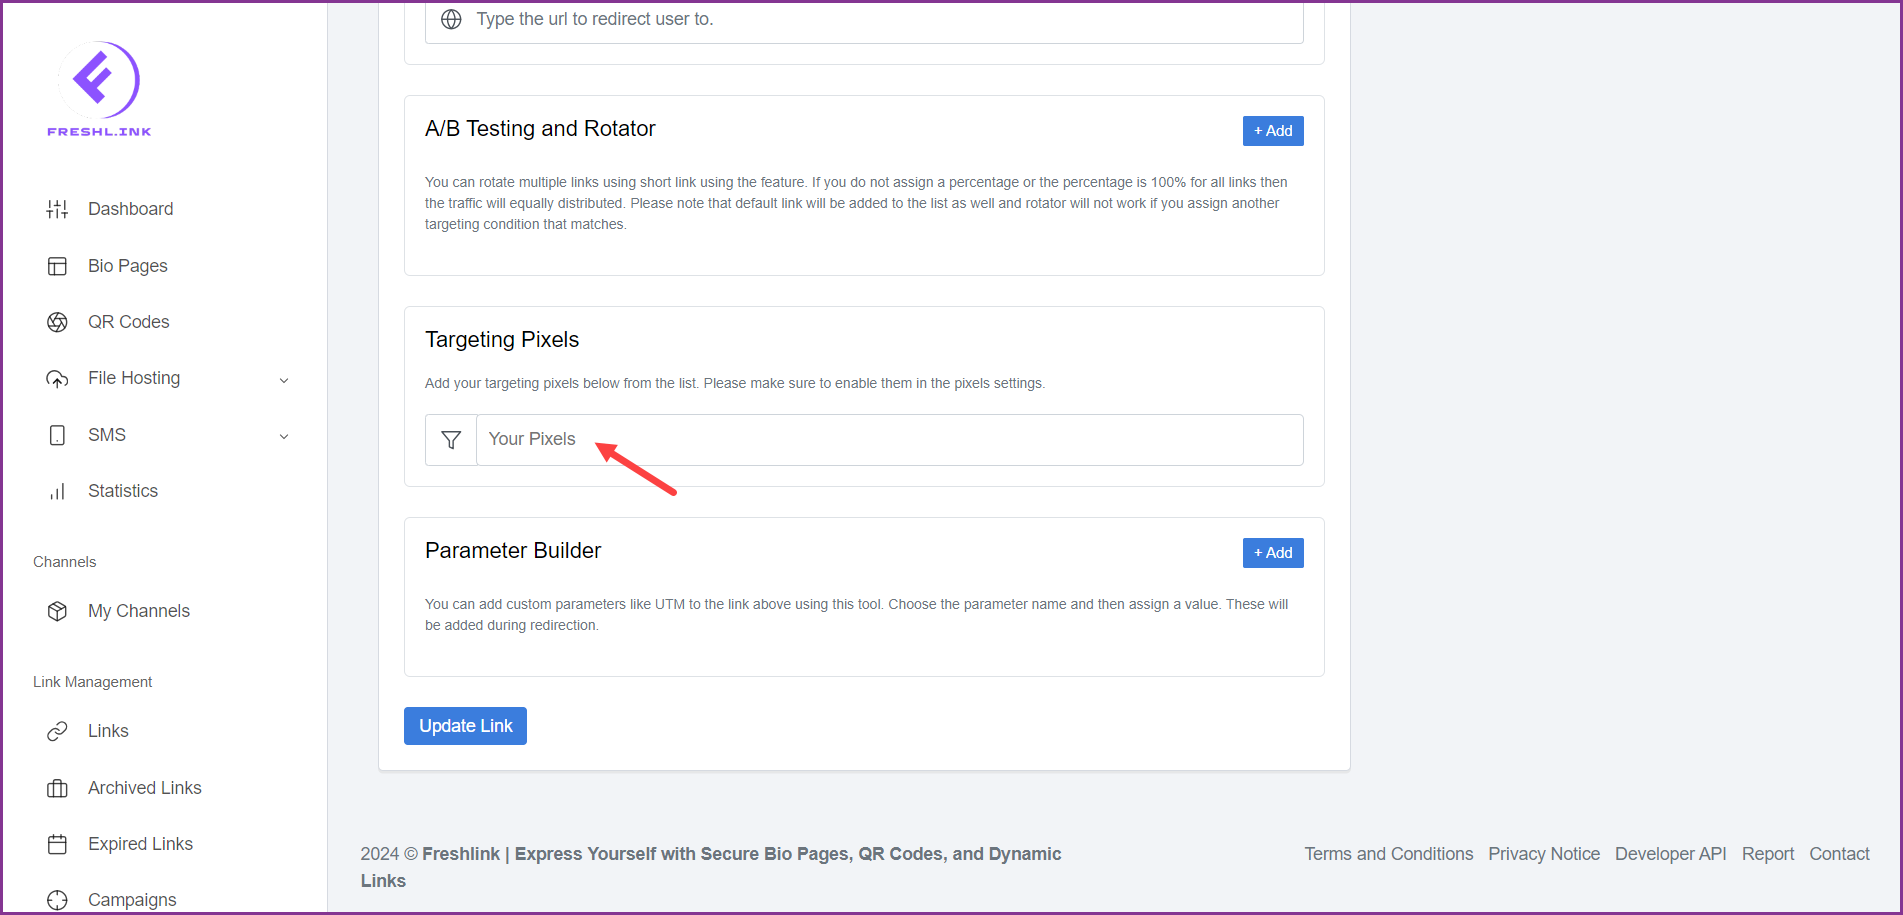
To add targeting pixels to the link, select the pixels from the Targeting Pixels dropdown.
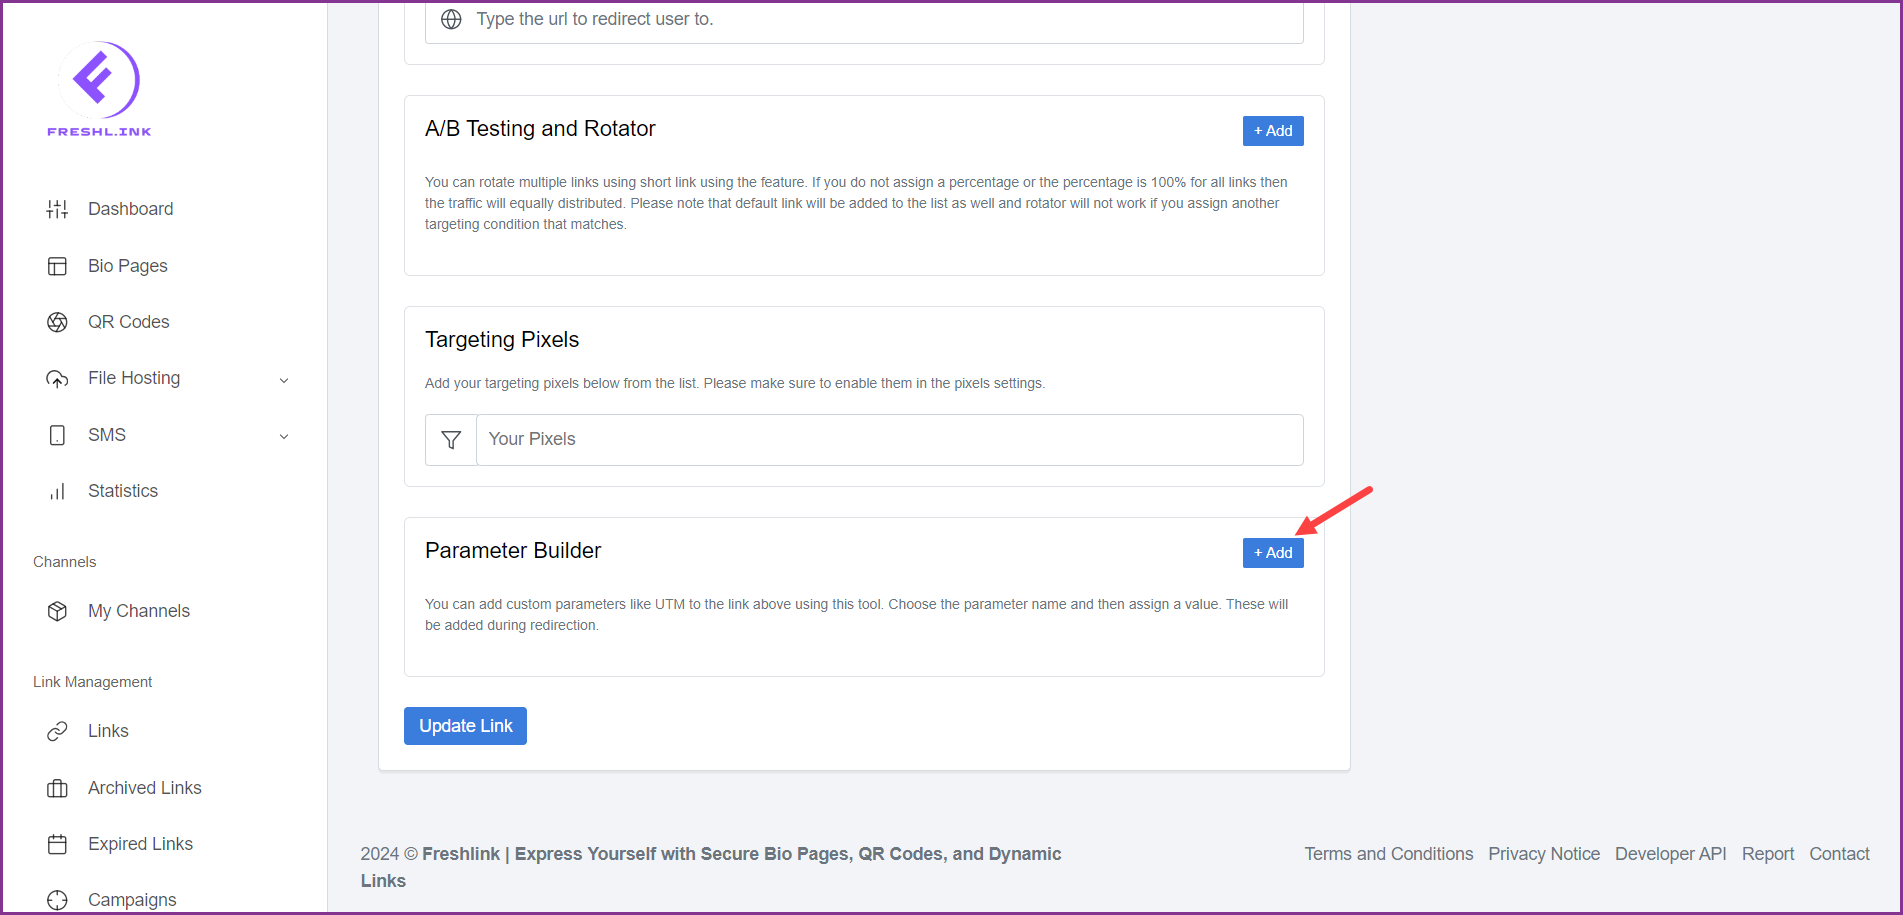
To add custom parameters like UTM, click the  button from the Parameter Builder section.
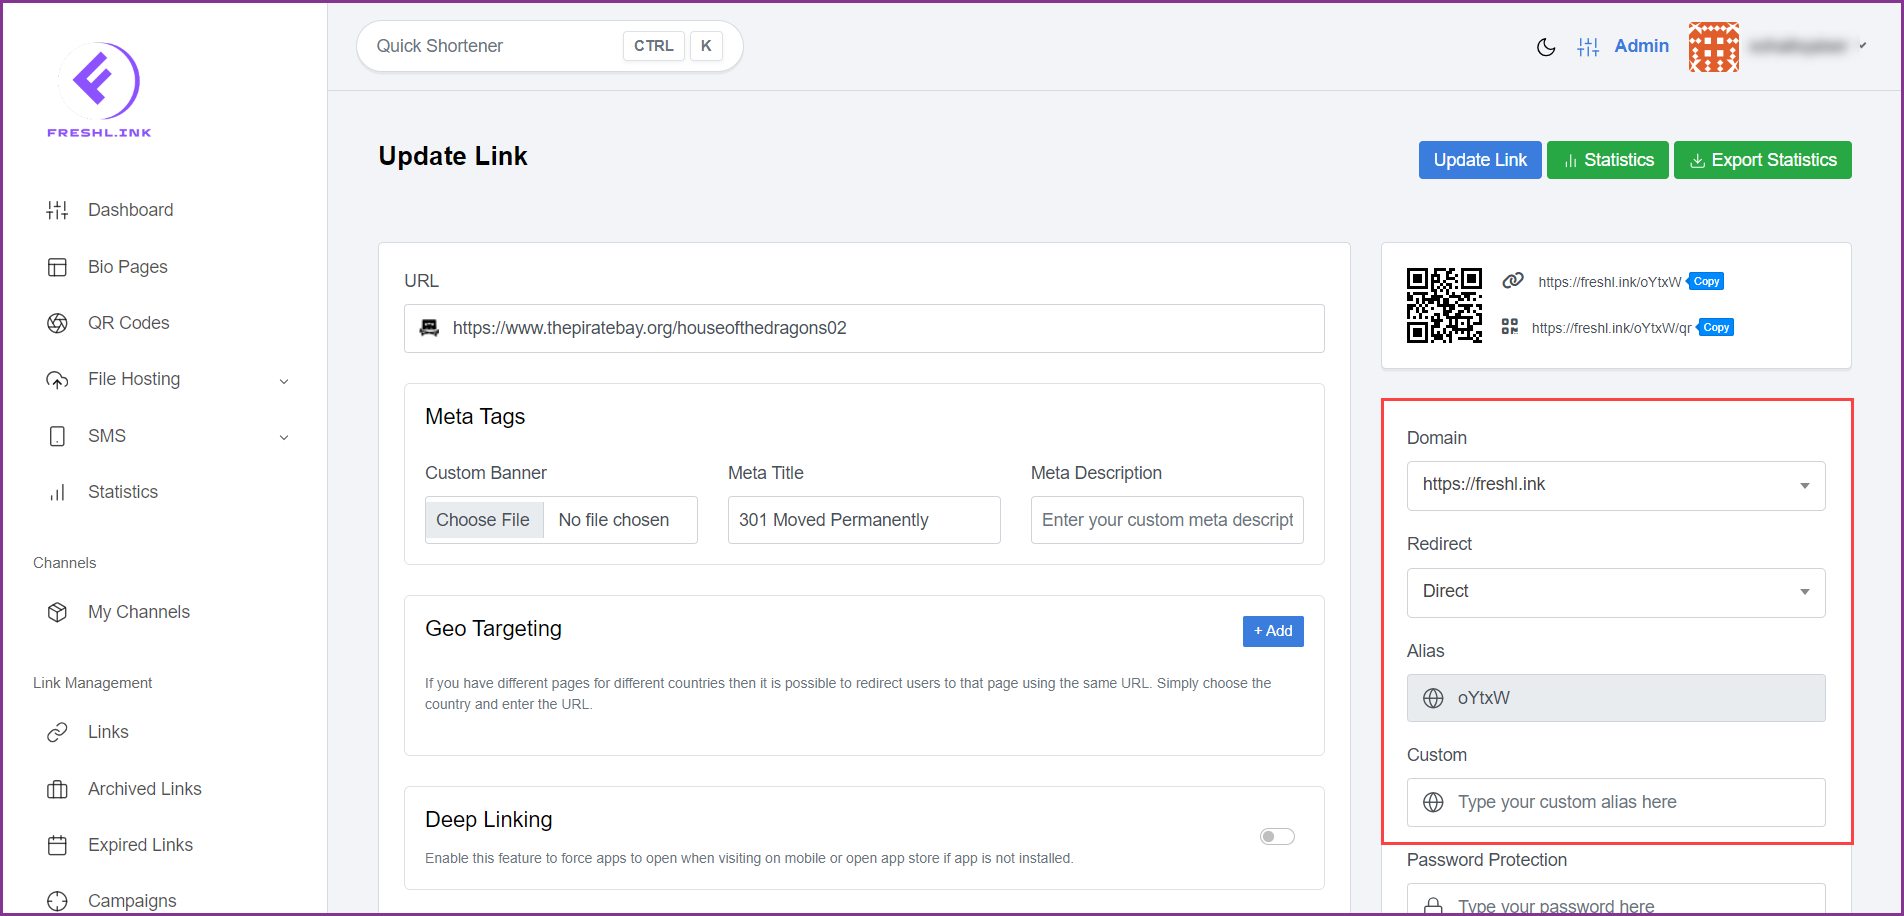
You can also configure the selected URL using the options displayed on the right side of the page. These are the same as displayed in the Link Shortener.
Once the required changes are made, click the  button.
You can access the link statistics by clicking the  button.
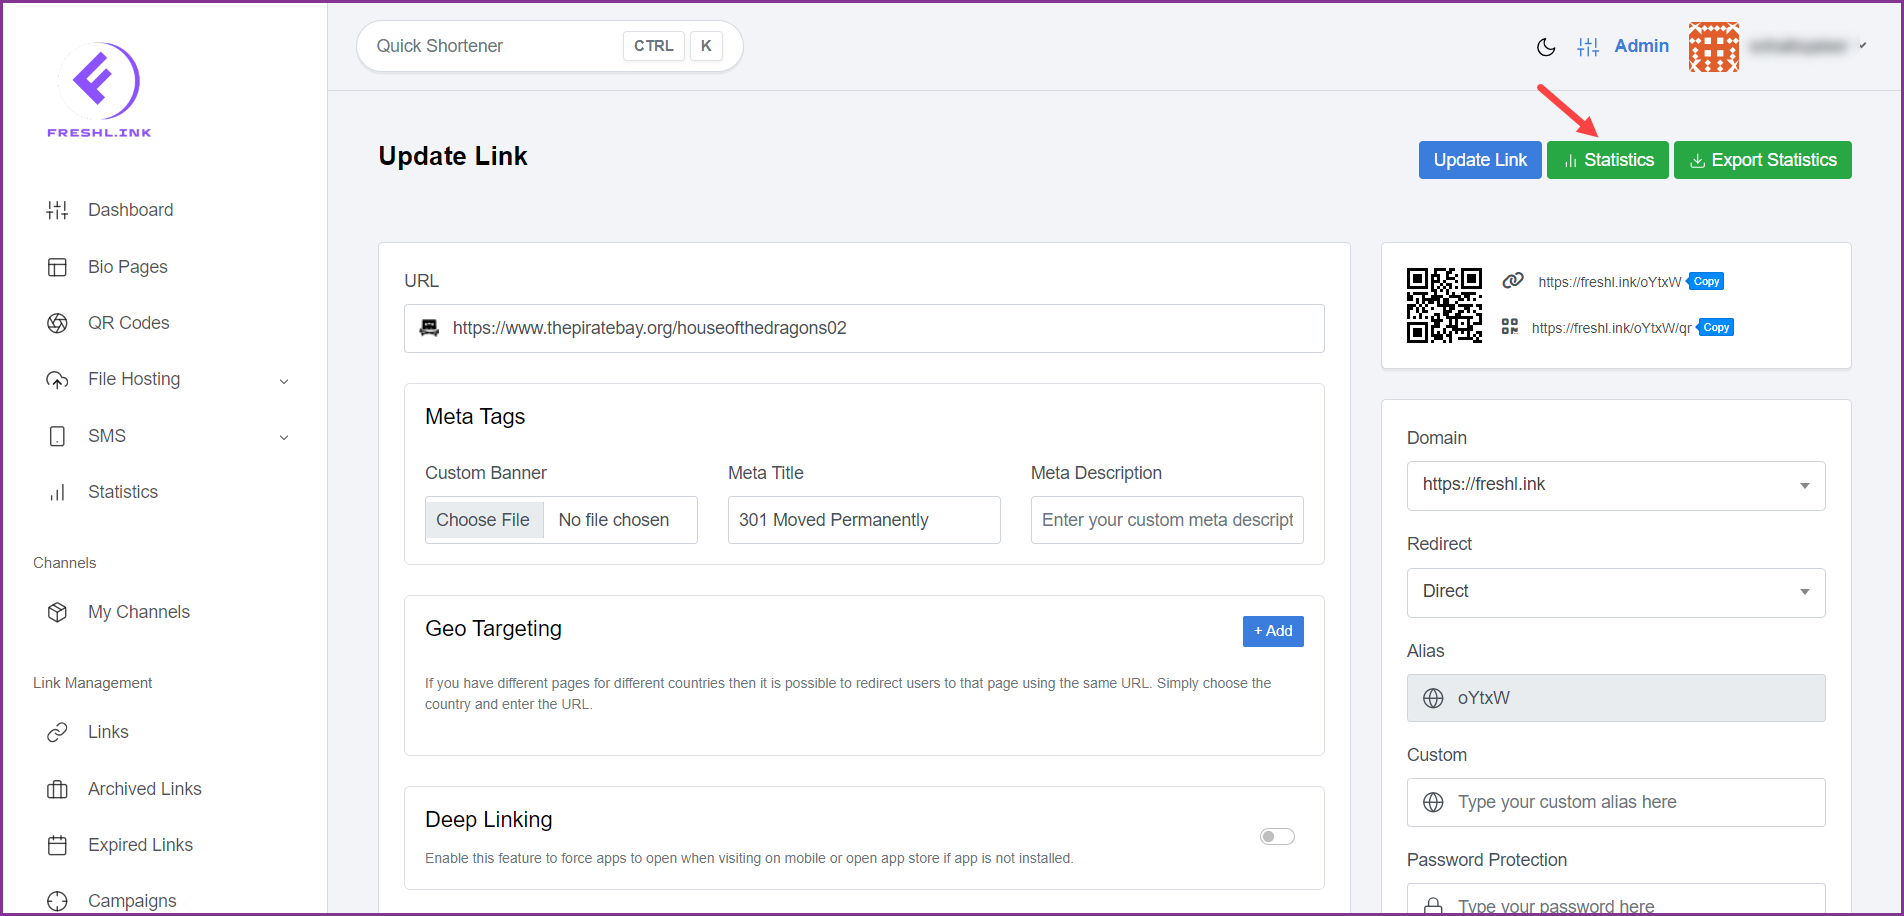
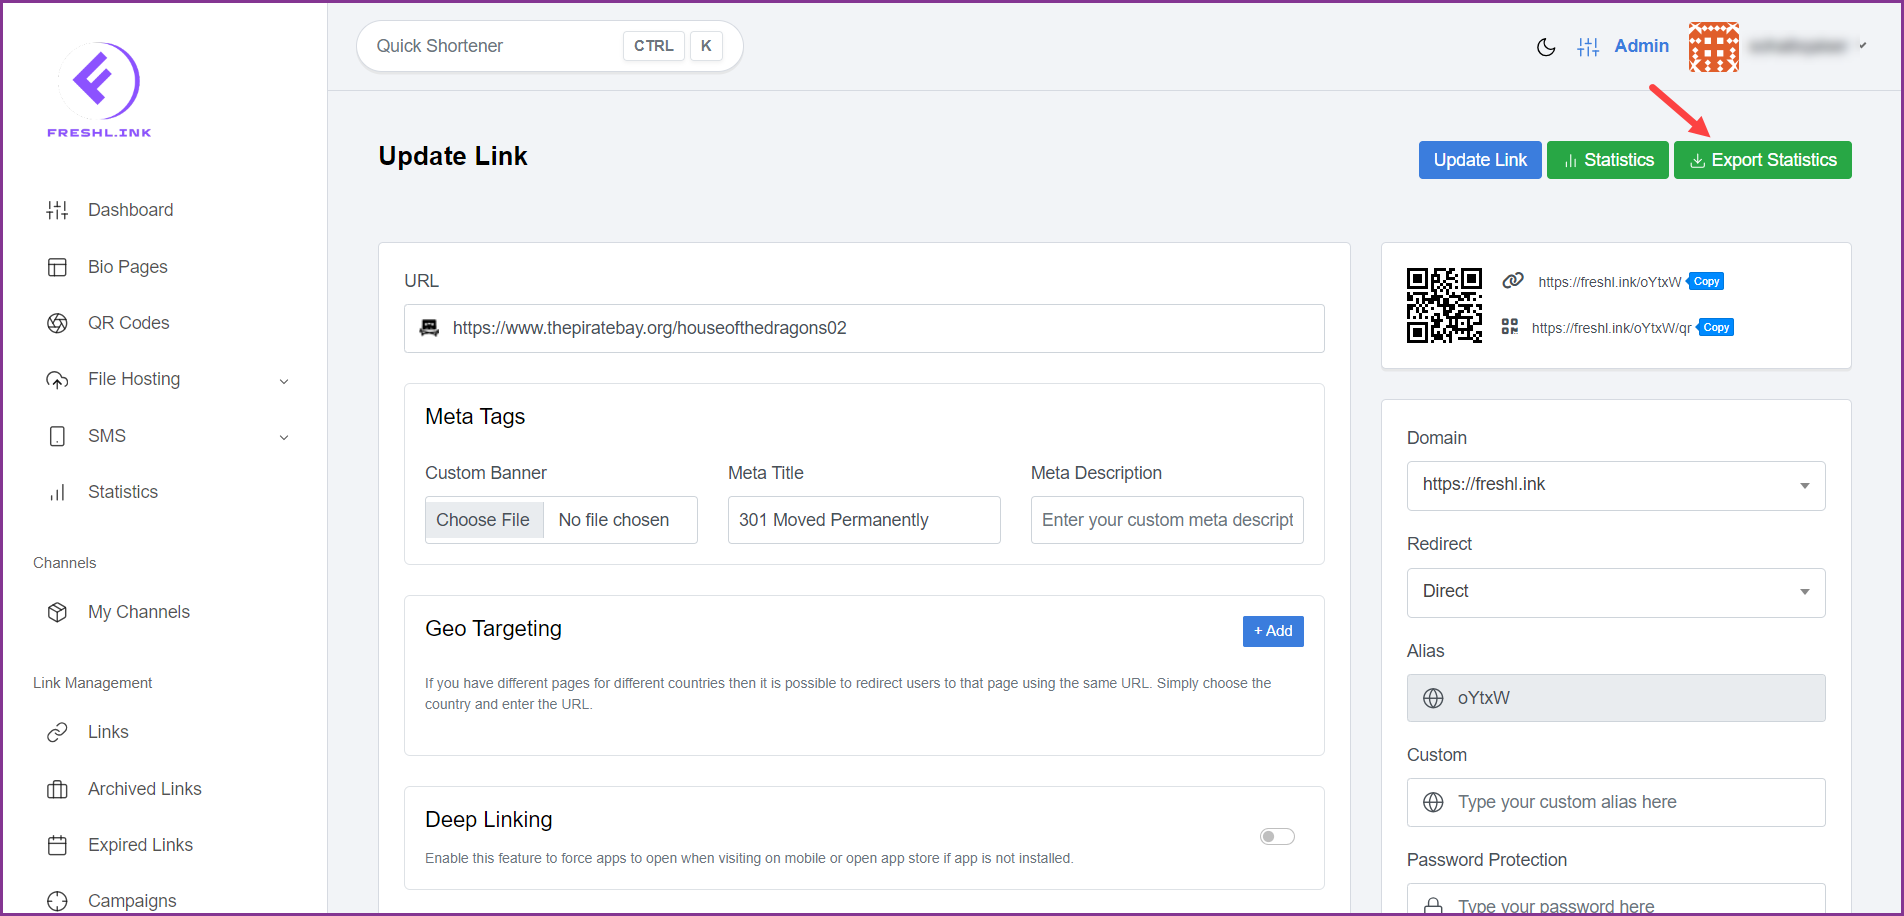
Statistics can be exported in a .CSV file by clicking the  button.
